Friday, June 19, 2009
Fabbing up the gas tank
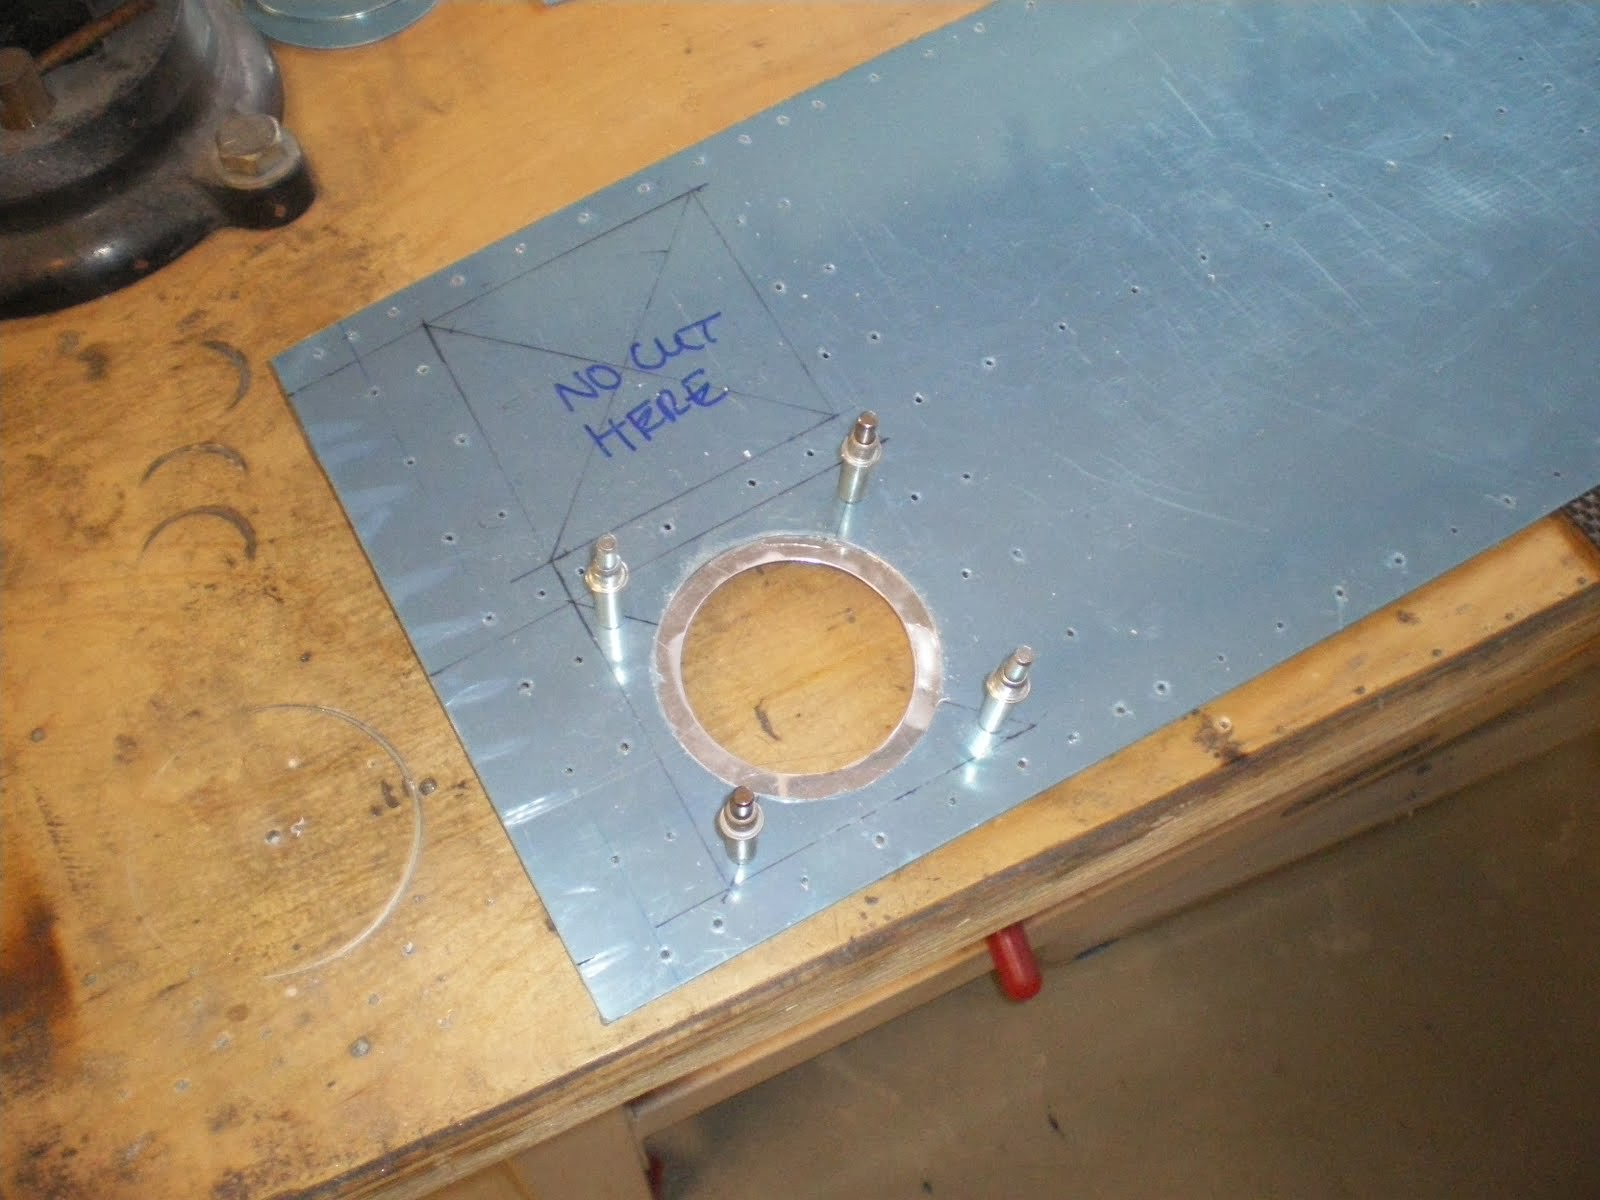
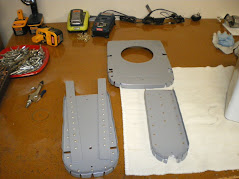
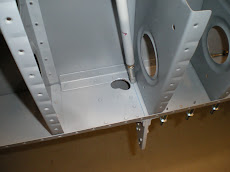
I have been working on getting all of the gas tank ribs prepped and fabbed up. You have to cut holes in each rib for gas to pass through. There is also several vent holes near the top of each rib. I have also modified the back baffle plate as well. I have cut access holes in each bay so I can reach in and apply pro-seal from the INSIDE of the feying surfaces. The plans call for you to goop up the flanges and just dropp it in the skin and then use about 100 clamps to hold it all in place while it drys. I had a leak in my last rear baffle joint and had to take the whole tank off and re-seal that bay. I ened up cutting holes in the back and going inside of it to apply a bead of pro-seal. This time I will have lots of nutplates to install to hold the access plates down but it will be worth it if a leak ever developes. I have also install the anti-rotation brackets to hold the pickup in place. This complys with Van's AD on this part.
Riveting the wing skeleton together
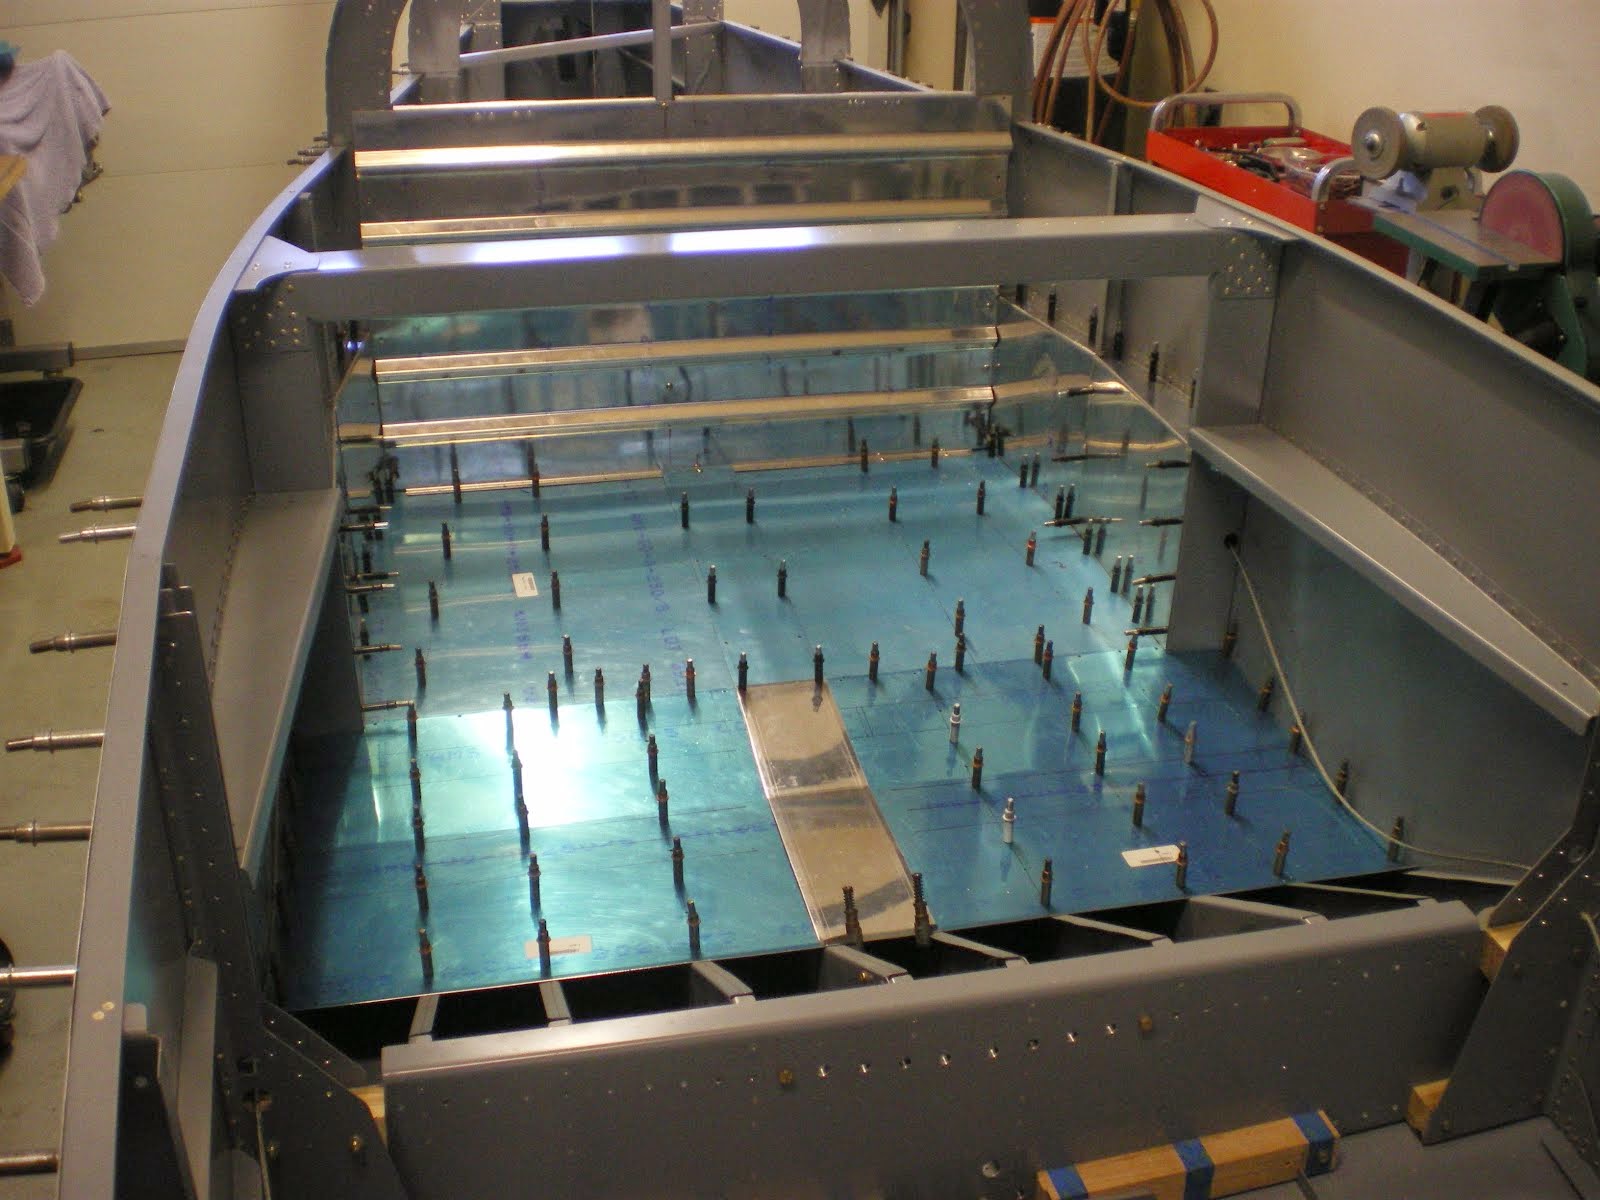
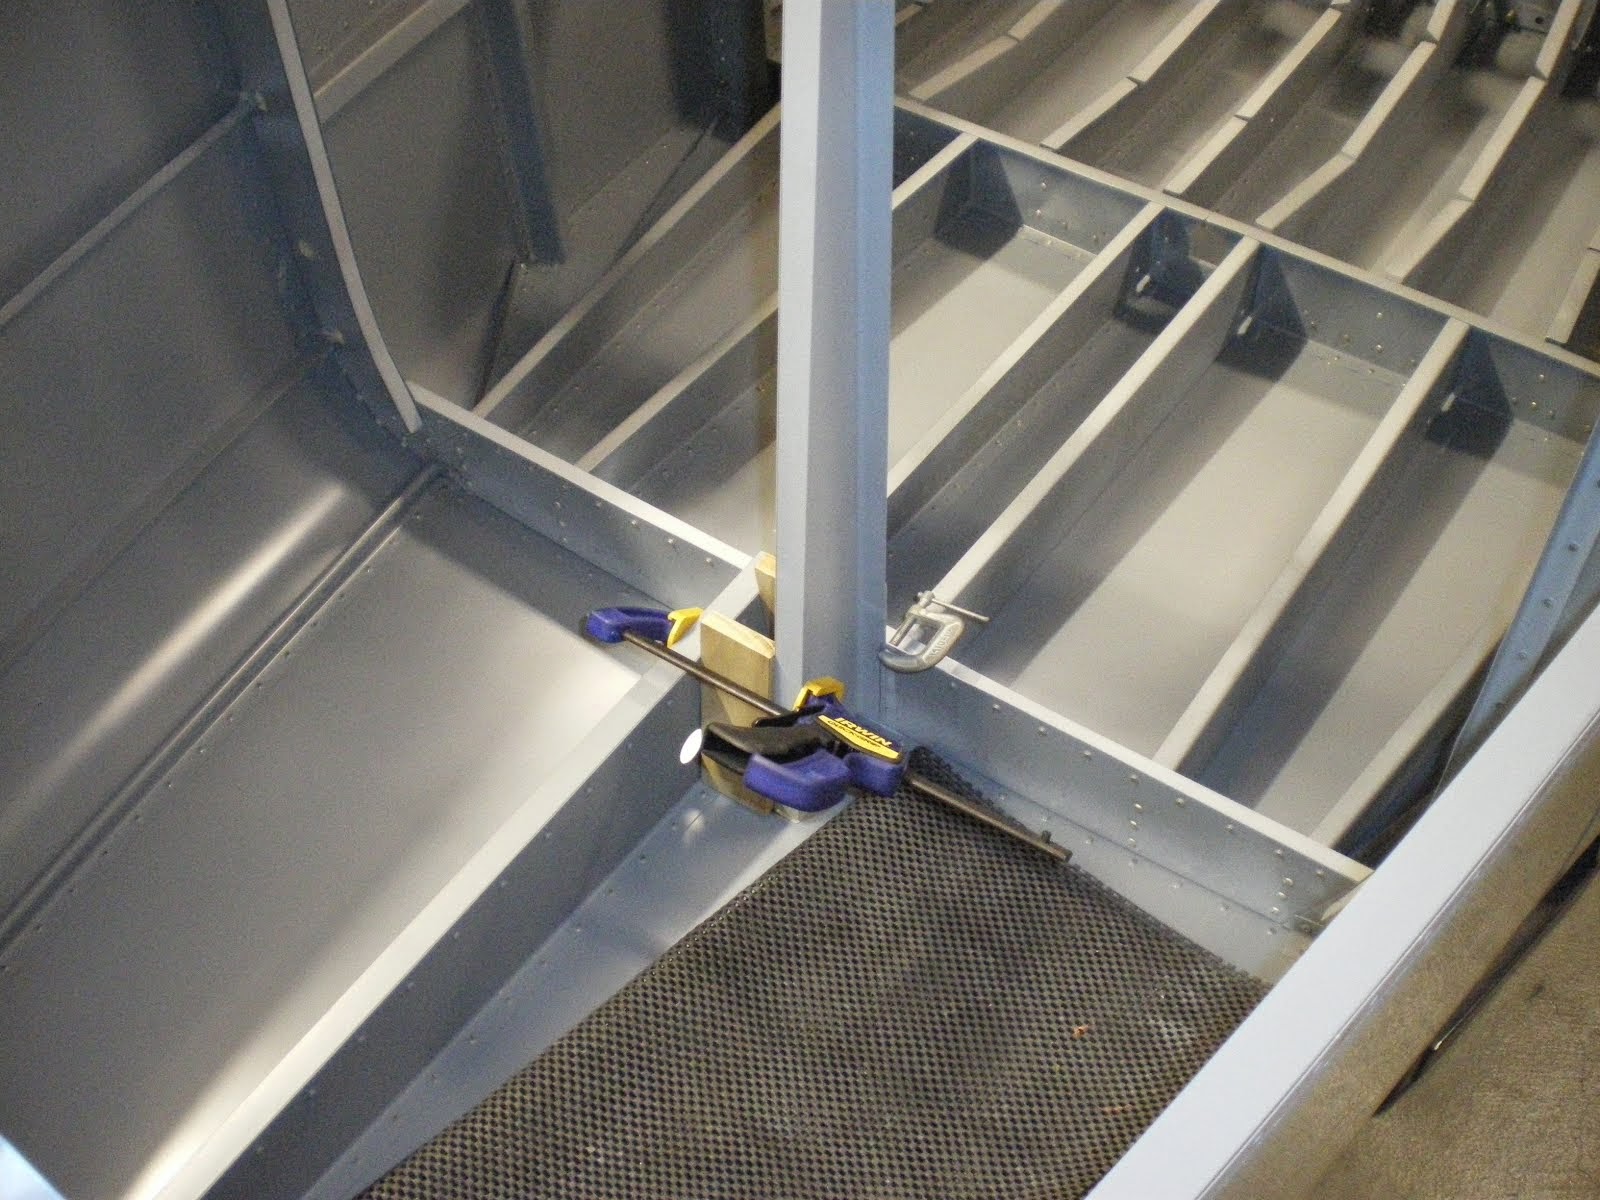
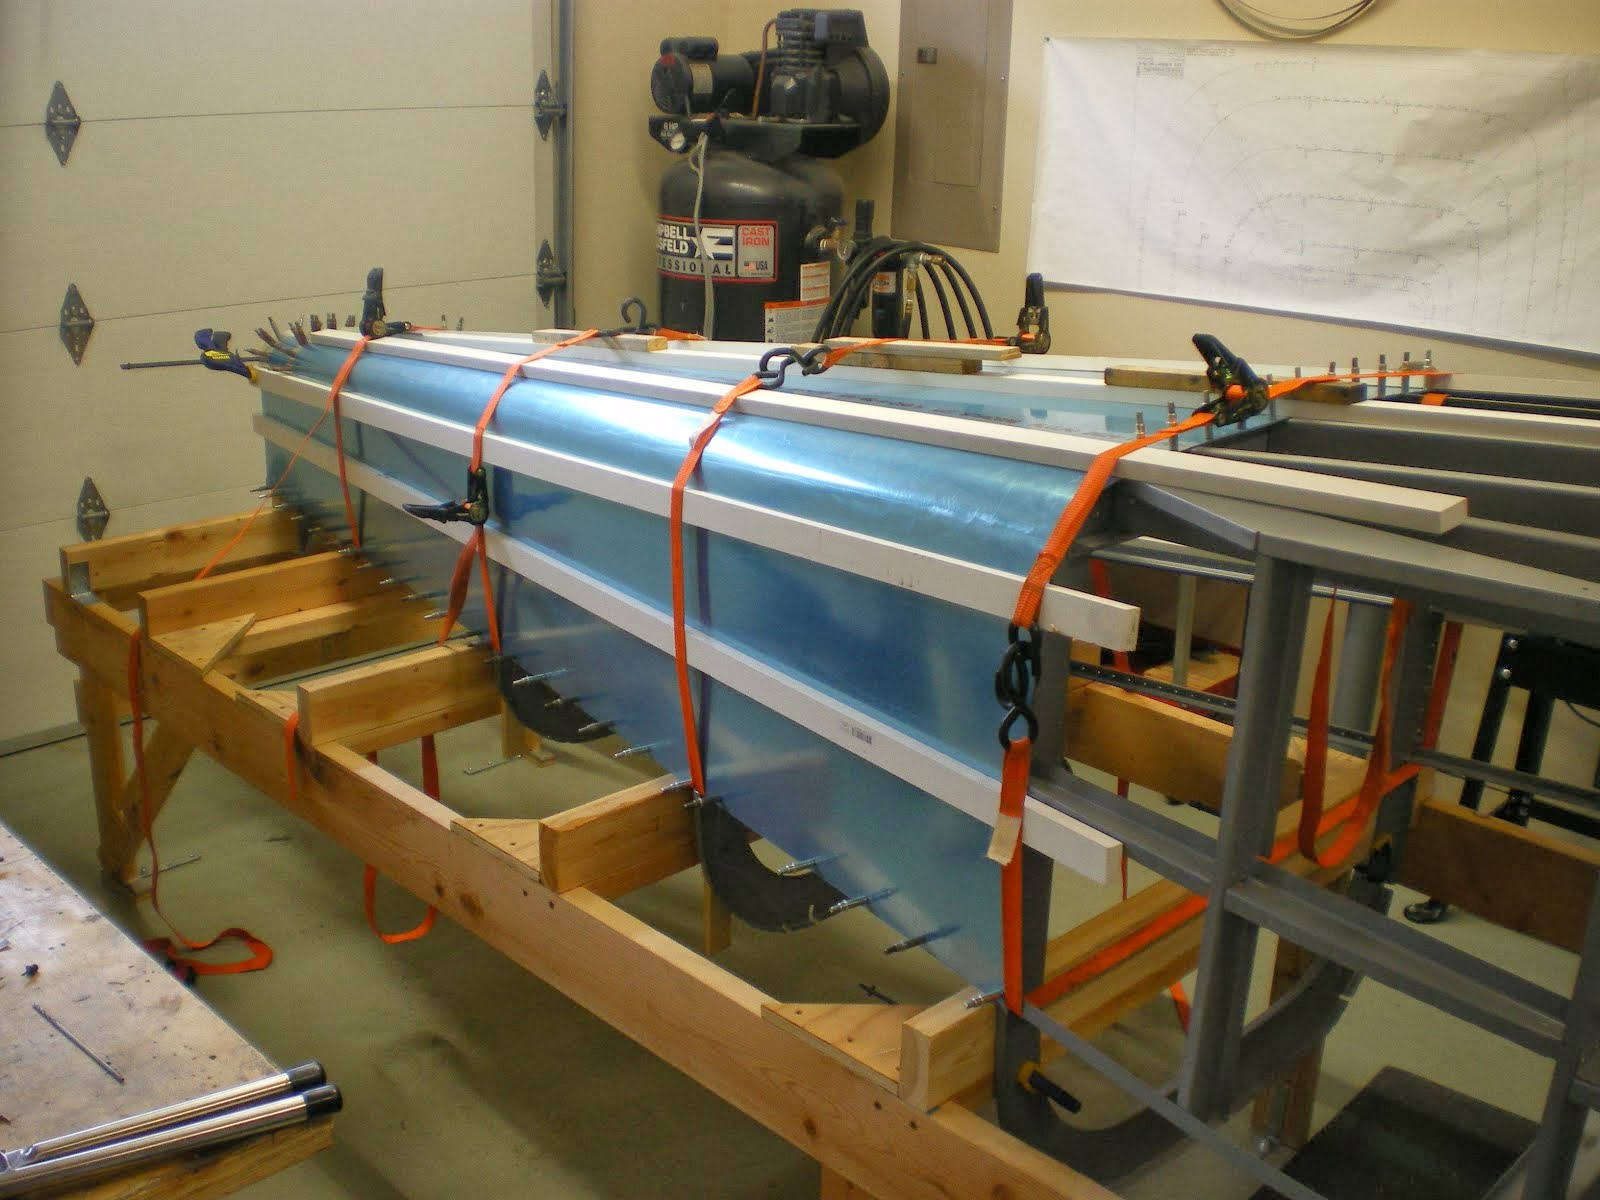
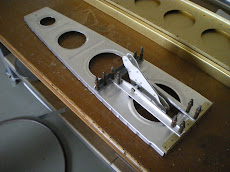
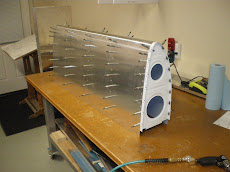
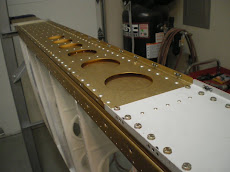
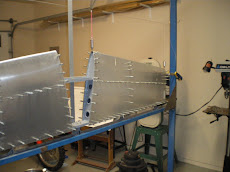
I have primed all the wing parts and proceeded to rivet the pieces together. It took several days and batches of parts to get everything primed. I used PPG DP40 epoxy primer on all the wing parts. It seems to be pretty durable stuff, but we'll see how it holds up to drilling and dimpling. I have also install the wing tie down brackets and the bellcrank rib. I am not going to rivet the 4 root ribs as they are too close together. When you get your top/bottom skins drilled on and ready to rivet on then you place each rib in one at a time and rivet your way out of the wing. It's easier to get all all the rib flanges. Learned this the hard way trying to rivet in between each rib during bottom skin assembly on the last two airplanes. It's a bunch of gymnastic manuevers to try and get it with all the ribs in there. When I get the wing jig it will be time to mount the spar in there and get going on the leading edge skin.
Subscribe to:
Comments (Atom)


