Wednesday, January 27, 2010
Sealing the tank
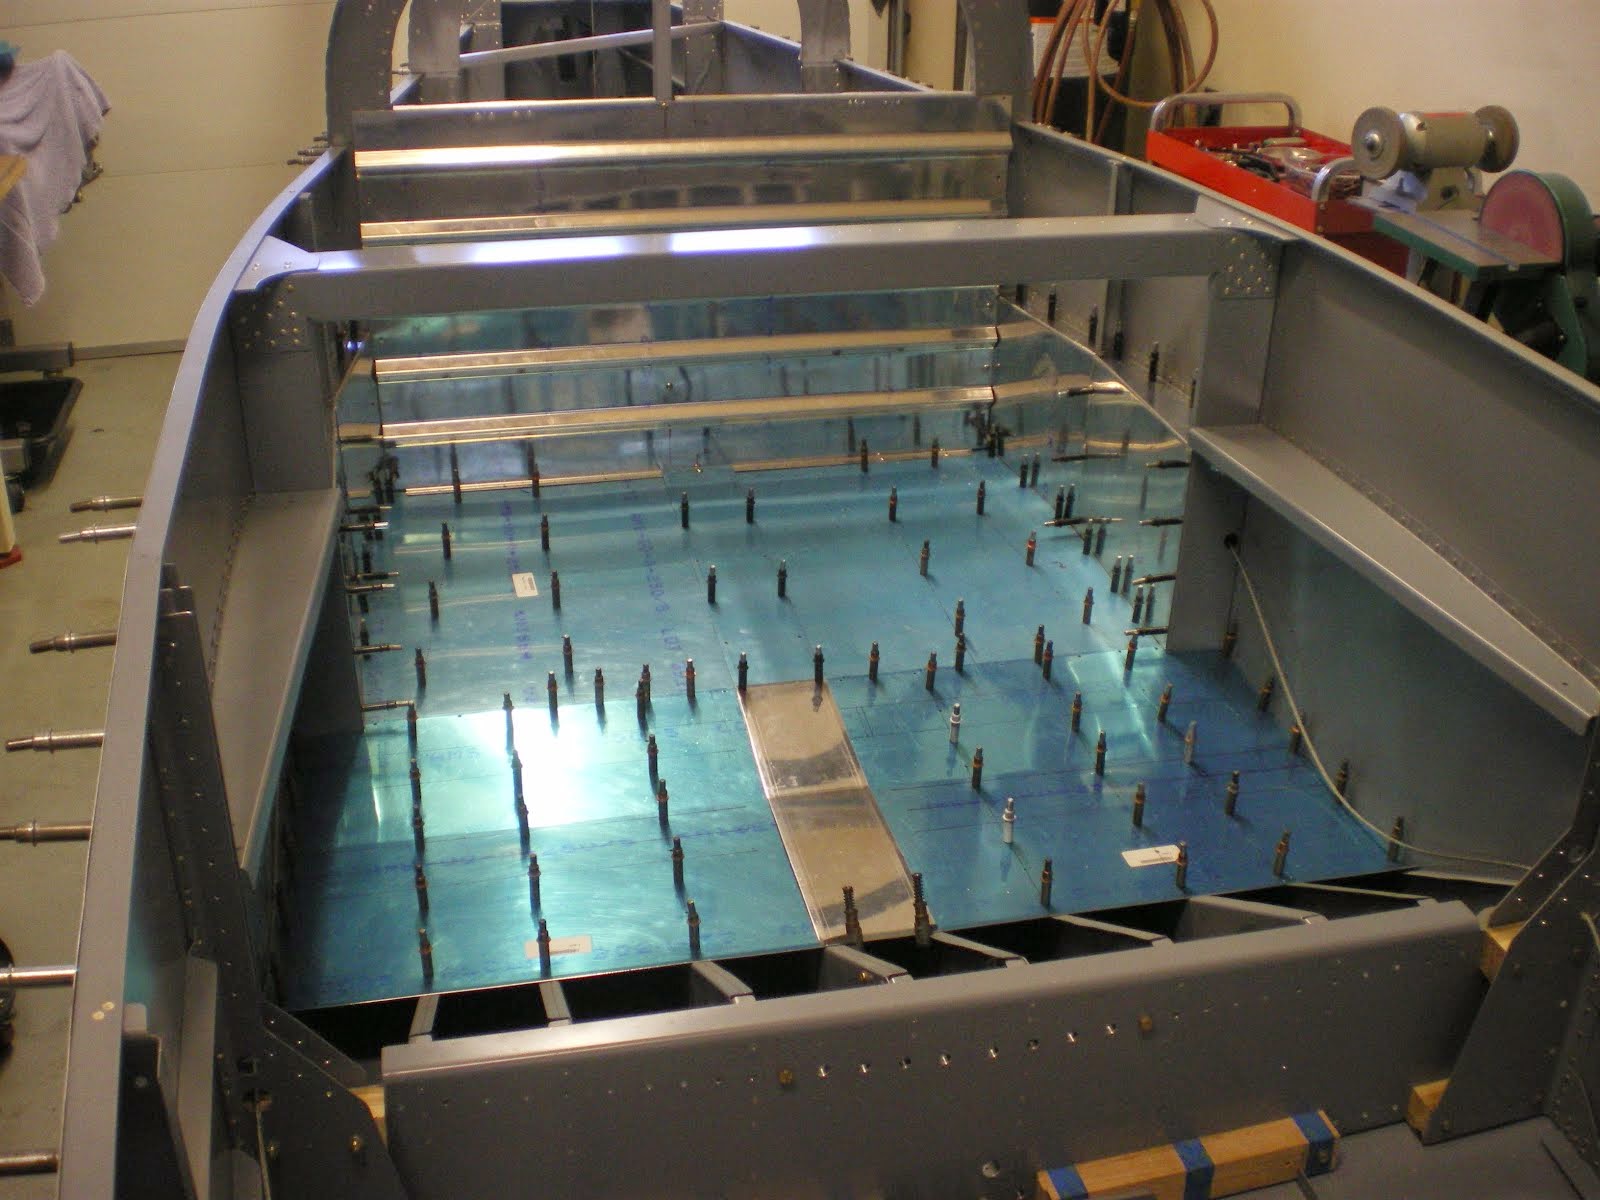
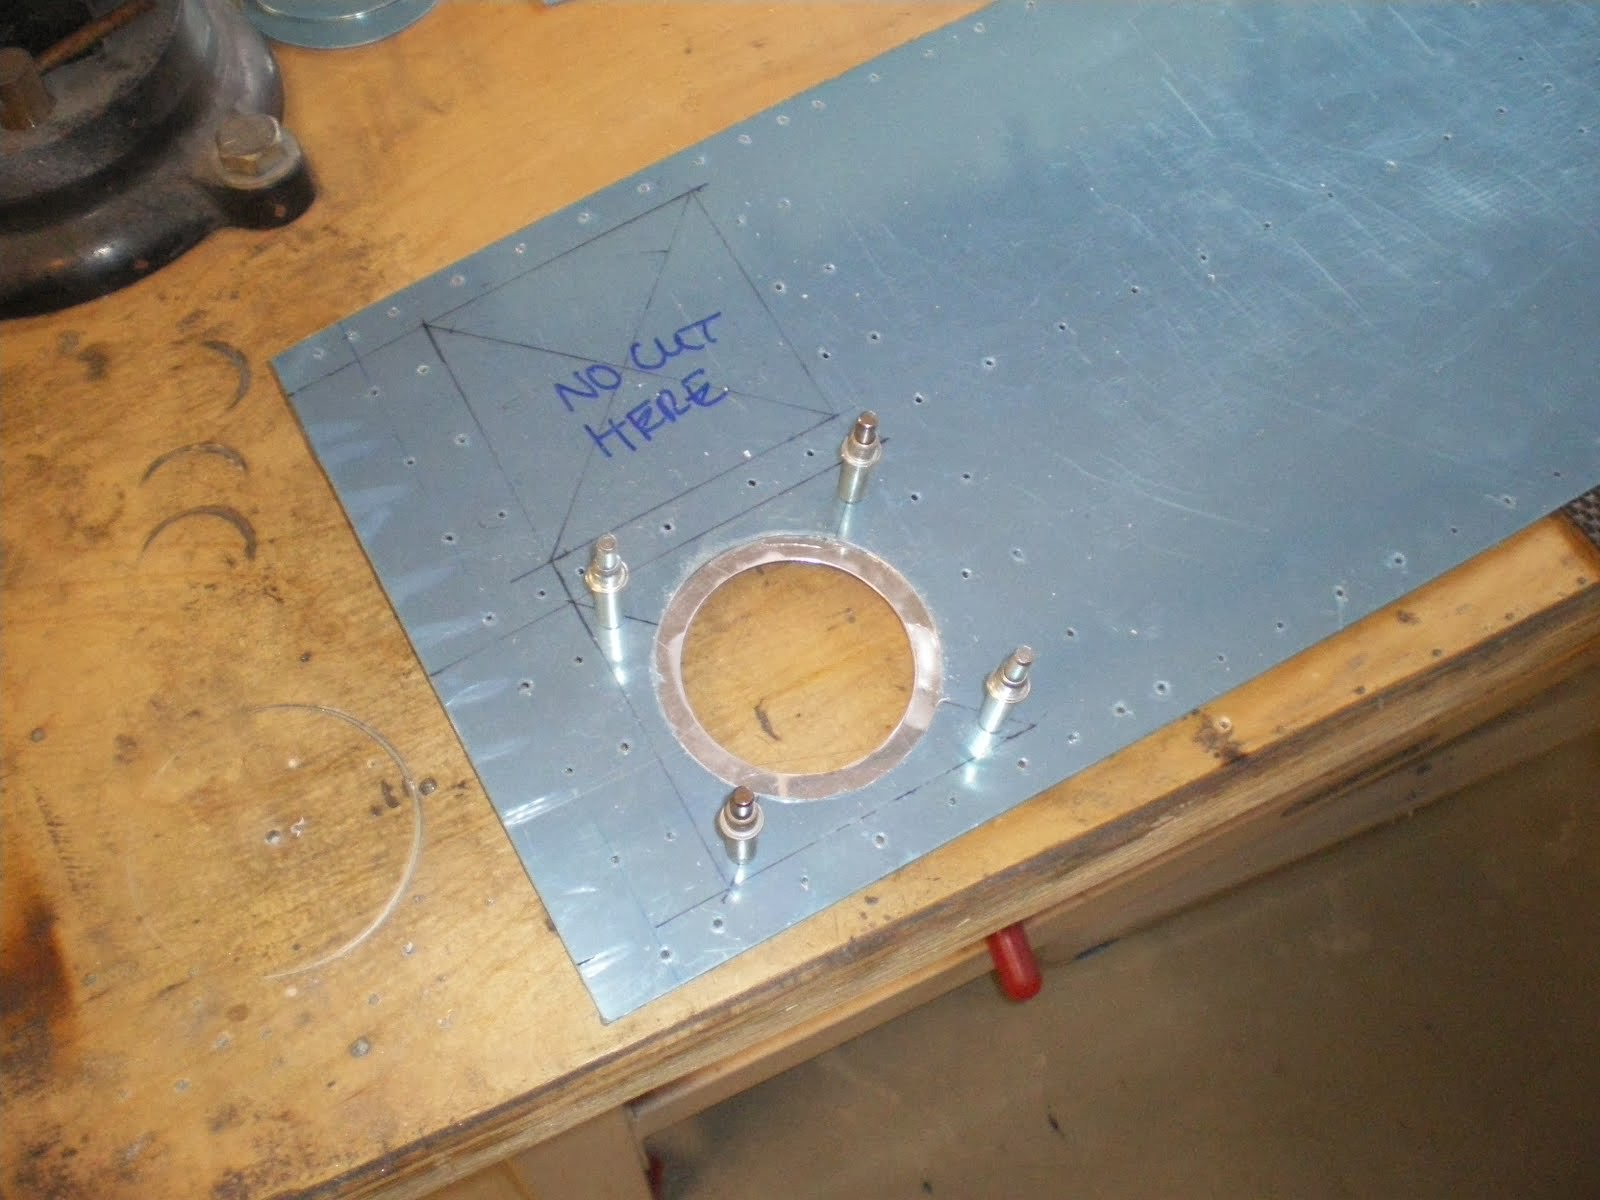
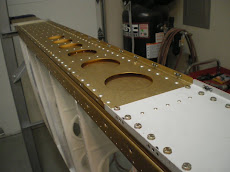
I remember how much I hate pro-seal. I have started riveting pieces on the gas tank skin. The filler neck has seemed to give me the most trouble so far. It's curved to the tank skin and it was really hard to get the rivets to set flush. I am not happy at all with the Avery tank dimple dies. I think they are too deep. All of my rivets are sticking up a bit just enough not to pass the fingernail test. I know you need a little bit of extra room so you have some area in the dimple for sealant but it's too much. I will go back to using regular dimple dies from Cleaveland. I also have riveted on most of the bottom stiffeners. I have a couple left as I ran out of pro-seal around 9:00 last night I and did not want to make another batch. I have also tried something new this time. Instead of using my fingers so wipe the pro-seal around with, I have put the pro-seal into a syringe. It's messy getting it in the syringe but once you clean it up, you have a handy little dispenser. It's clean and easy to use and not really expensive. The syringe tube is only about .25 cents for a large one. I have enough to do one tank for now. Off to work now, I'll post some pics tonight with all of the stiffeners on the skin.
Monday, January 25, 2010
Prepping gas tank
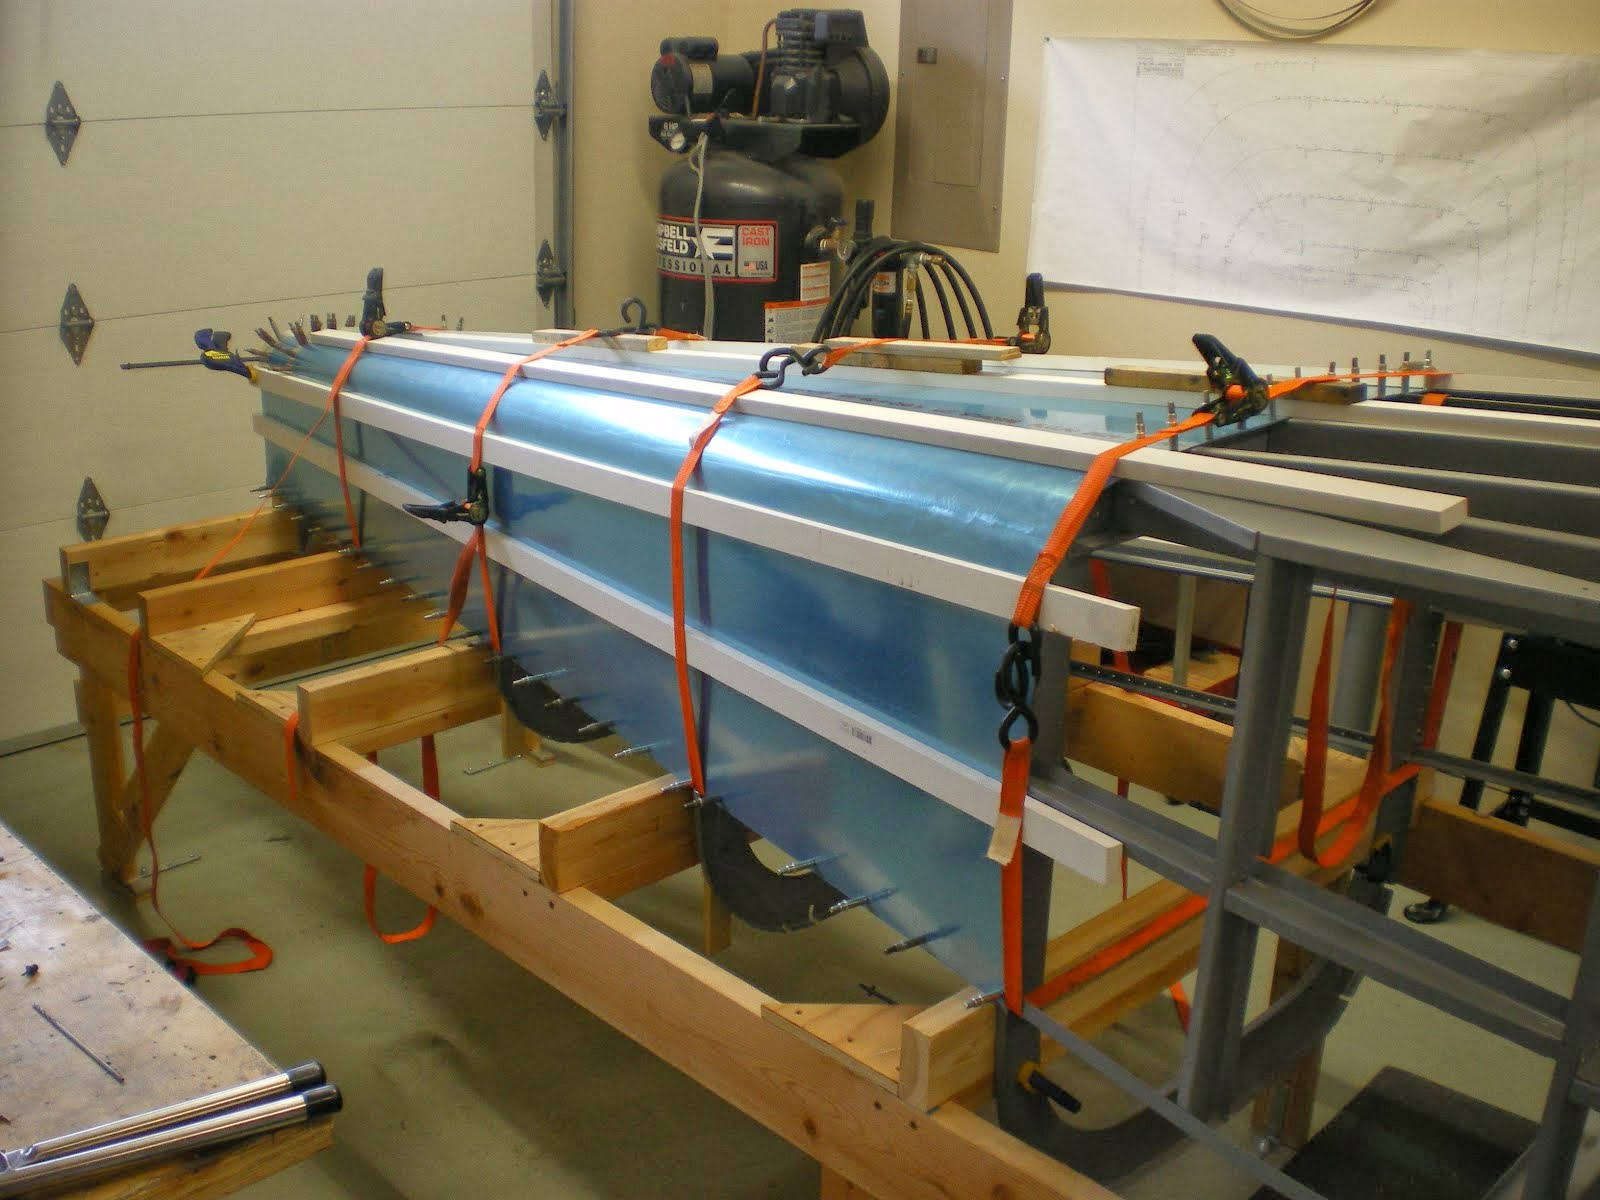
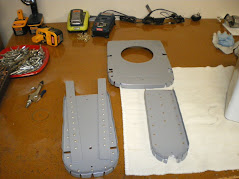
I have been getting all of the parts to the gas tank ready for riveting/sealing. I have etched all the parts and cleaned them. I then give them a scour with the Scotch brite pad for mechanical adhesion. I have also fabbed up the nose pieces that reinforce the nose of the two outside ribs. I will start riveting the tank together in the next couple of days. I do small batches of pro-seal and just rivet together a couple of pieces at a time. That way I am not wasting pro-seal and I don't get it everywhere. I will post some pics when I get going on it. I also have to make a jig to rivet this all together in as well. I will use some 3/4" plywood and get it all lined up so there is no twist in the tank when your rivet is together.
Wednesday, January 20, 2010
Top skin riveted on!
My friend Roger from work came over the other night and helped me backrivet the top wing skin on. I had everything ready to go for him. Roger is an electrician at work and most electricians are very detailed oriented. For never having bucked a rivet in his life, Roger was very good at being able to tell the difference of a good rivet or one that is slightly flawed. Out of several hundered rivets, we only had to change out a couple. I was glad that he was able to help me get over this impass and I will see if he can help me on the other backriveting projects.
The quality of the riveting was top notch and I am happy with the results. I dimpled my skin on my C-frame. The frame is braced underneath with a steel bar that goes all the way down to the floor. So when I impacted the dies, there is no give to the frame at all. The other thing I do when I get the skin clecoed in place is to slighty shave out the dimple with my deburring tool. This helps the rivet lay in there flat so the edges don't stick up. If I can't snag the edge of the rivet head with my fingernail, then it's in there good. This way when I go to paint the skins, the paint won't build up and ring around the head. You can see this on some airplanes that are painted in darker colors. The paint will bridge and ring so it does not go all the way down into the dimple. Since I will most likely paint my wings blue/white, I wanted them to be perfect. Now I set the bar so high, I will have to keep it there.
Thanks for the help Roger.
Sunday, January 17, 2010
Debur, Dimple and Prime.......
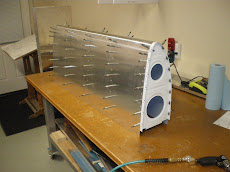
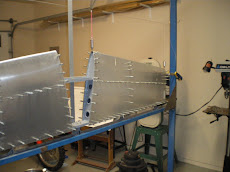
I have been working hard the last few days getting all of the skins deburred, dimpled and primed. ALL of the skins are done and I have started to rivet some skins on. I riveted the leading edge skin onto the ribs today and attached it to the wing. The .032 skins rivet a lot nicer than the old .025 skins. They come out smoother. I have clecoed the top wing skin in place and I am ready to rivet it on. I just need someone to help me out with that job. I back rivet the top skin and I have some very special backriveting bucking bars for the job. I had an old friend who used to be a machinist and he turned me out a bar out of some stainless round stock. Then I got the face polished so its very smooth. It leaves a very nicely bucked rivet head smooth with the surface of the skin. I just need a good rivet bucker to get me past this hurdle.
Tuesday, January 12, 2010
Tying up loose ends
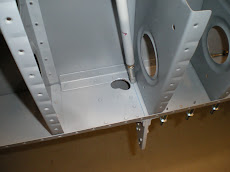
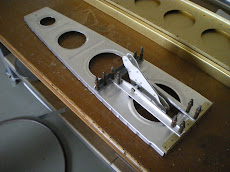
The last couple of days I have been working on little bits and pieces all over the wing. I have installed all of the nutplates and dimpled all of the back screw holes in the gas tank. Some of the screws you can't use a normal dimple die so you have to use a male die and a screw. I put grease on the screw and run it in so when it starts to dimple I don't mar the spar flange with the die. I also grease all of the threads so they don't gall. Cad plated screw will stick in the nutplates after some time and I have a heck of a time on other peoples airplanes getting screws out. I grease mine so I never encounter this issue in the future. I have also riveted the stub rib to the rear spar, made up all the spacers for the aileron bellcrank and installed in for now. I will take it out when I rivet the skins on so it's not in the way. I have also riveted in the bellcrank rib braces. Now I have to start acid etching the skins and prime them. Then I can start riveting the skins on. I will start with the leading edge skin. You rivet that together in a cradle then put it on the wing spar and complete the riveting and bolt the ribs into place. Then will come the top skin. Once that is completed I will work on the gas tank. That will take several weeks to get it all together and sealed.
Saturday, January 9, 2010
Lot's of nutplates
I have been working on installing the nutplates for the gas tank. There is about a hundered of them that hold that tank onto the wing. When I made the larger gas tank I used the small tank skin as template for the holes and then just shifted it to the outer edge and used the holes to complete the pattern for the screws. What I didn't factor in is that some of the nutplates landed right where a rib is. On the normal tank the screws all miss the ribs. It's not the end of the world but I have to mount the nutplates on the rib flanges. It will all work, but I should have payed a little more attention to the layout, factoring this in. The left wing will have that all worked out. I guess no matter how many airplanes you build, you're never done making mistakes.
Saturday, January 2, 2010
Fuel Tank drilled
I have completed the drilling of the fuel tank. I moved the tank over a 1/32 by sanding the edges with a level that had sandpaper on the side of it to take up the gap that was at the leading edge. I had not drilled the screw holes to #19 yet just for that reason. I always leave the holes undersized until I am satisfied with the fitment against the other skin joints. I then drilled the holes to #19. I removed the tank and then pulled it all apart, marking the rib locations on the skin. I then fabbed up the bottom stiffeners for each bay. I drilled the stiffeners to the skin and finally completing the drilling portion. Next is to drill all of the nutplates for the tank attachment. I will then begin the long process of pulling everything apart to debur, dimple and prime for riveting.
Subscribe to:
Comments (Atom)


