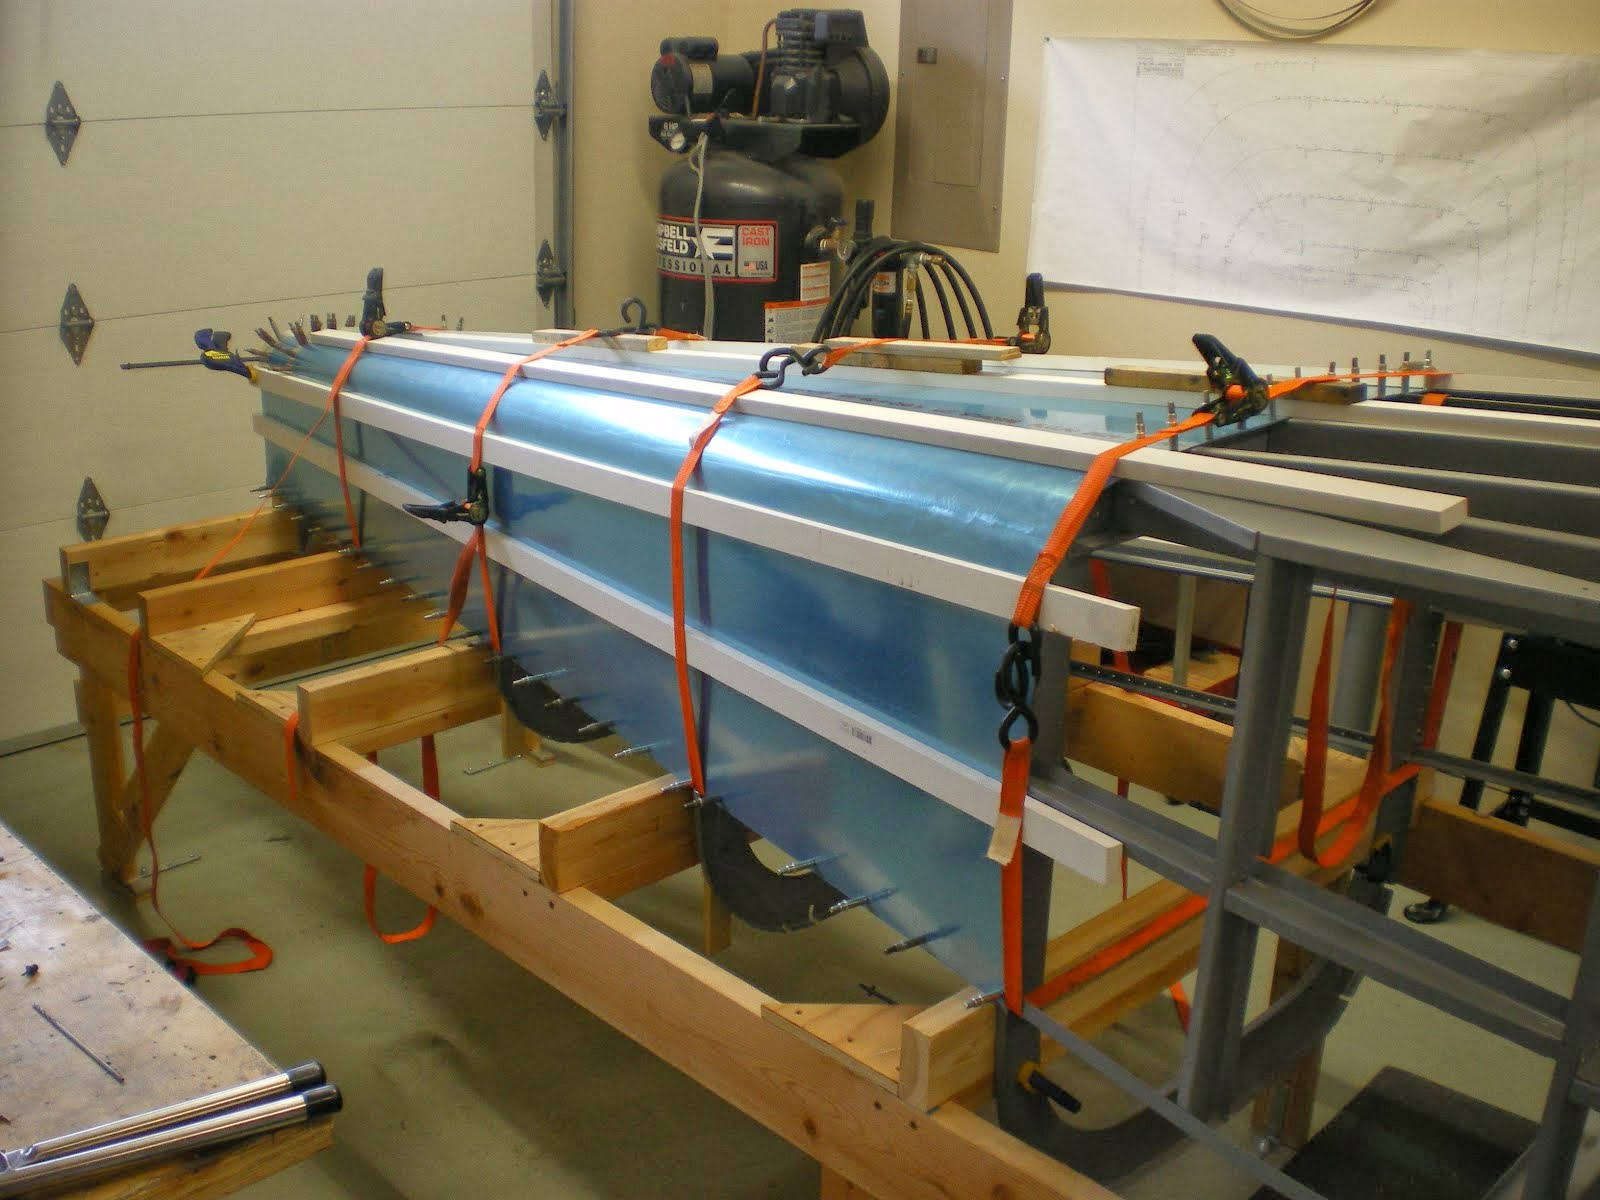
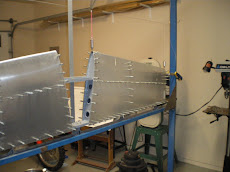
I have been working on the front left side skin. F-670 is a piece of .032 and is about 28 inches high and 82 inches long. I had the skin all back drilled and was working on the fit near the back where it has to curve around the bottom of the tail cone. I trimmed off the excess on the side but by the time I had rolled the skin over to the bottom, it was too short by about 3/4"! Whoops!.
I had to get another skin ($120) and use the first skin as a drill template. The second skin turned out a lot nicer than the first and I got a real nice fit around the bottom of the fuselage where the tail cone meets up the fuselage sides. You would think after all these airplanes the mistakes would come to zero but that is not the case. Anytime you have to make something, there is potential for errors. I will use the other skin for smaller pieces in the baffling area and brackets.....
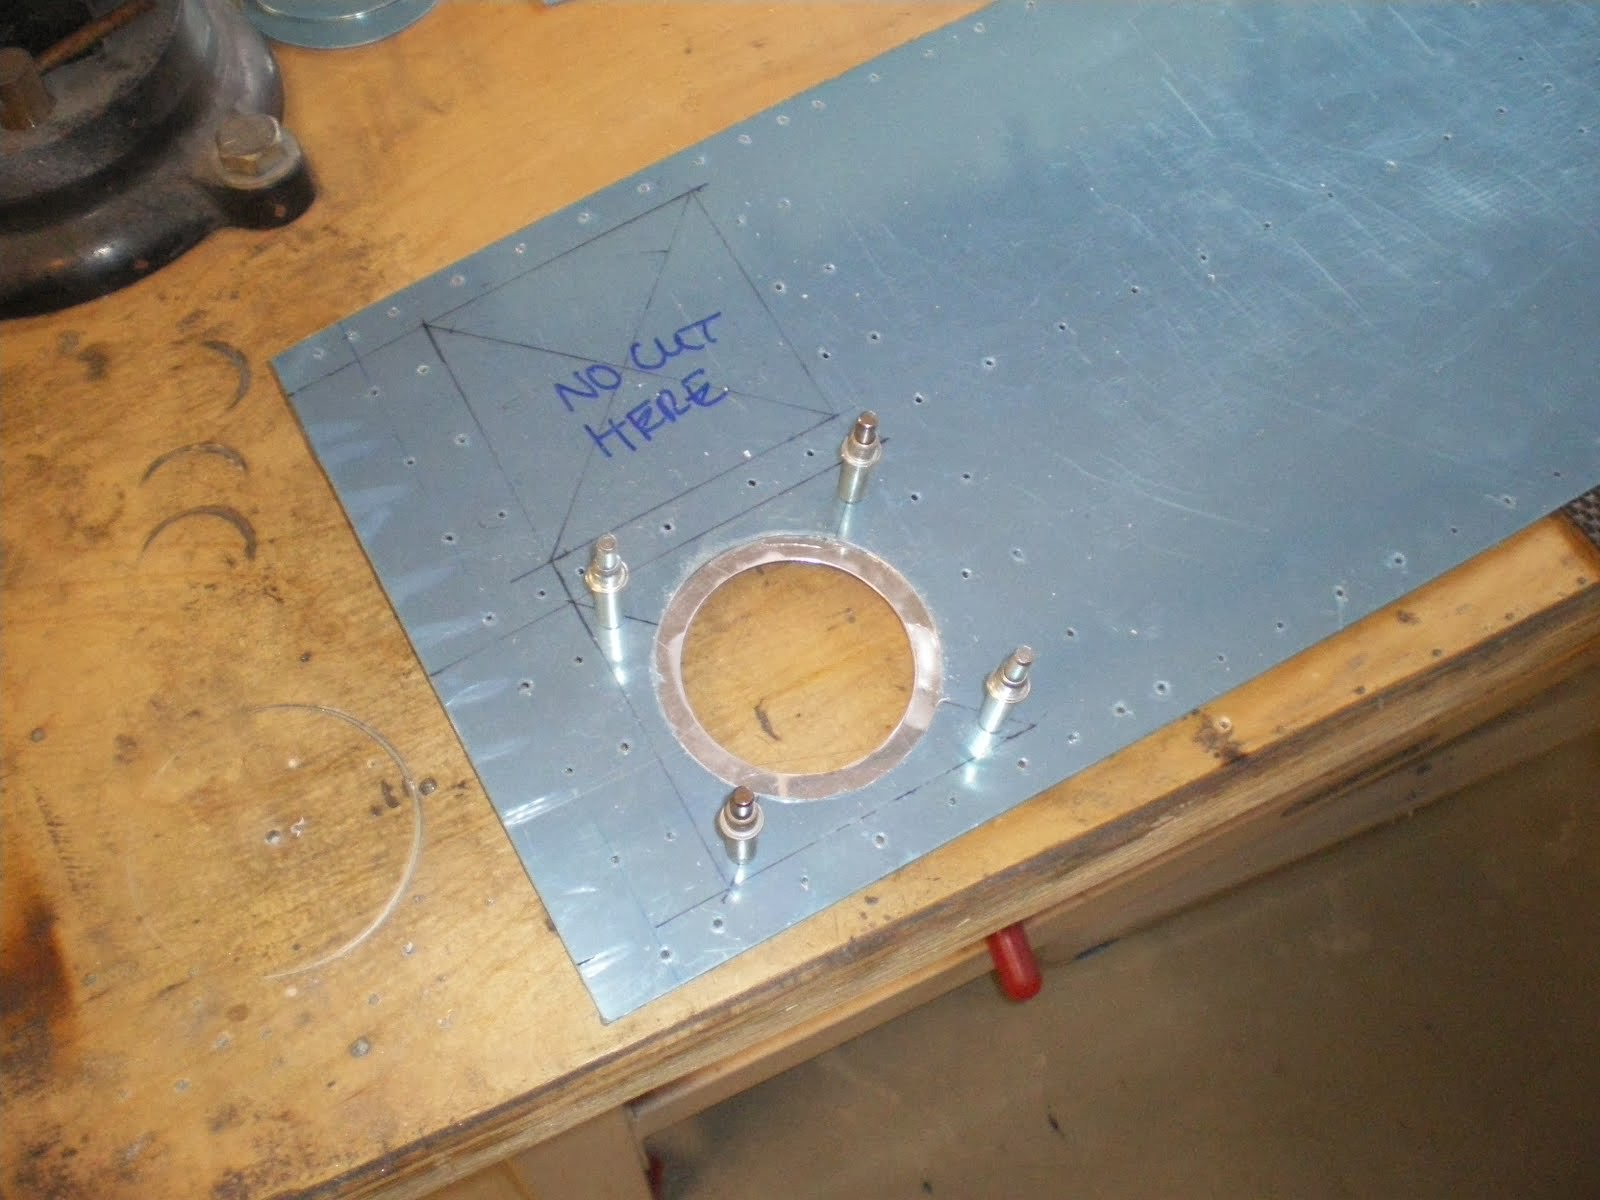
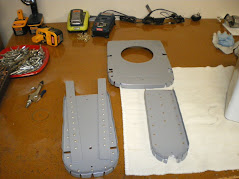
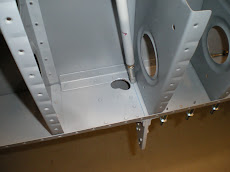
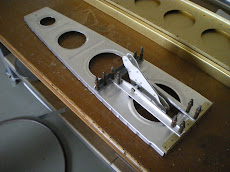
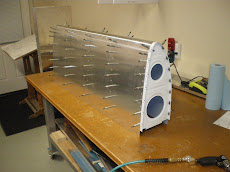
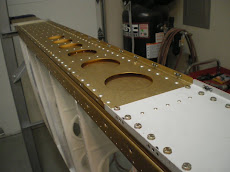
After the side skin was all drilled on and cut, I have been working on the access plate for the elevator horn in the very back of the tail. I have one on the left side and I put another one on the right. This will make it easier to get the elevator horn/pushrod connection. I only had one on the last RV-6 and it was a real PITA anytime you had to work in there. I ended up making all kinds of special little tools to get in there......not this time.
I have the right side skin to do next and will take my time fitting this thing up. I don't want to be buying another one. After that is all drilled then I can take it all apart and start the long process of getting all the holes deburred, dimpled or countersunk. Then I can prime the skins and start riveting!!!!
Saturday, December 28, 2013
Friday, December 13, 2013
Skinning the forward fuselage
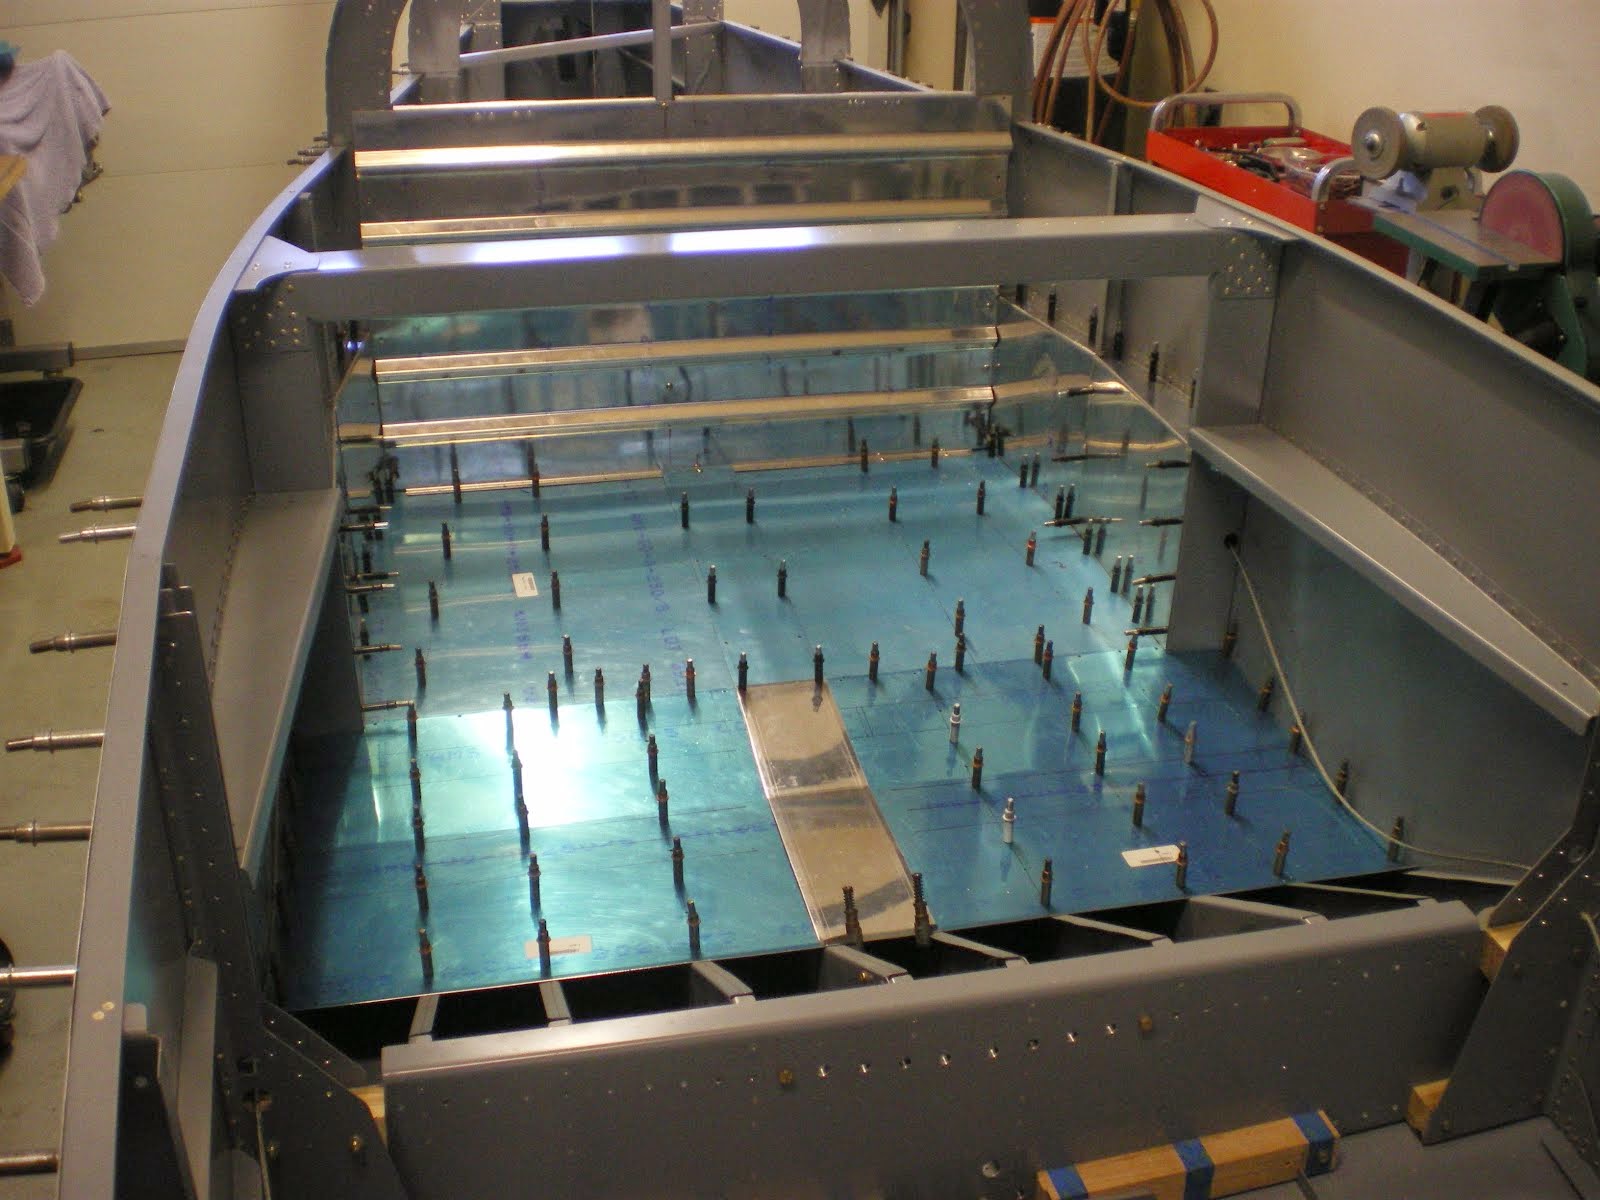
Been quite a while since I last posted. I have been working on the airplane. I have been skinning the forward fuselage area and bottom skin under the seat ribs. The forward skin (floorboard) under the rudder pedals is all skinned and all the brackets have been fabbed up. I will wait until the wings are inserted into the center section to final drill the holes in the brackets that brace the floor board stiffeners. Then I will know everything is going to fit on final assembly.
I have been working on the .032 side skins. They take a while to fit since you have to cut out and curl that back part to mate up to the curve on the bottom of the tailcone. This is a slow process to get it to look good. Once the left side done, it's move over to the right and repeat. Then I will be done with drilling and skinning.
Now I can start the long process of deburring, dimpling and priming all the skins. Then I can start final riveting!!!
Sunday, November 10, 2013
Drilling, cutting and laying out fuselage skins
It seems all I have been doing for the past week is drilling skins. I have gotten the tail skins all drilled, cut and clecoed back onto the tail cone. I can already see that there is going to be a lot of shimming to make it look good.
Yesterday and today I have started on the bottom skins. I had a good hunk of .032 left over from the 4X12 sheet. I am going to make the bottom skins out of .032 for a little better finish and some strength. I had to do quite a bit of measuring to make sure I would have enough. I needed 50.25" long and 48" wide. I had to measure the wing to make sure that my overhang on the bottom skin would cover the inner rib on the wing that has all the nut plates in it. This makes the bottom fairing for the wing to fuse intersection. Just had enough by about 1/4". Whew!!! .032 is not cheap these days.....
I marked out my skins and cut them to their overall size. Now I am in the process of cutting each skin to fit the fuselage contours and overlaps with the tail skins. Each skin from the front to the back, overlaps the other and you need to make sure there is enough to get the second row of rivets in the edge of the overlapping skin.
I also marked out all my center lines and I have to start the layout for the rivets. Then it's more drilling. After that I can finally back drill the bottom skins and then move onto the front bottom skin. It's a bent piece of .040 that have some angle riveted the bottom to stiffen it all up. These connect to the spar and front firewall mounts. Lots of small pieces that need to be fabbed up. I'm hoping that in a couple of weeks I can have all the skins at least drilled. Then its off to the debur, dimple and prime races.......
Sunday, October 27, 2013
Drilling skins
I have been drilling tailcone skins all day long. I still have one more side skin to do. I forgot how much work goes into drilling all the skins on. Lots of joints to get right and line up. However, when it's done correct, it will look good on the flight line.
Take a look at the pics to see how I drill the skins in place. I will drill one side at a time so I can access the back drilling from the outside. Takes a little longer but I won't have to try and squeeze into the small tailcone either.
Take a look at the pics to see how I drill the skins in place. I will drill one side at a time so I can access the back drilling from the outside. Takes a little longer but I won't have to try and squeeze into the small tailcone either.
Monday, October 21, 2013
Hit a speed bump while trying to drill the tail skins. I was all set to go to backdrill the tail skins when I found out that the skin overlap on the my lower longeron/lower skin/ side skin was not going to be enough. The lower longers create a "V" from the baggage bulkhead down to the F-610 bulkhead. I did find some dimension for the longeron placement near the baggage but nothing down by the F-610. I even had a set of RV-7 drawings and could not glean anything off those prints. So I used the skin and some derived dimensions from other parts located there and came up with about 5" or each longeron was placed 2.5" from the centerline. I had to cut a new .032 bottom skin since the original is .025 and not wide enough at the top. I wanted .032 on the bottom skins to help with old canning, smoother finish and strength. So I cut the skin and placed it on the longeron. That was good. Next comes the side skins and there is where I found out that my overlap on the bottom was only about 3/8". Not quite enough to be legal. SO I had to move the longerons out another 3/8" on each side which meant more cutting and filing on the bulkheads. I don't know why Vans even puts those notches in the bulkheads because they are way off. I then had to make some small tabs to rivet to the bulkhead flanges over to the longerons because there is nothing left to attach them to they are moved over so far. BASH TO FIT, PAINT TO MATCH......I then cut another bottom skin and I thin I will have just enough .032 left over to do the bottom seat skins. 4X12 .032 sheet is about 300 bucks now! I need to get this correct. I will move the other longeron tonight and then start back drilling skins.
Progress is slow sometimes, something I have learned as I get older. Be patient and it will come together......
Progress is slow sometimes, something I have learned as I get older. Be patient and it will come together......
Sunday, October 13, 2013
Working on the tailcone
Now that fall is here and winter is not too far off, I have resumed work on the tailcone. I have to drill all of the holes in the longerons and bulkheads. Then I will put the skins on and strap everything down and backdrill the skins. This the best way to get the skins drilled since you know your holes are all in the center of the longerons and bulkhead flanges. Blind drilling is not easy and you can get off center.
After that, then it's on to the bottom skins. All of the bottom skins will be .032 for some added strength and a better finish.
After that, then it's on to the bottom skins. All of the bottom skins will be .032 for some added strength and a better finish.
Thursday, May 9, 2013
Baggage Compartment and tail cone
I have been working on installing all of the baggage ribs and false bulkheads. Getting all of the parts to line up and intersect on the side wall is a PITA. I had to order and extra bulkhead because I cut too much out of the first one. You have to intersect the side bulkhead and side rib. Not easy to do and it's kind of a bash to fit paint to match process.
All of that is done now and I have pulled everything apart and deburred all of the holes. Then I primed everything and riveted it all back together. This completes the cabin structure and now it's time to start in on the tail.
Since the baggage bulkhead is now in place, I can work on the tail. You need two points of the cone, the beginning and the end. The baggage bulkhead is the start and the tail bulkhead F-612 is the end of the cone. I mounted F-612 and got it on centerline and plumb. Then I run two stringlines on each side of the bulkhead and mount F-611, which is the next bulkhead forward. I use the stringlines to help me line up F-611 with the angle of the cone. I get this one on center and plumb as well.
F-611 and F-612 have a tail wheel socket that is mounted between them since I am building a RV-6.
The mount has two parallel flanges that get holes drilled in them to mount them to each bulkhead. I have seen these flanges not get welded up correctly during fabrication and this makes your two bulkheads skewed. Luckily, mine is ok and after I drilled it all and bolted it in place, my two bulkheads are pretty close to parallel from one another. You also have to stringline the tail wheel spring so it is in the centerline of the airplane. You don't want this thing sticking off to one side as it will affect how the airplane taxies on the ground. It will also stick out like a sore thumb if you are looking at the tail of the airplane.
Now that the tail wheel mount is in place, I am working on getting the other bulkheads in the tail cone installed. I have to stringline the main longeron between the F-611 and F-607. I will get these two longerons perfectly straight and level. Then I can make the bulkheads fit each station by shimming them forward if needed. You don't want to try and just install the bulkhead at each station according to plans. If you do this, you will have waves down the side of the fuselage and it will look bad. It sounds bad not to follow the plans but you are hand building a airplane anyways so you do what you have to do to make things work out and fit right.
Friday, March 8, 2013
Seat ribs and baggage ribs
I have been working on the seat and baggage ribs that past month. Slowly, I am getting these installed. I have one side of the baggage area left to fab up, then I can paint the baggage ribs and permantely rivet them in place. I have also fabbed up the baggage side bulkheads. There is a intersection of a bulkhead and rib in the baggage area. It's a PITA to get this cut just right so you don't have a big ugly eye sore sticking out of your baggage area for all to see.
I also was delayed in the seat rib area when I found out that I did not get the seat ribs F-616 seat ribs with my kit. I got two sets of F-617, one of being labeled F-616 L/R. SO they got deburred and primed long ago, waiting for the day to put into place. That day, I got to the location and these ribs would not fit in place. So I started measuring the ribs and found out that they were F-617 ribs, that are slightly larger and fit in the next bay over towards the center of the fuselage. A call to Vans and they sent me a new set (free of charge) the next day. This is why I do business with Van's. That is why they are the leading kit producer of all time. HAPPY CUSTOMERS buy airplane kits. Unhapppy custormers take their business (money) elsewhere. Maybe some of our major companies in America selling products to us should review this lesson.
Anyways, I got the seat ribs all in place and I will have the baggage area wrapped up in several days. Then I can get into the tail cone.
I did spend a lot of time getting the F-607 bulkhead in place. I could not get the bulkhead to center on my centerline with the measurements from the plans. I had my longerons centered and when I put the bulkhead in place, my centerline on the bulkhead was off 1/8 of an inch. I had to back up and start looking at the bulkhead. I found the tooling holes on the bottom of the bulkead where not what the plans said for distance between them. I measured off of one side during constuction and made my centerline, instead of measuring the centers between the two holes and then making a center line. I re centered my mark and now I am within a stringline width (1/16th") from the centerline. I can live with that. If you can see that on the airplane at 200 mph at 8000ft then you are a better man than me.....
Tuesday, January 22, 2013
Installing F-606 rear spar bulkhead
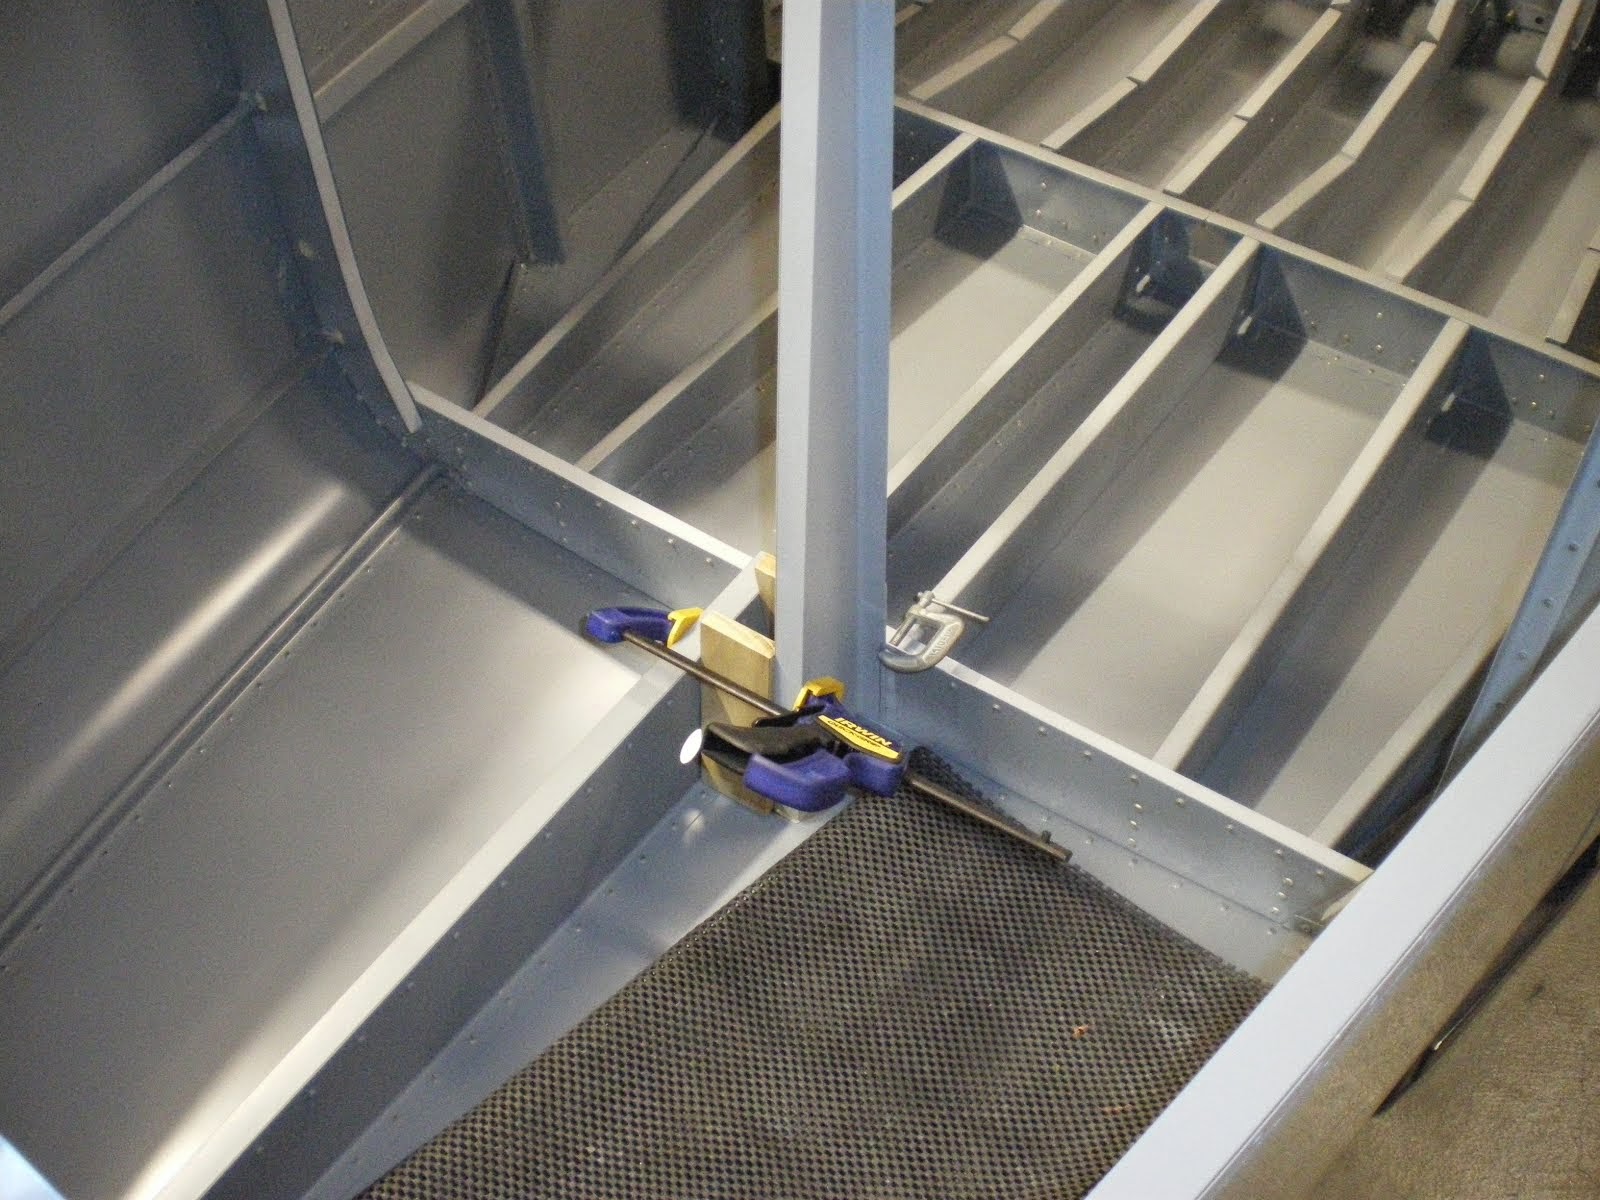
I have been working on the rear spar bulkhead and getting the side seat rib installed. I have measured this distance several hundred times to make sure that it is the same distance as the wing spars. Getting it correct means that when it comes time to install a wing, they will slide right in place with no interference with the rear spar bulkhead.
I have also installed the arm rests as well. I install angles at both ends since your will be putting your weight on these, it pays to have both ends secured so the front doesn't flex. Next will come the installation of all the seat ribs. Once this is done, I can pull all the parts apart and debur, dimple, countersink and prime, then rivet it all back together and move on down the line.
I have also installed the arm rests as well. I install angles at both ends since your will be putting your weight on these, it pays to have both ends secured so the front doesn't flex. Next will come the installation of all the seat ribs. Once this is done, I can pull all the parts apart and debur, dimple, countersink and prime, then rivet it all back together and move on down the line.
Saturday, January 12, 2013
Constructing the forward fuselage
I have been at it for several days, working on the forward section of the fuselage. I have set the angle of incidence, which from all my smart levels, tell me it's at 1 degree. I have measured that distance about a 100 times to make sure it's correct and everything is in it's place. There is a ton of work in the fuselage and being a side by side, there is even more. The RV-6 has some many little brackets, gussets and angle pieces to tie everything together. Once it in place, it's very strong, however, it is a lot of parts to make and fit.
I have one side of the forward fuselage together now and will get the rest fabbed up today or tomorrow. Then it's off to deburring and priming land. After that I can rivet it all back together-for good.
The next big obstacle is to get the rear spar bulkhead centered, leveled and to height in the jig. Then I have to get the correct distancce between the rear spar and main spar. If you don't, and you go to put on your wings, your rear spar attach won't line up with the wing rear spar. I have seen people get big hammers out and try to bend the rear spar over to line up. We won't be doing that here. I will make a small jig out of some angle stock that will be the exact distance between the two spars. Then I will attach this jig to the false spar I have fabricated (see photos) and to the rear spar attach point. Then I can drill the two side seat ribs in place and that will lock it all together.
Saturday, January 5, 2013
Priming longeron parts
I've spent the better part of one day priming the longerons. No easy task since these things are over 14 feet long and have a curve in them. I cleaned them with acid etch and then alodined them too.
I wanted these parts primed with epoxy primer so it took a little longer to mix up the paint and spray them out. I also primed several of the gussets that go up against the firewall mounts.
Now I can start riveting some pieces together and set the longerons in the jig for good. I will then start fabricating all of the pieces that go in the forward fuselage and set the angle of incidence for the wing.
Subscribe to:
Comments (Atom)


