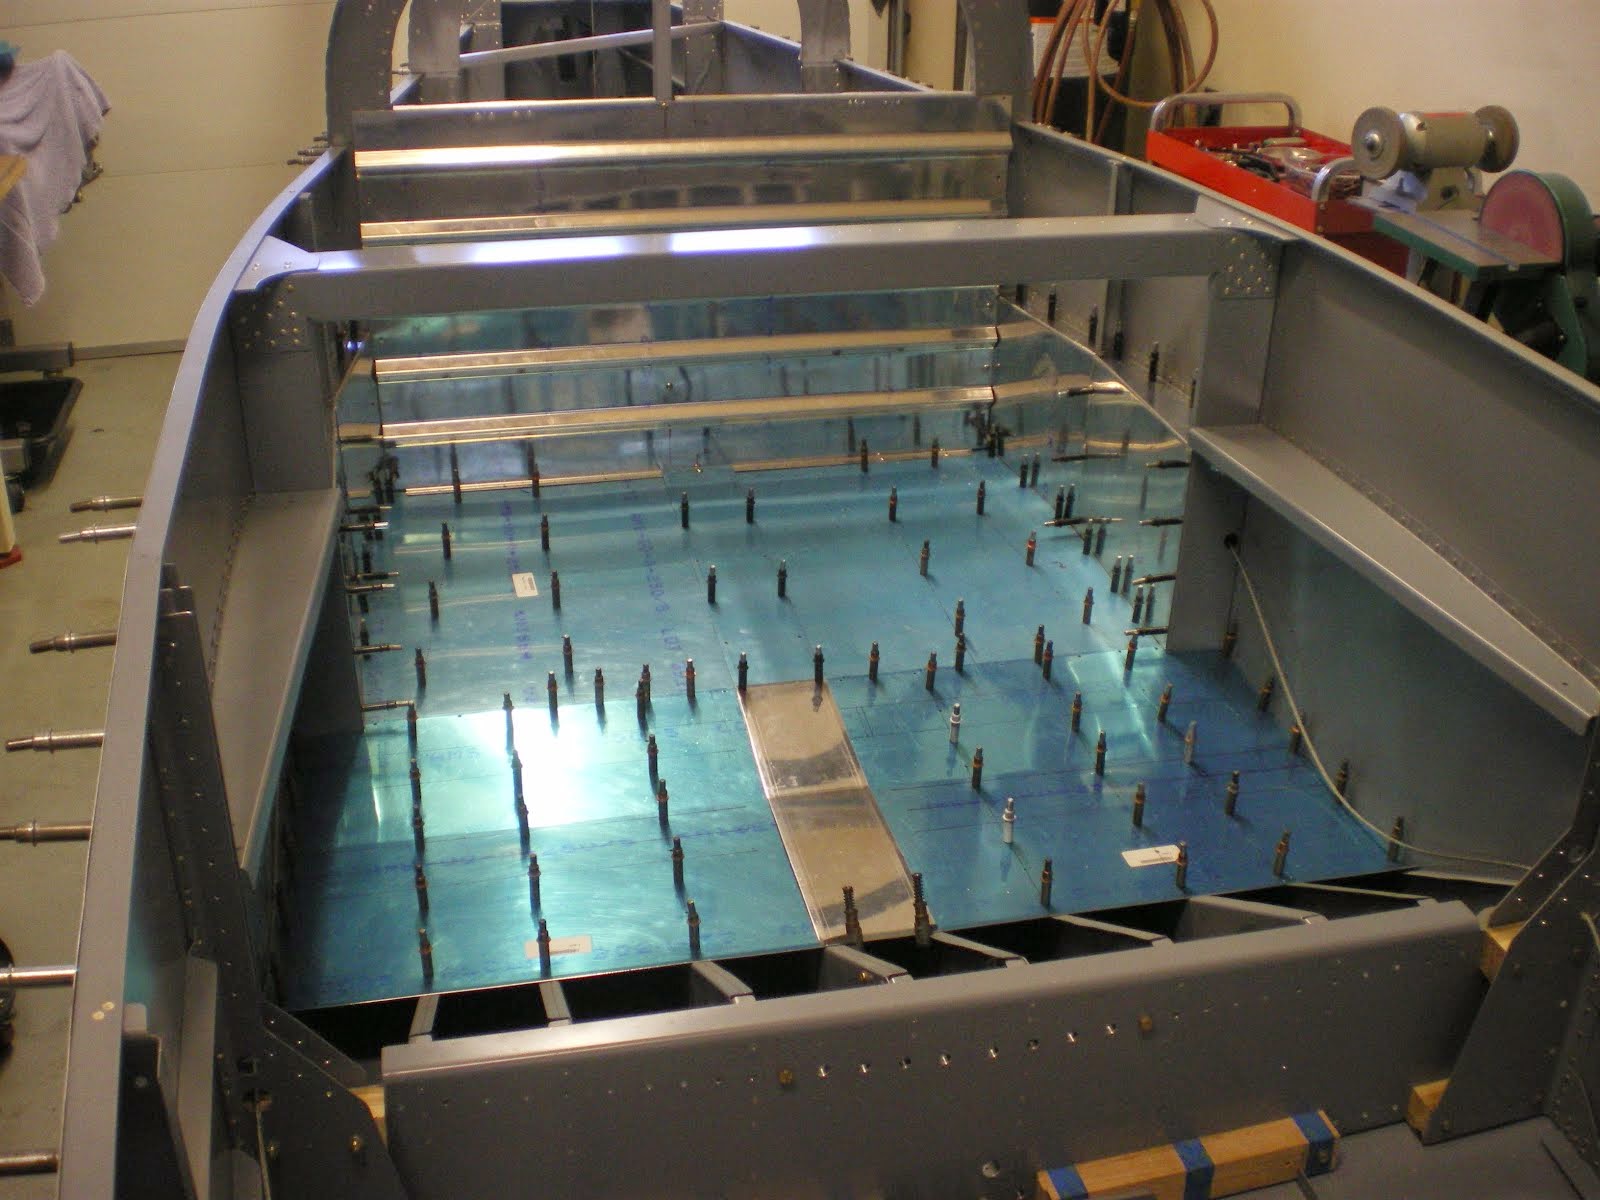
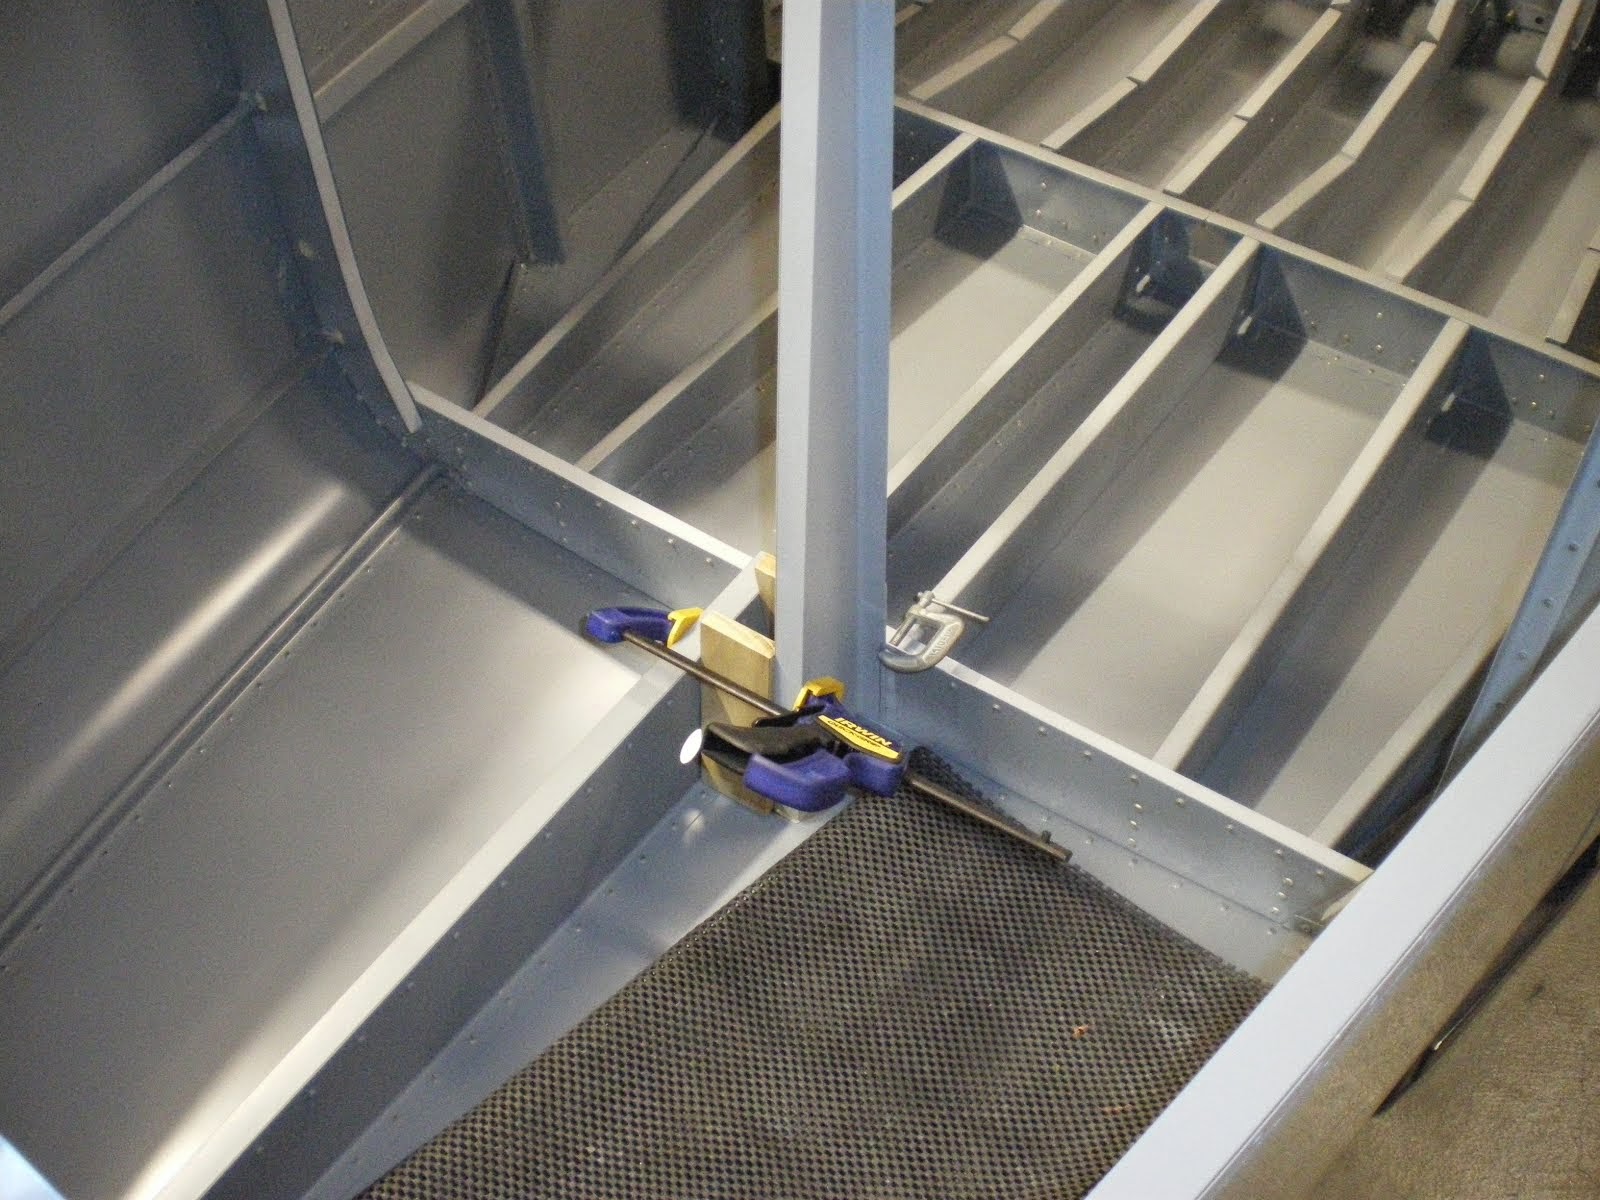
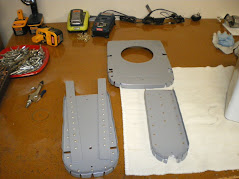
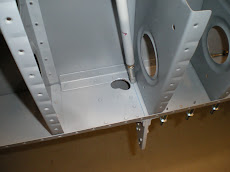
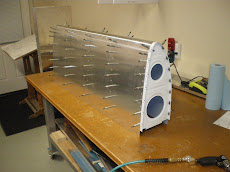
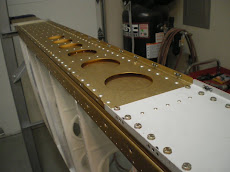
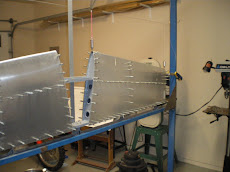
I have been working on the rear spar bulkhead and getting the side seat rib installed. I have measured this distance several hundred times to make sure that it is the same distance as the wing spars. Getting it correct means that when it comes time to install a wing, they will slide right in place with no interference with the rear spar bulkhead.
I have also installed the arm rests as well. I install angles at both ends since your will be putting your weight on these, it pays to have both ends secured so the front doesn't flex. Next will come the installation of all the seat ribs. Once this is done, I can pull all the parts apart and debur, dimple, countersink and prime, then rivet it all back together and move on down the line.
Tuesday, January 22, 2013
Saturday, January 12, 2013
Constructing the forward fuselage
I have been at it for several days, working on the forward section of the fuselage. I have set the angle of incidence, which from all my smart levels, tell me it's at 1 degree. I have measured that distance about a 100 times to make sure it's correct and everything is in it's place. There is a ton of work in the fuselage and being a side by side, there is even more. The RV-6 has some many little brackets, gussets and angle pieces to tie everything together. Once it in place, it's very strong, however, it is a lot of parts to make and fit.
I have one side of the forward fuselage together now and will get the rest fabbed up today or tomorrow. Then it's off to deburring and priming land. After that I can rivet it all back together-for good.
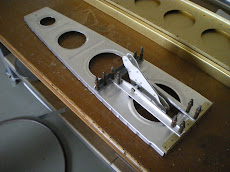
The next big obstacle is to get the rear spar bulkhead centered, leveled and to height in the jig. Then I have to get the correct distancce between the rear spar and main spar. If you don't, and you go to put on your wings, your rear spar attach won't line up with the wing rear spar. I have seen people get big hammers out and try to bend the rear spar over to line up. We won't be doing that here. I will make a small jig out of some angle stock that will be the exact distance between the two spars. Then I will attach this jig to the false spar I have fabricated (see photos) and to the rear spar attach point. Then I can drill the two side seat ribs in place and that will lock it all together.
Saturday, January 5, 2013
Priming longeron parts
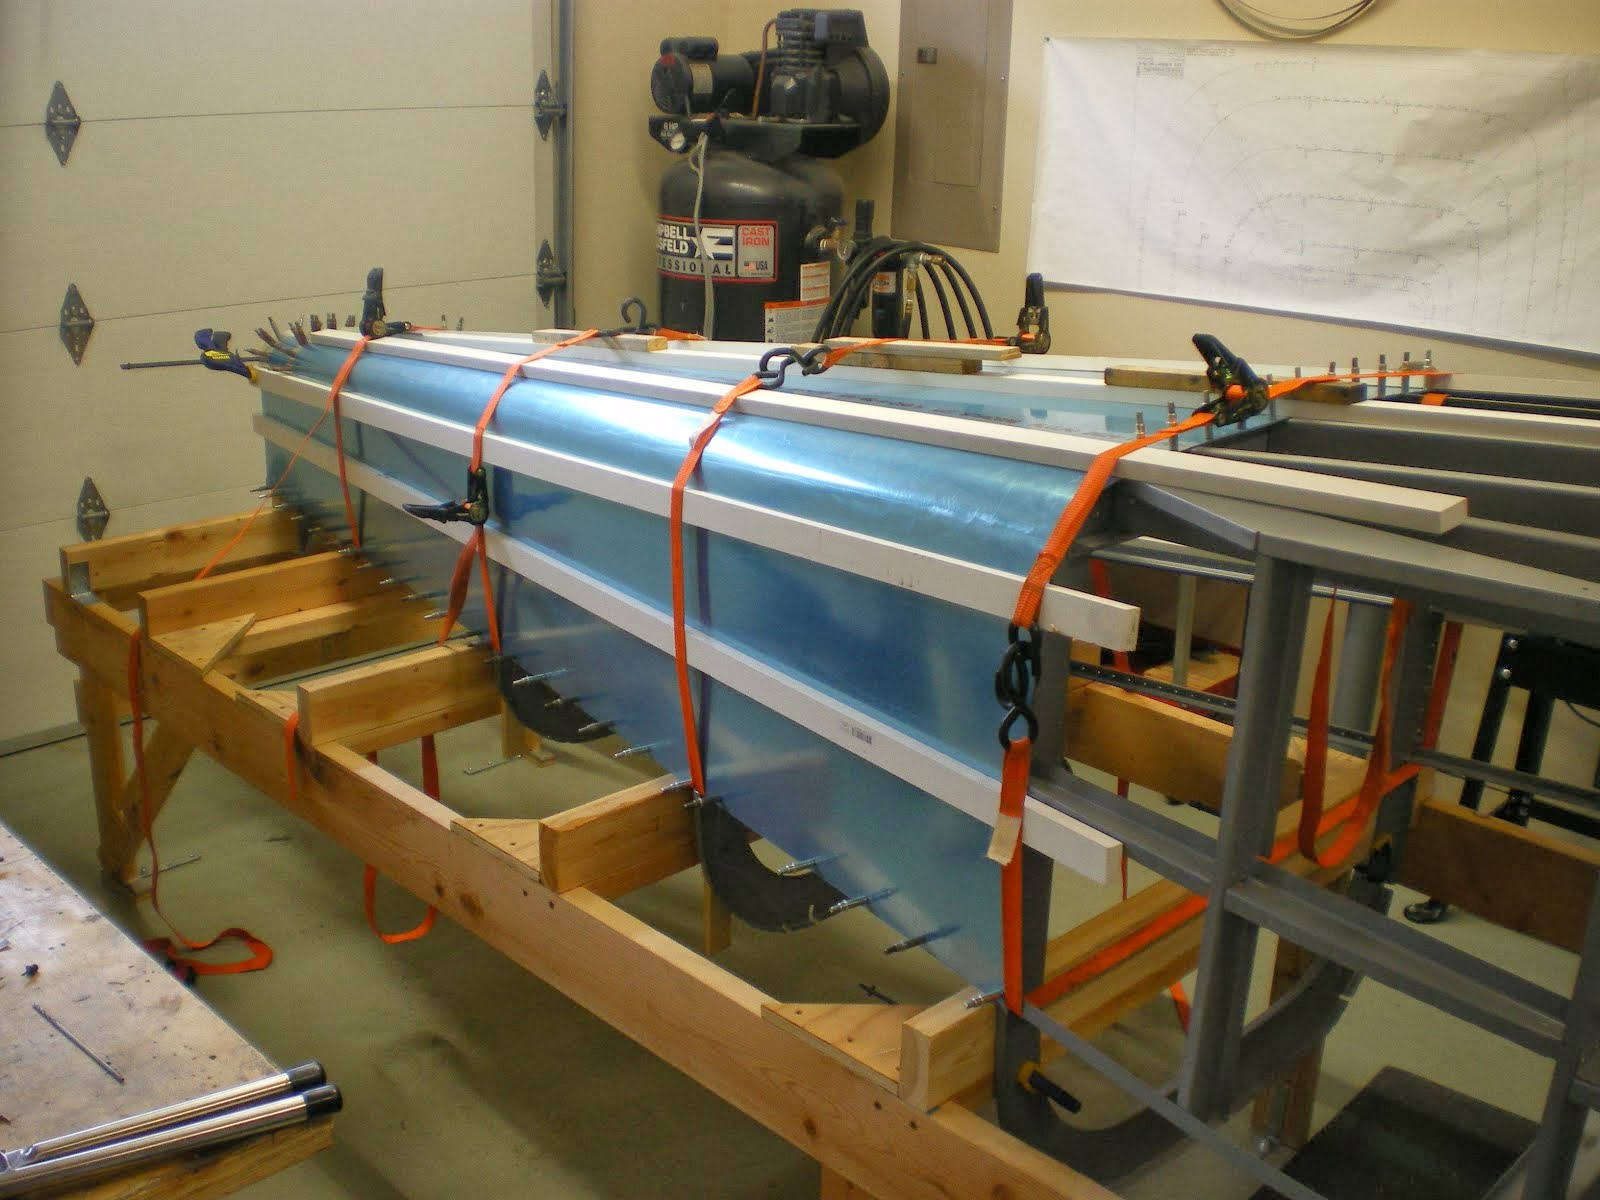
I've spent the better part of one day priming the longerons. No easy task since these things are over 14 feet long and have a curve in them. I cleaned them with acid etch and then alodined them too.
I wanted these parts primed with epoxy primer so it took a little longer to mix up the paint and spray them out. I also primed several of the gussets that go up against the firewall mounts.
Now I can start riveting some pieces together and set the longerons in the jig for good. I will then start fabricating all of the pieces that go in the forward fuselage and set the angle of incidence for the wing.
Subscribe to:
Posts (Atom)


