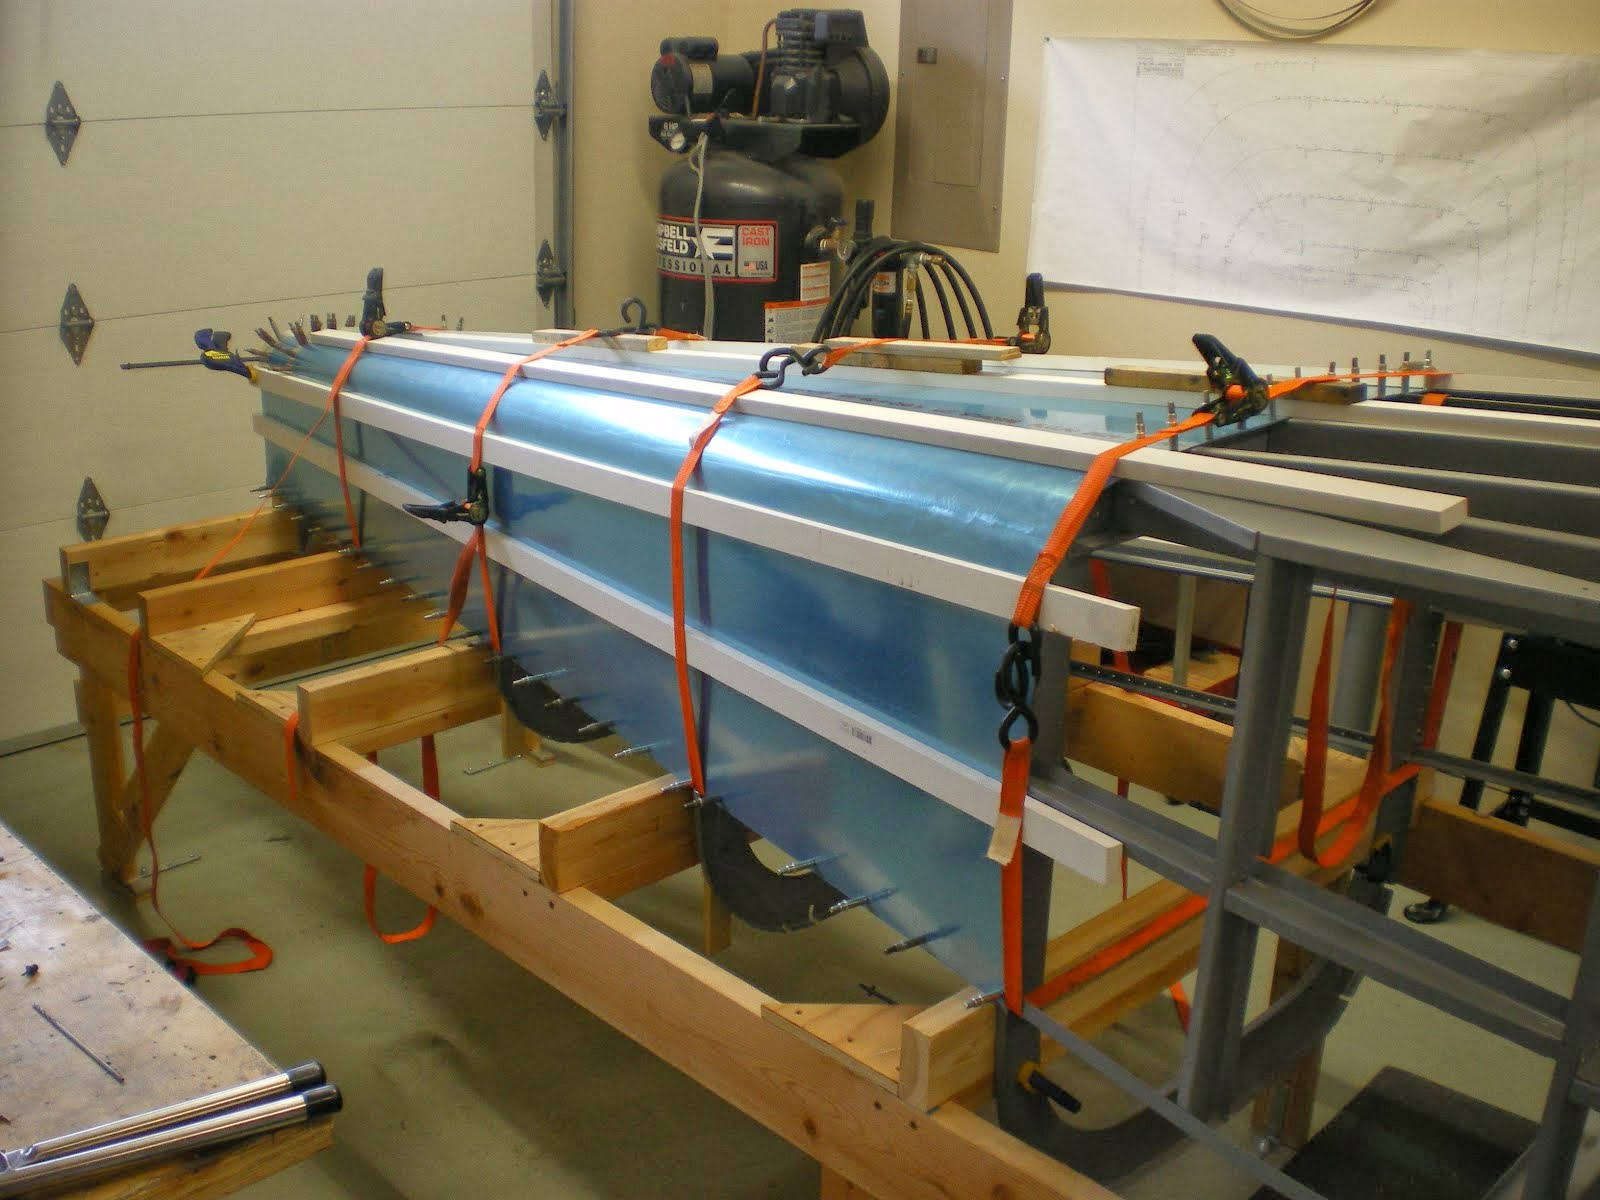
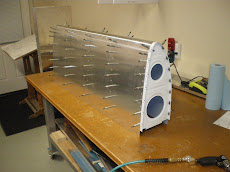
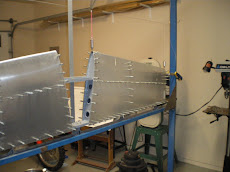
I have been working on the front left side skin. F-670 is a piece of .032 and is about 28 inches high and 82 inches long. I had the skin all back drilled and was working on the fit near the back where it has to curve around the bottom of the tail cone. I trimmed off the excess on the side but by the time I had rolled the skin over to the bottom, it was too short by about 3/4"! Whoops!.
I had to get another skin ($120) and use the first skin as a drill template. The second skin turned out a lot nicer than the first and I got a real nice fit around the bottom of the fuselage where the tail cone meets up the fuselage sides. You would think after all these airplanes the mistakes would come to zero but that is not the case. Anytime you have to make something, there is potential for errors. I will use the other skin for smaller pieces in the baffling area and brackets.....
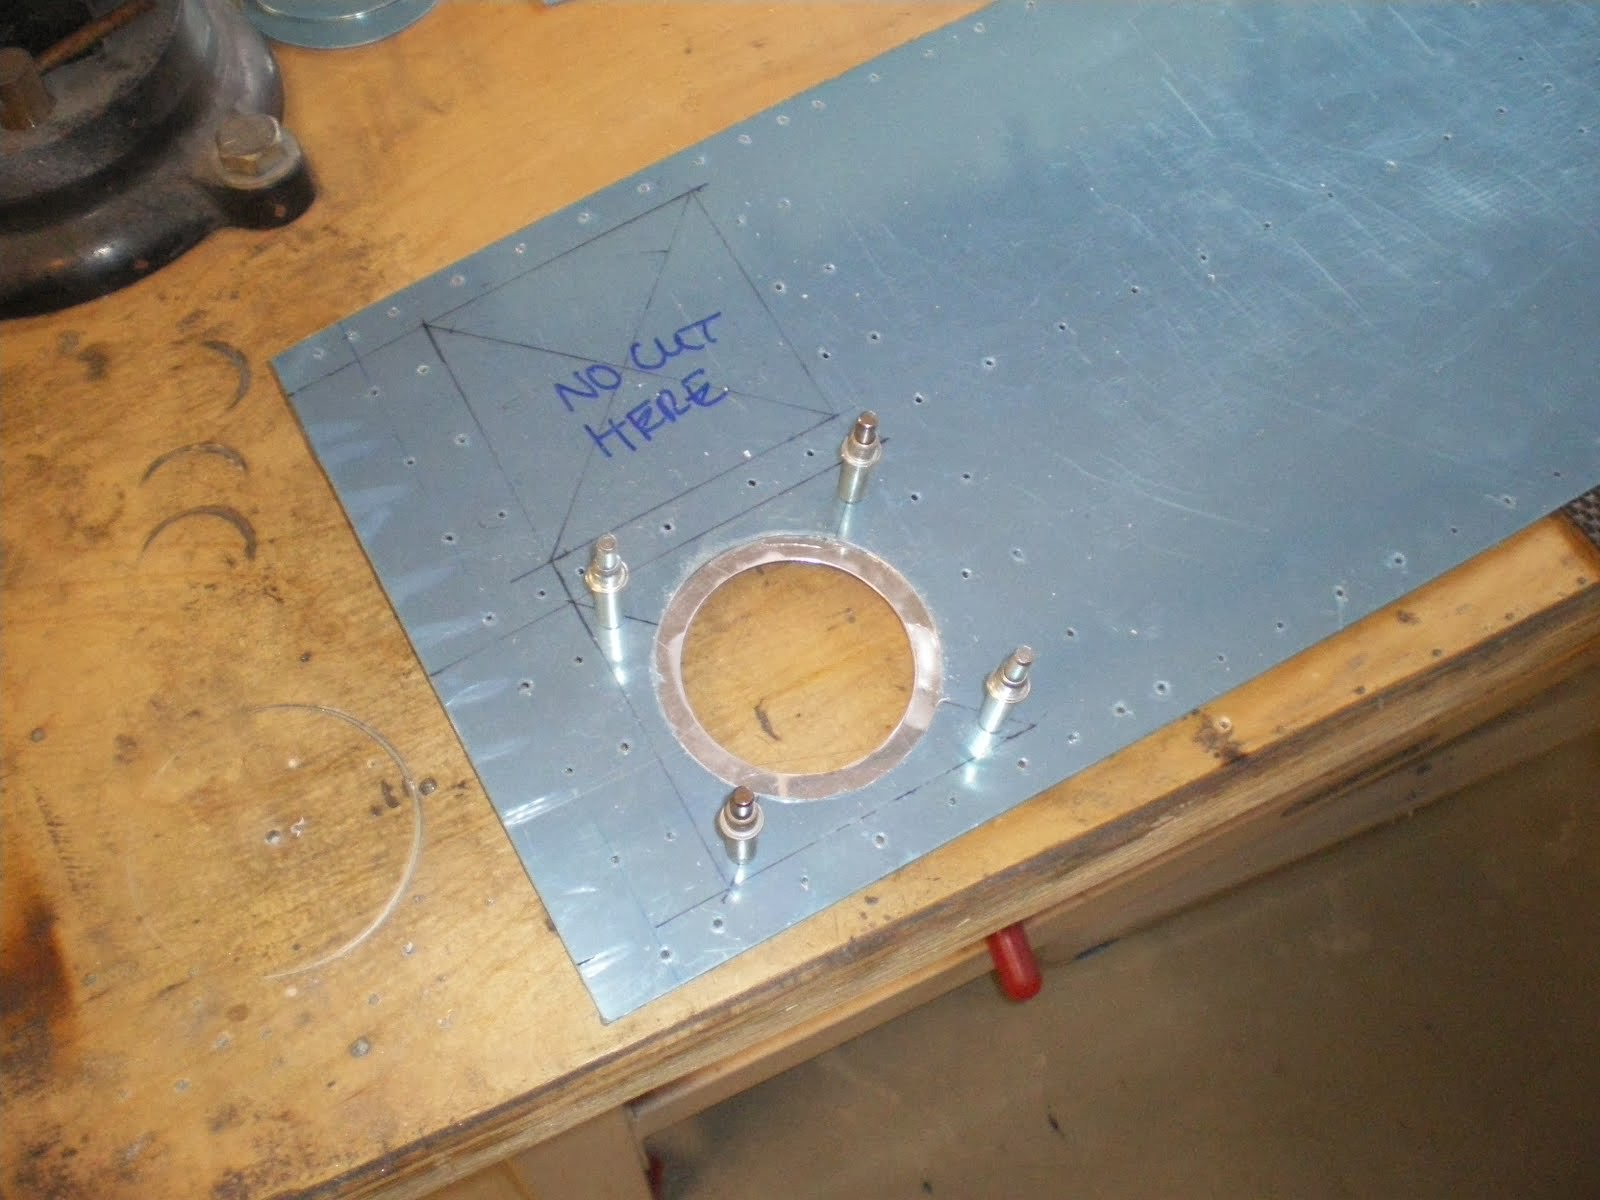
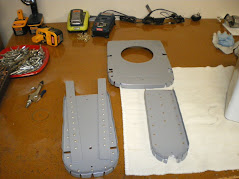
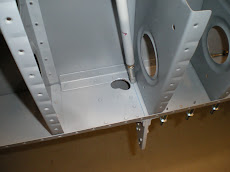
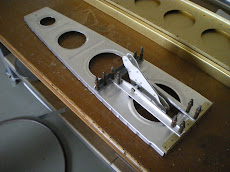
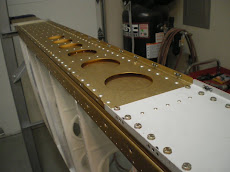
After the side skin was all drilled on and cut, I have been working on the access plate for the elevator horn in the very back of the tail. I have one on the left side and I put another one on the right. This will make it easier to get the elevator horn/pushrod connection. I only had one on the last RV-6 and it was a real PITA anytime you had to work in there. I ended up making all kinds of special little tools to get in there......not this time.
I have the right side skin to do next and will take my time fitting this thing up. I don't want to be buying another one. After that is all drilled then I can take it all apart and start the long process of getting all the holes deburred, dimpled or countersunk. Then I can prime the skins and start riveting!!!!
Saturday, December 28, 2013
Friday, December 13, 2013
Skinning the forward fuselage
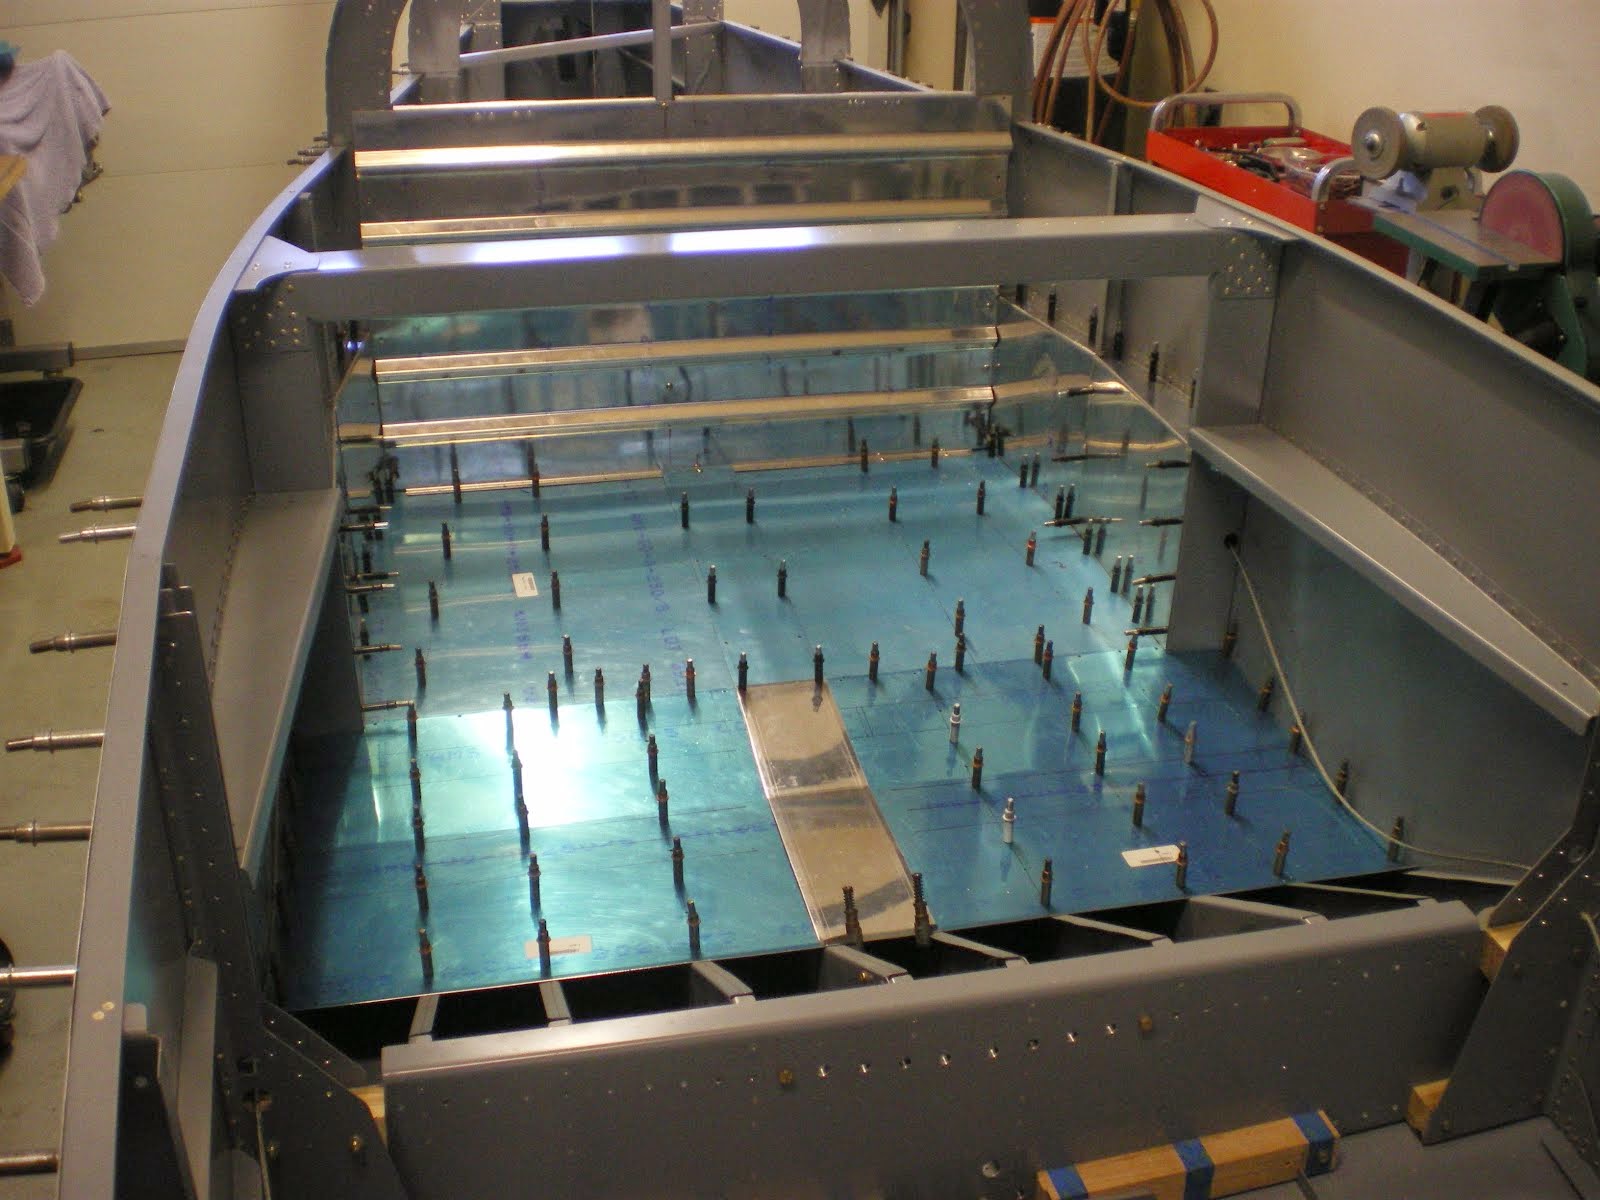
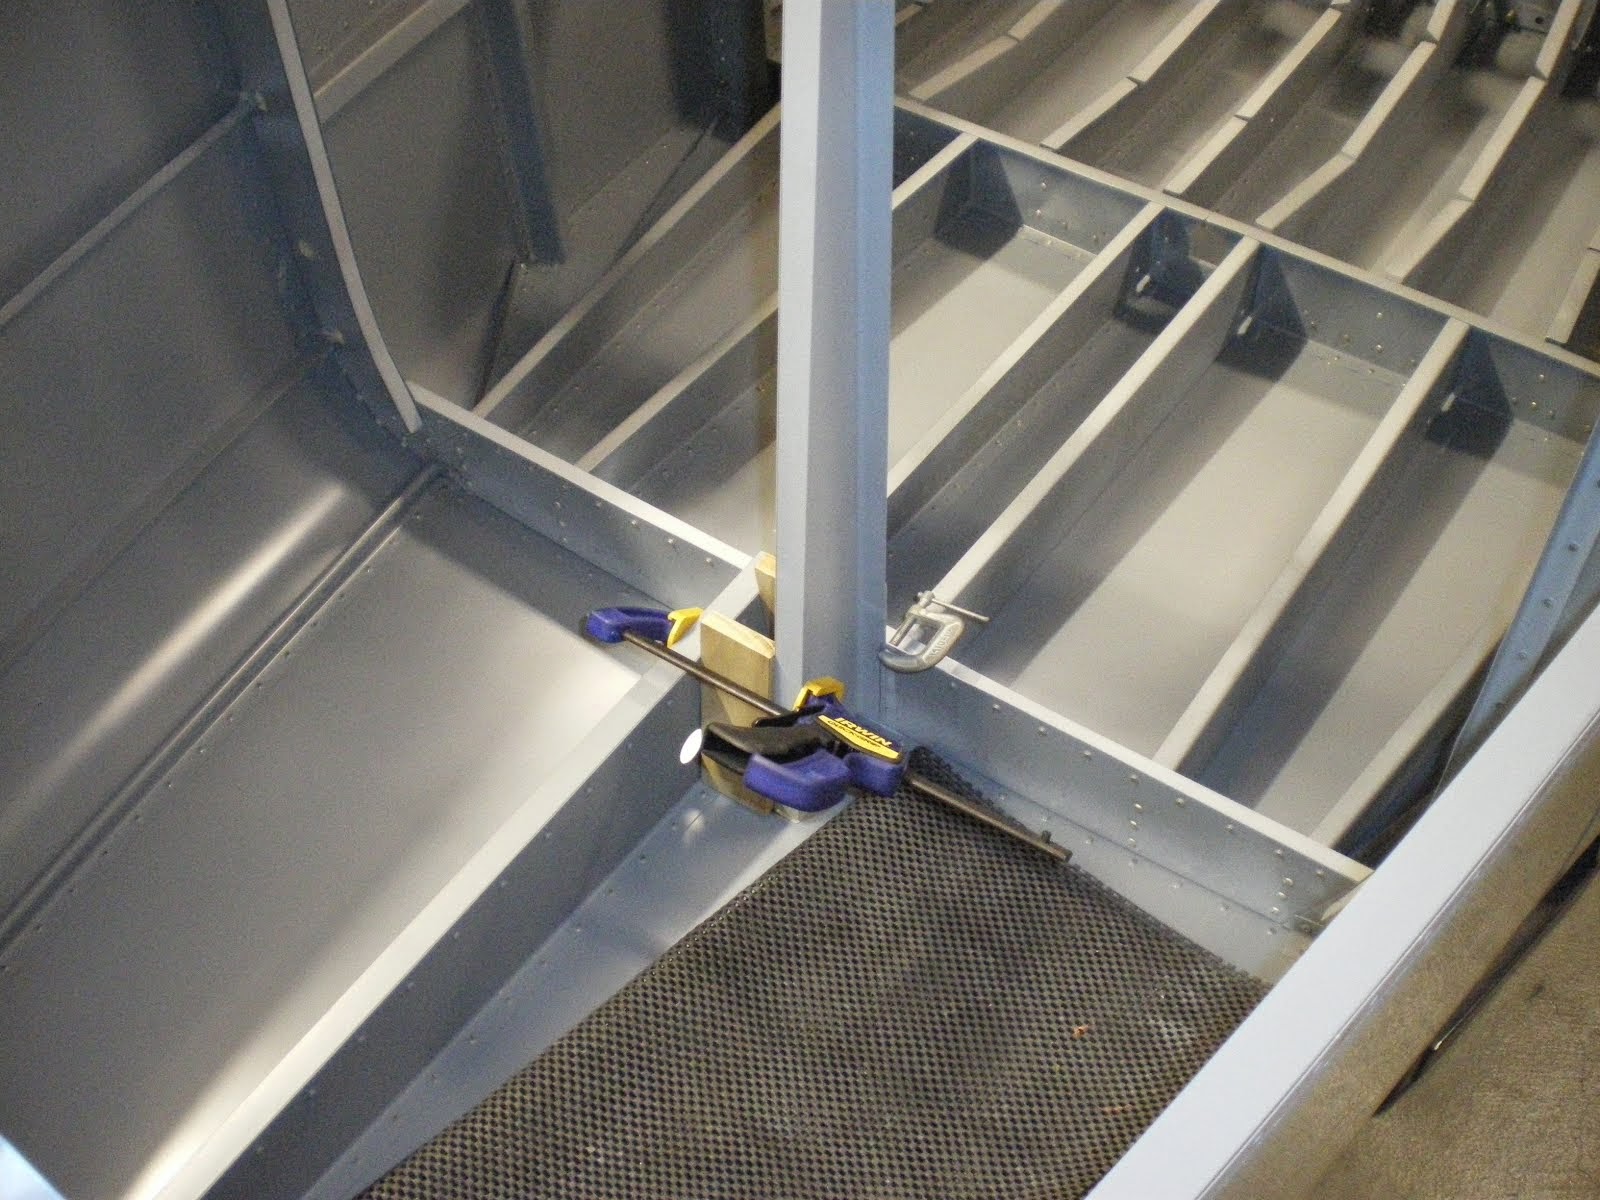
Been quite a while since I last posted. I have been working on the airplane. I have been skinning the forward fuselage area and bottom skin under the seat ribs. The forward skin (floorboard) under the rudder pedals is all skinned and all the brackets have been fabbed up. I will wait until the wings are inserted into the center section to final drill the holes in the brackets that brace the floor board stiffeners. Then I will know everything is going to fit on final assembly.
I have been working on the .032 side skins. They take a while to fit since you have to cut out and curl that back part to mate up to the curve on the bottom of the tailcone. This is a slow process to get it to look good. Once the left side done, it's move over to the right and repeat. Then I will be done with drilling and skinning.
Now I can start the long process of deburring, dimpling and priming all the skins. Then I can start final riveting!!!
Subscribe to:
Comments (Atom)


