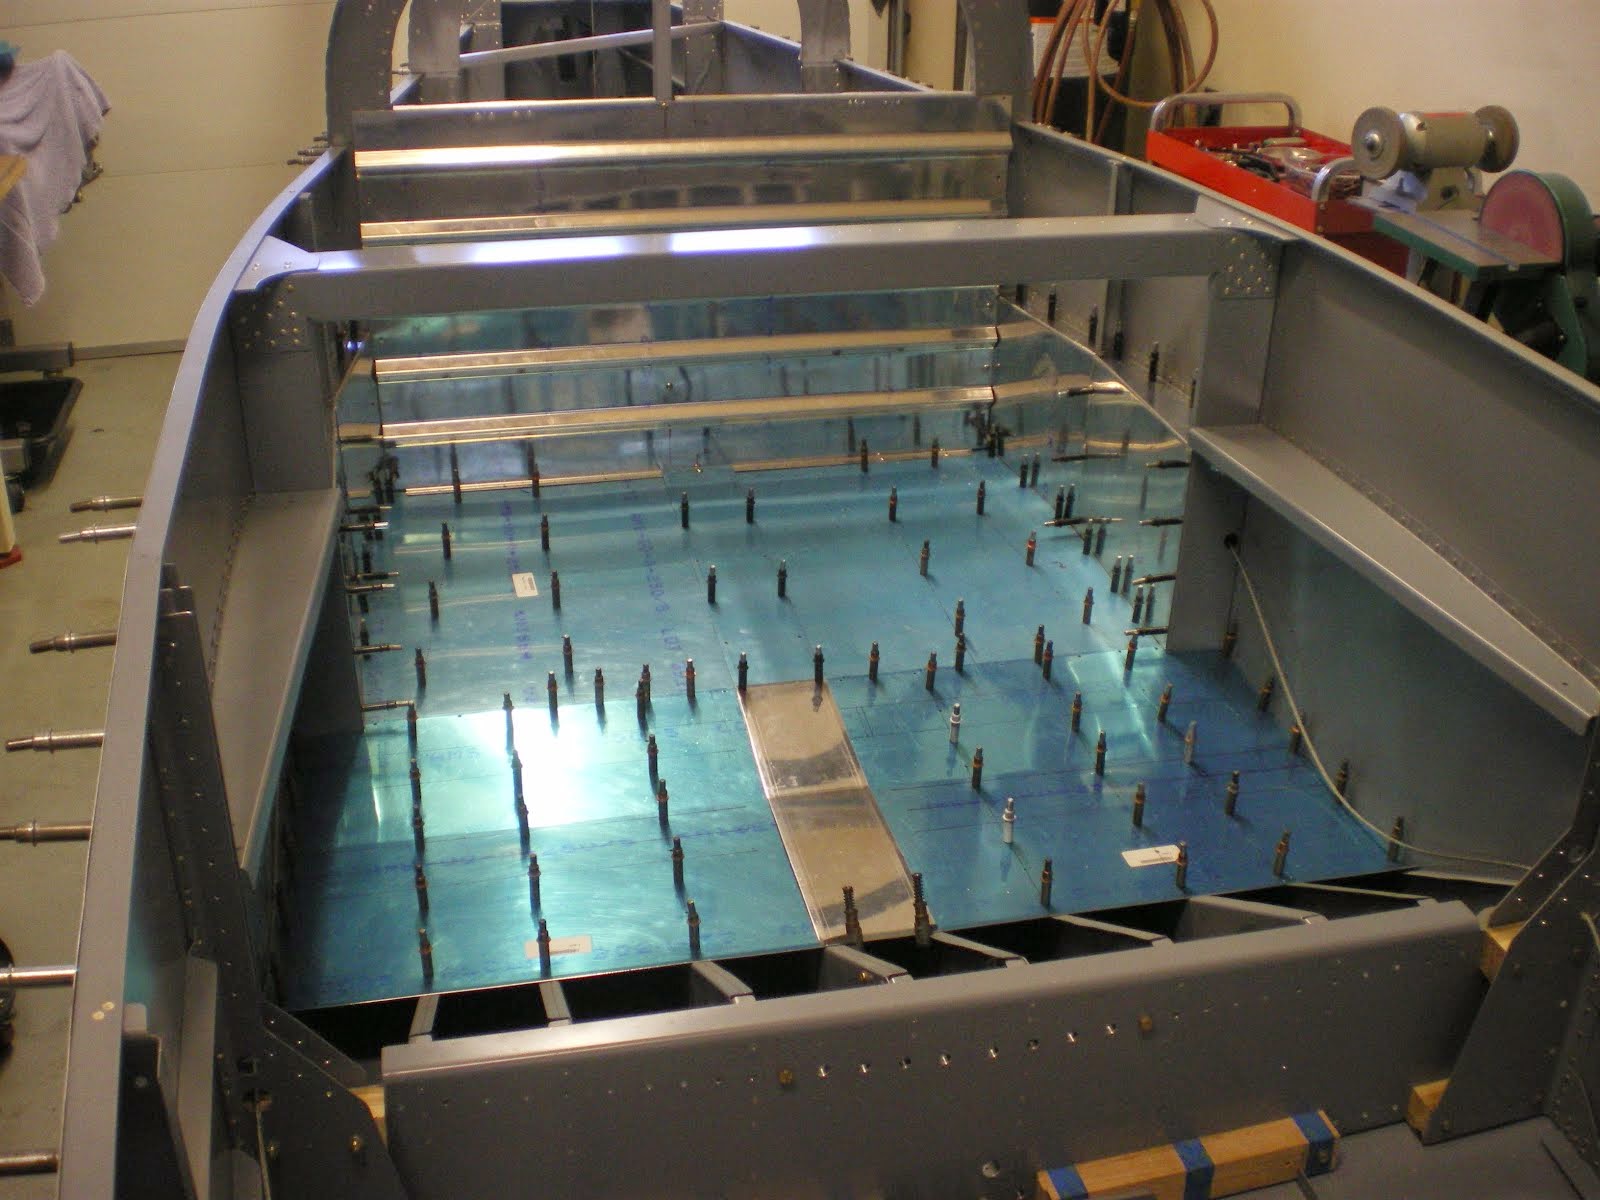
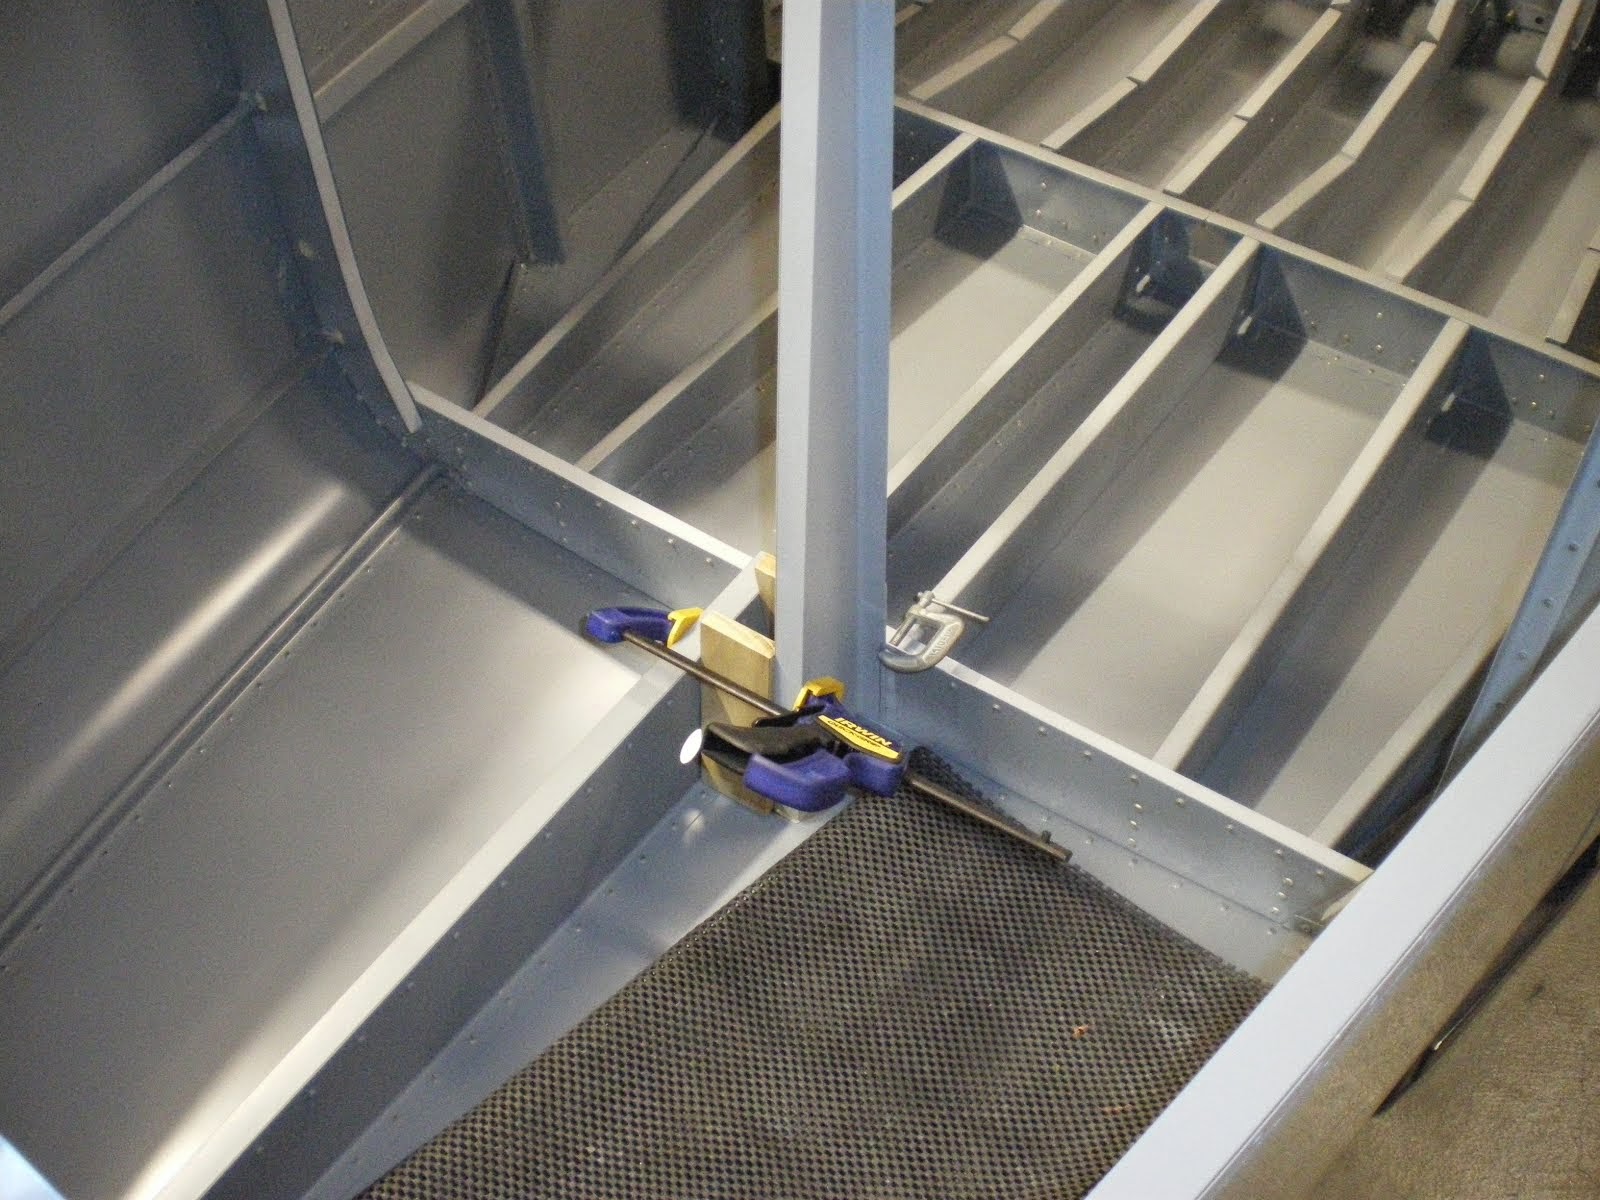
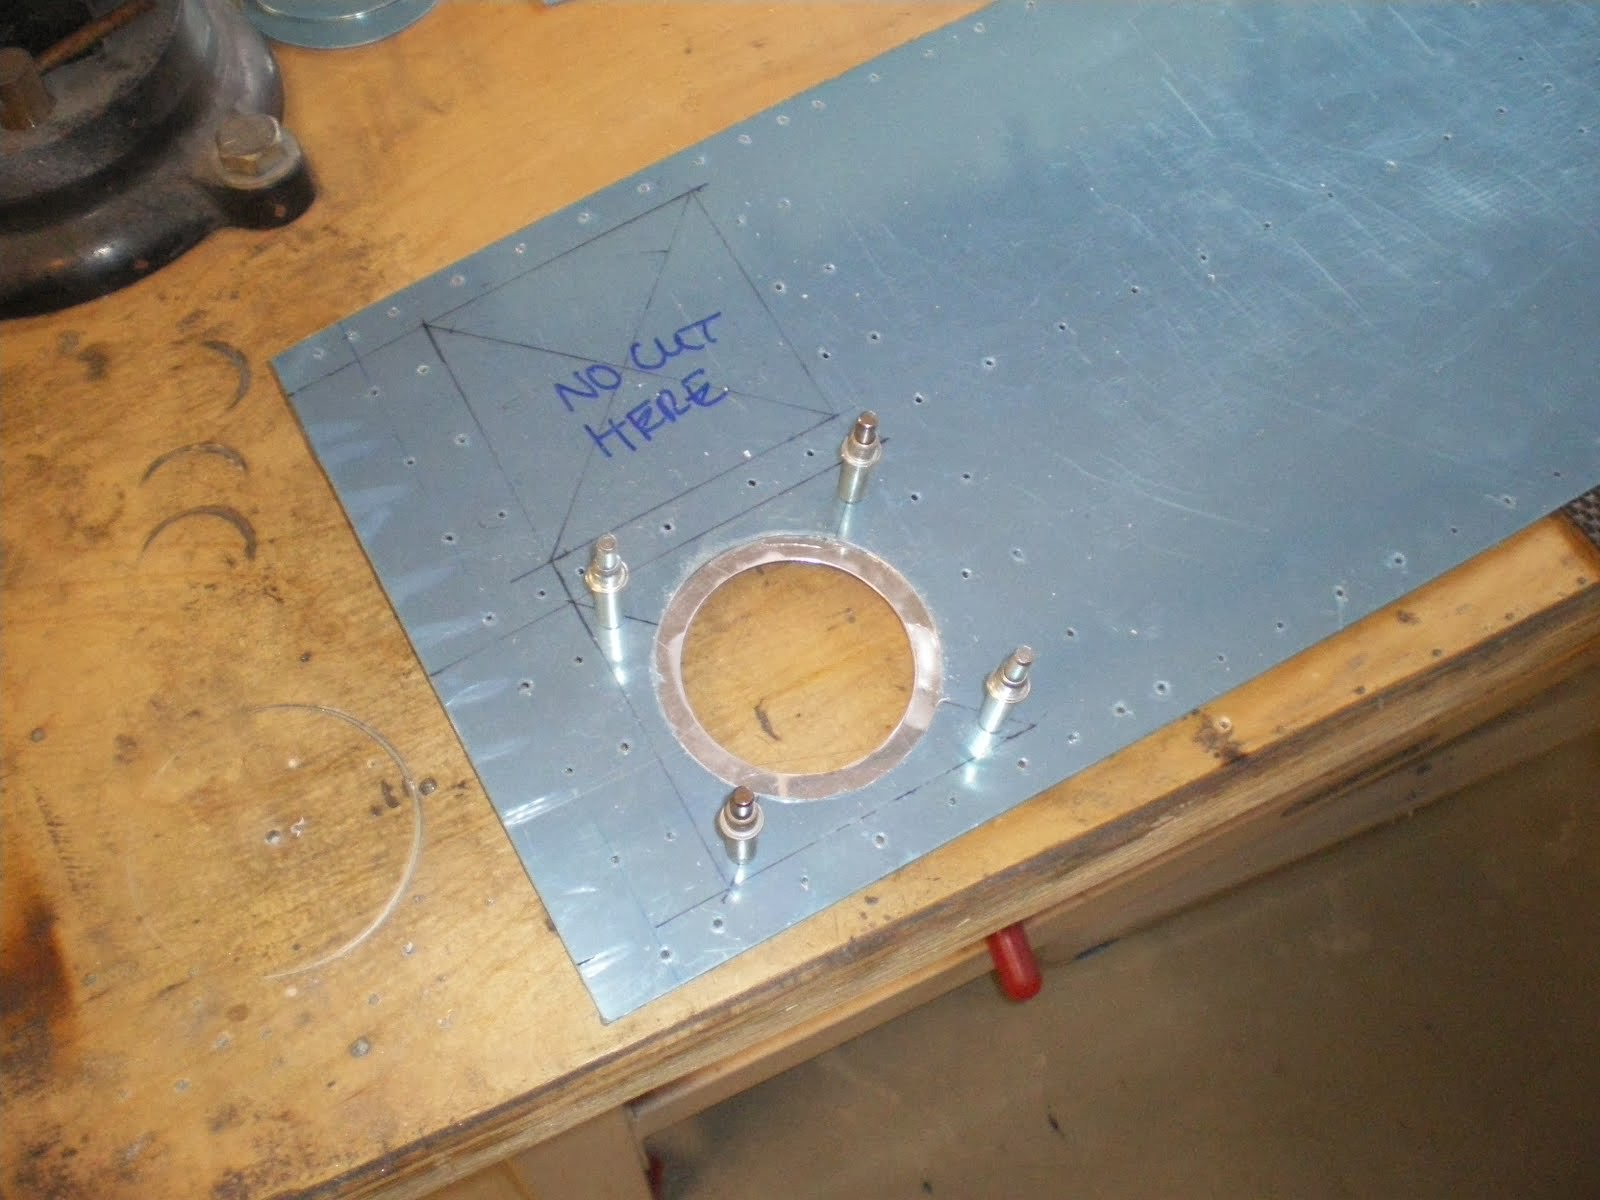
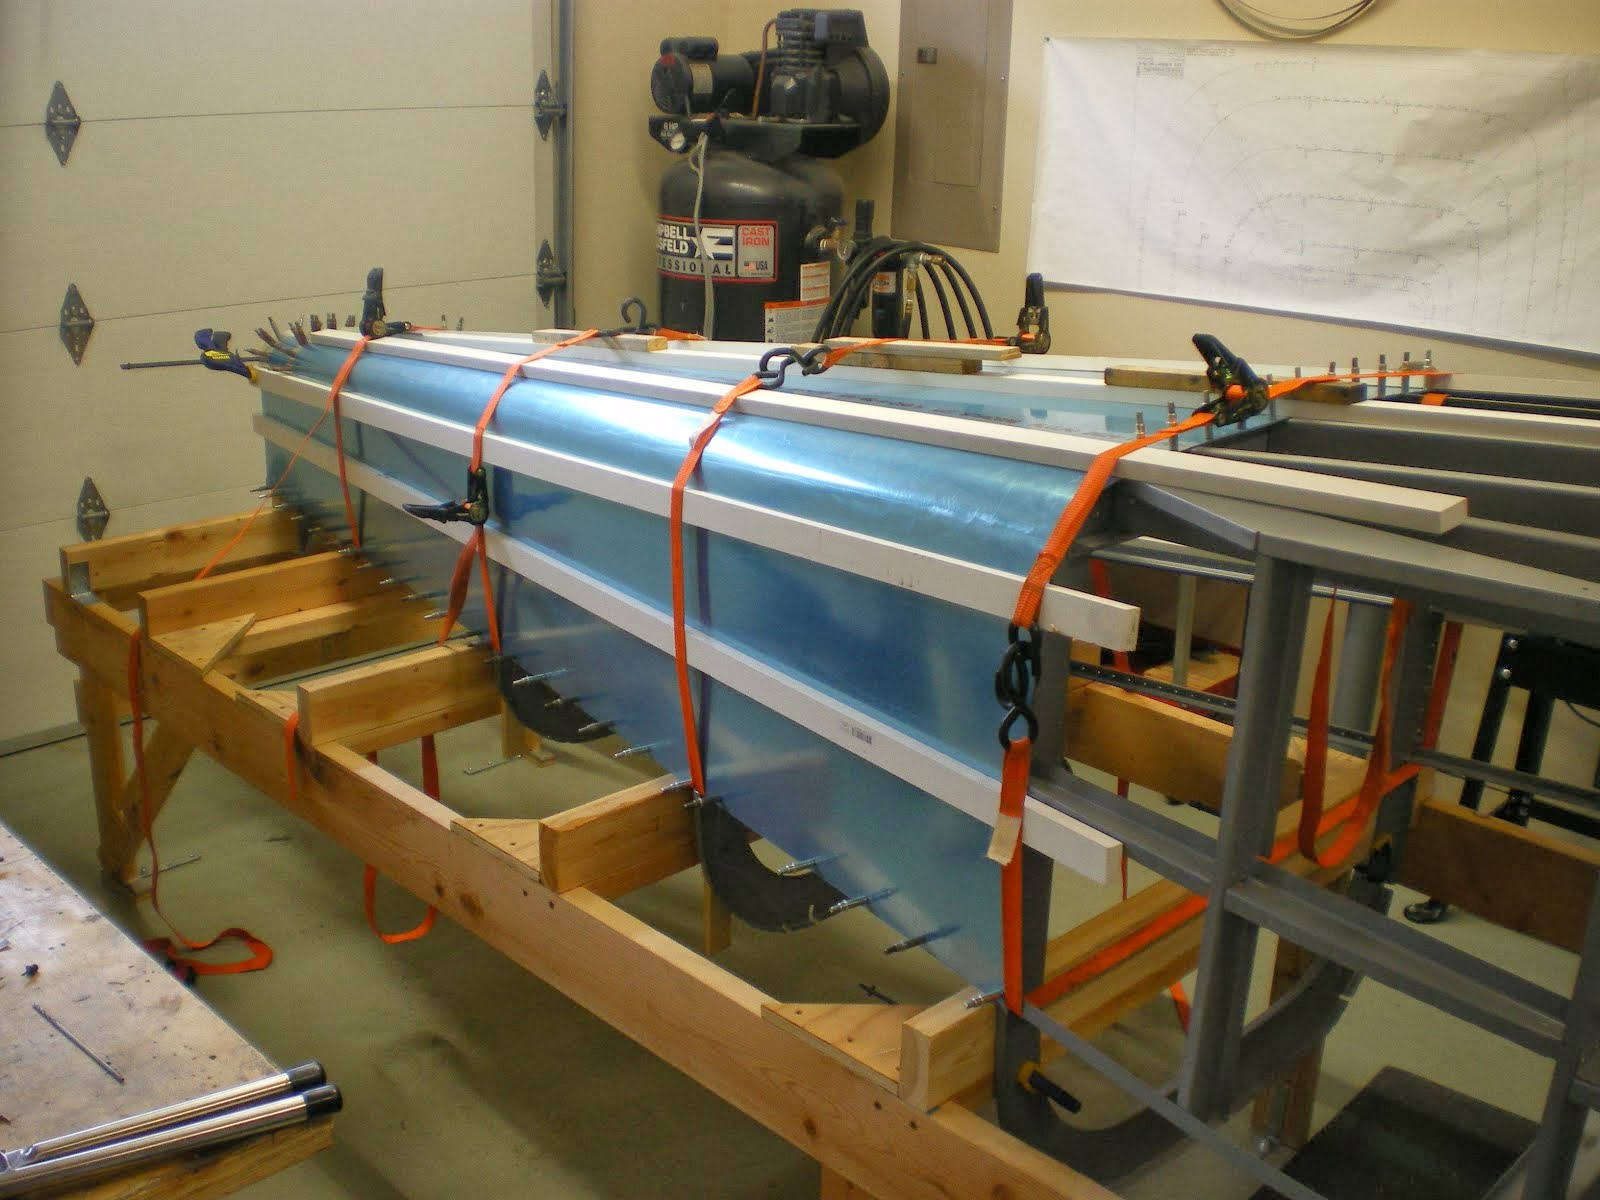
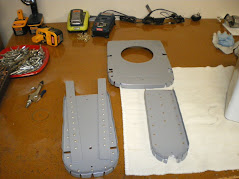
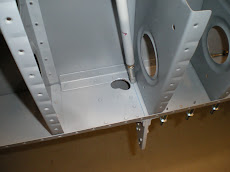
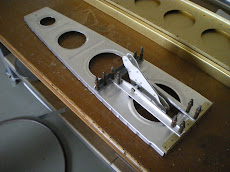
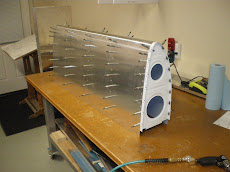
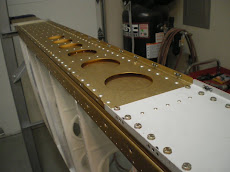
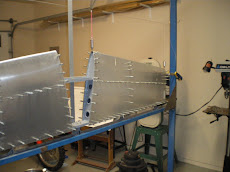
The last several weeks have been preparing all of the fuselage skins for riveting.
Anyone that has built or is building an airplane the is made of metal, knows this process.
It's long, boring and sometimes mind numbing. However, it has to be done.
I have been deburring holes until I can't see straight. Then you have to make sure all the skin edges are shaved so there are no burs on the edge. Any part of the skin that is overlapping another skin has to be rolled slightly so it does not pucker when it's riveted.
Then you have to dimple all the skins. Same goes for the fuselage frame but any part that is too thick to be dimpled has to be countersunk. It has to be over countersunk because the dimple in the skin is bigger than the actual rivet. So this means you have to make a dimple in a test strip of metal and use it as a gauge. I countersink all the parts and check the hole with my gauge to make sure the dimpled skins will lay flat up against the framework.
I had to have my minion help me with the dimpling of the skins since they are so long and flexible. They last about two minutes and start the whining process.........which I can remember from my days of being a minion when my Dad was building RV-3/4's. "Are we done yet?"
Next comes priming all the parts and pieces. I still have some old DTM epoxy primer from the last RV-6. It's OK but I can't get rid of these small specs in the primer. I cleaned everything, etched, alodined and then tack rag off all the parts. But when they get sprayed, there is small "dust" looking particles in the paint. If I rattle can the parts, they look great. So I know it's in the primer, not my technique.
However, since all of this is going to be covered up, it does not really matter.
I then have to rivet some of the parts onto the skins prior to riveting them to the fuselage. The floorboard stiffeners had to be back riveted on.
Now I can start riveting from the back tail skin forward. This was done and now the rear side skins are next. I had to shim the side skins back near the tail since your bottom tail skin is .040 thick. Everywhere around this skin is shimmed to the overlapping side skins lay down flat and don't have big puckers everywhere. It would look really bad to smash all this down as I have seen on some jobs.
Once I get myself riveted out of the two back bays, I can start back riveting the skins and make some quick process.
My Dad is coming up and HE is going to be MY minion for two days while we rivet this thing together and birth it out of the jig!!!!!!!! Yeah! How times change things around.......
Saturday, February 22, 2014
Thursday, February 6, 2014
Still working away...
I have been working on getting all the skins prepped for riveting. This takes a lot of time to debur, dimple and then prime all the skins. I have been at it for about three weeks off and on to get the job done. All but two skins are done and they only need to be primed. After that is done, I will start making some shims for riveting. Even with all the care that is taken to make the skeleton parts fit properly, you need shims to make the skins come out some when they are overlapping another part.
The tail is the worst place as you have a .040 tail cone skin that has to mate up to the side skins. Almost all of the back tail area is shimmed out to have a smooth skin appearance. If you just riveted it all together, it would look really bad. I have seen some jobs where the skins are all puckered. I am not having that on my bird......
A lot of the front fuselage is countersunk for the dimples in the skin due to the thickness of the bulkheads and stringers. I countersunk thousands of holes and had to recharge my drill batteries multiple times. Shavings everywhere......
I will get some pics posted of the progress for priming, then its finally off to some actual progress of putting parts on for good. Once all the skins are on, that fuselage can come out of the jig......yeah!
Subscribe to:
Comments (Atom)


