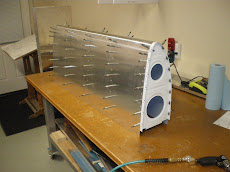
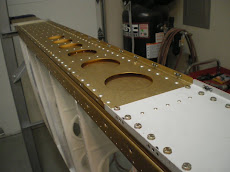
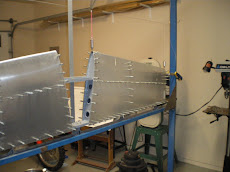
I finished riveting the skins on last night. I does not take long to rivet them on once you get going. After I got both skins drilled, I proceeded to debur, dimple and prime the skins. This takes some time, especially the dimpling process. Wrestling the skins open to get them into the C frame dimpler and not punch holes in the skins is challenging. You really need to people to do this job. But I didn't have anyone around so I used my shoulders and head to hold the skins open and then put weights on the bottom skin to keep it from flopping back up. I would then put the dimple down onto the male die and whack it with a dead blow hammer. There is a little flexing in the C frame so on my next skin I am going to put a stick of metal bar under the bottom of it and extend it down to the floor. This will keep it from flexing and give superior dimples.
Once the skins were primed with epoxy paint, I smashed down the leading edge of the skins so they would conform to the ribs better. The skins are open at about a 90 degree angle so you can dimple them. You want them open at about a 40 degree angle when you put them on. This will make a better curve on the nose rib. I riveted the top of the skins first, starting out at the tip and them working my way up the front spar and working out of the skin. After the top spar is riveted then you work youself out down the middle rib. All of the rest of the rivets can be squeezed. Every rivet I install, I slightly shave the dimple with my deburring tool. This seats the rivet down into the dimple a little better and you cannot even get your fingernail under the edge of the head when your done. This also helps paint lay down on the rivet as well. I' ve seen paint jobs were the paint will form a ring right around the head. It stands out all of the rivets and the paint will bridge the gap. It looks funny and it is easily remedied by taking time to shave the dimple holes. Another thing I do it leave out the end rib so I can install rivets into the middle nose rib. It says to use pop rivets but I put real rivets in the TOP side so it looks good. I the cleco the skins back down on the bottom side and pop rivet the bottom side of the nose rib on. This pulls the skins up to the rib making a nice formed shape of the nose. If you tried to rivet both side you will dent the bottom one because of the sharp curves. I just fill in the hole of the pop rivet with some JB weld and once painted it looks like a real rivet. Don't forget to take off the nuts that hold the end ribs in place. I've heard of people riveting their skins on then remembering that the did not remove the inside nut and their skins are all closed UP. Bad news there.
Saturday, January 31, 2009
Friday, January 23, 2009
Drilling on the horz stab skins
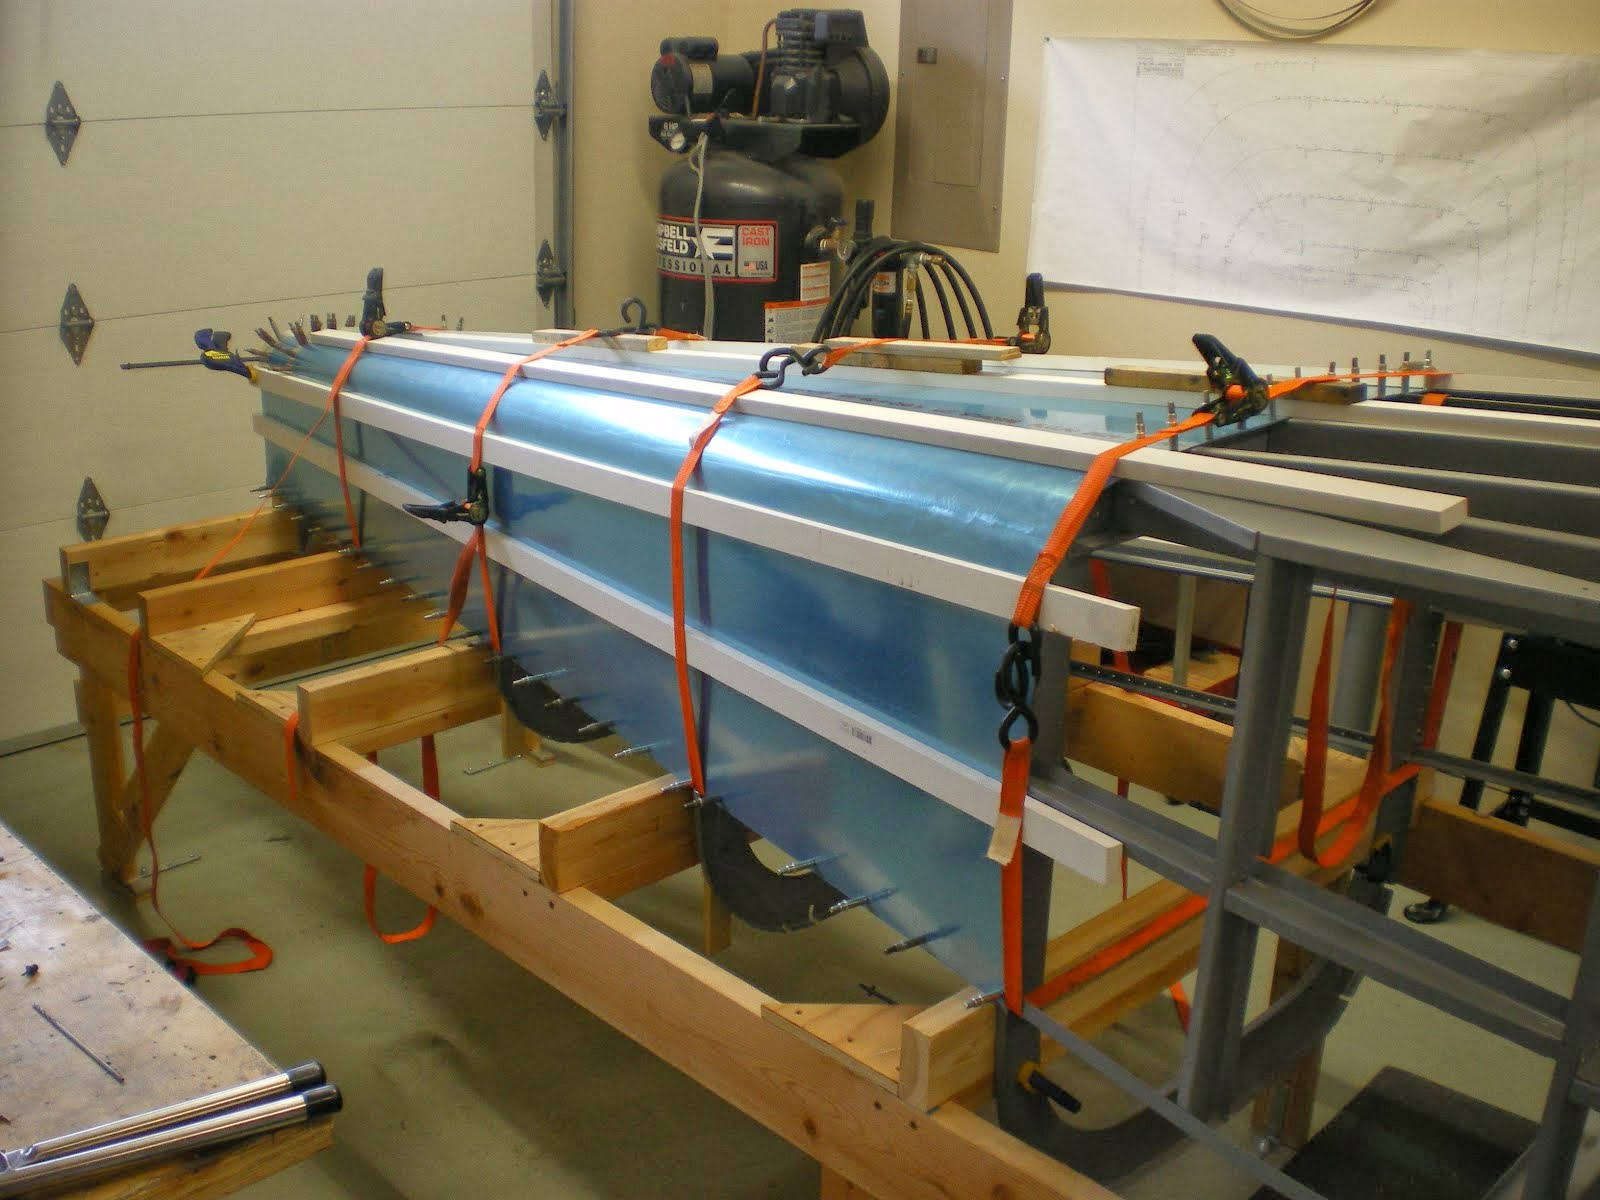
I have completed the assembly of the tail jig. It only took about 10 trips to the hardware store before I got everything I needed. I had this thing assembled before and where all of the parts went are beyond me. I got everything leveled and square and I had to shim the hinge brackets to get them to line up. The crossmember has a slight bow in it. As long as the rear spar sits level on the jig is all that matters here. It needs to be straight as this is where the elevators hinge on. Any offset will bind the elevators throughout the range of travel and that equals death in a airplane. I installed the stab skeleton and got it squared up and string lined the center of the stab to the centerline of the hinges. If all of the tip center lines are matched up to the same center line of the rear spar then there is no twist in the horz stab. If you have twist, then you have your tail flying through the air crooked and that causes more drag and less top speed. Once the skeleton is one and secured I install the skins. The RV-6 skins come prepunched and so does the rear spars. So these cleco right up. It's the rest of the skeleton you have to drill. I draw center lines on all the spars and ribs. This way I can see where my holes will be. I have several strips of plywood and thread all that I use to clamp the skin down over the skeleton. Once this is all clamped down I start drilling from the bottom up to push the skin up to the tip ribs. You drill yourself off the piece your are working on. That means that you start where the skin is fixed down- in this case the rear spar, and you work up and out to the sides. Doing this will help prevent puckers in the skins. This is not so bad on the tail but you can get in trouble on flat skins like the wing if you don't adhere to the this general rule. I drill the top of the stab skin first and then I drill the bottom. I have sticks and hooks to push/pull ribs as I drill to get the holes in the skins to line up with the center of the spars and rib flanges. It takes longer to set up the jig then it does to get the skins drilled on.
Monday, January 12, 2009
Jig Assembly
Before you can skin the stabs, you have to construct a jig. Usually they are made out of wood, but wood can warp and the wood we get now days is junk. I got one made from steel and it's not lite. It weighs about 750 lbs when all said and done but it's plumb and square. That's all that matters when building the tail. Everything needs to be solid while I drill on the skins. You can see the mounts bolted down to the cross member. This is where the stab connects. I started working on it and ran out of steam pretty quick when I found out the bolts that hold the frame together are too short. I don't know what I used before but they are not in the bag. Another trip to the hardware store tomorrow for some longer bolts. Stuff like this never ends.
Horz stab
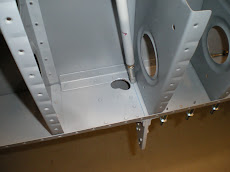
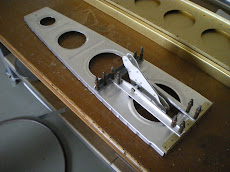
Here is a picture of the horz stab. I have beefed this one up with a .063 spar doubler on the front spar. I have also put reinforcing plates where the hinge brackets go. This will give me some extra strength when I'm going 220 mph. Plus is will piece of mind for me. It does not take much to make the structure a little stronger.
Saturday, January 10, 2009
Thank you Roger
My buddy Roger at work looks a my site quite often. He is constantly nagging like an old lady about not getting something posted on there. I have been putting off the build process until I finished a few things around the home. Frankly, I've also just been lazy. But now I'm kickin' it in high gear. So thank you Roger for inspiring me to get off my duff and get something done. It feels good. And since you're the one who complained-you will be the first person called on the wings when I need someone to help buck rivets!!!!!
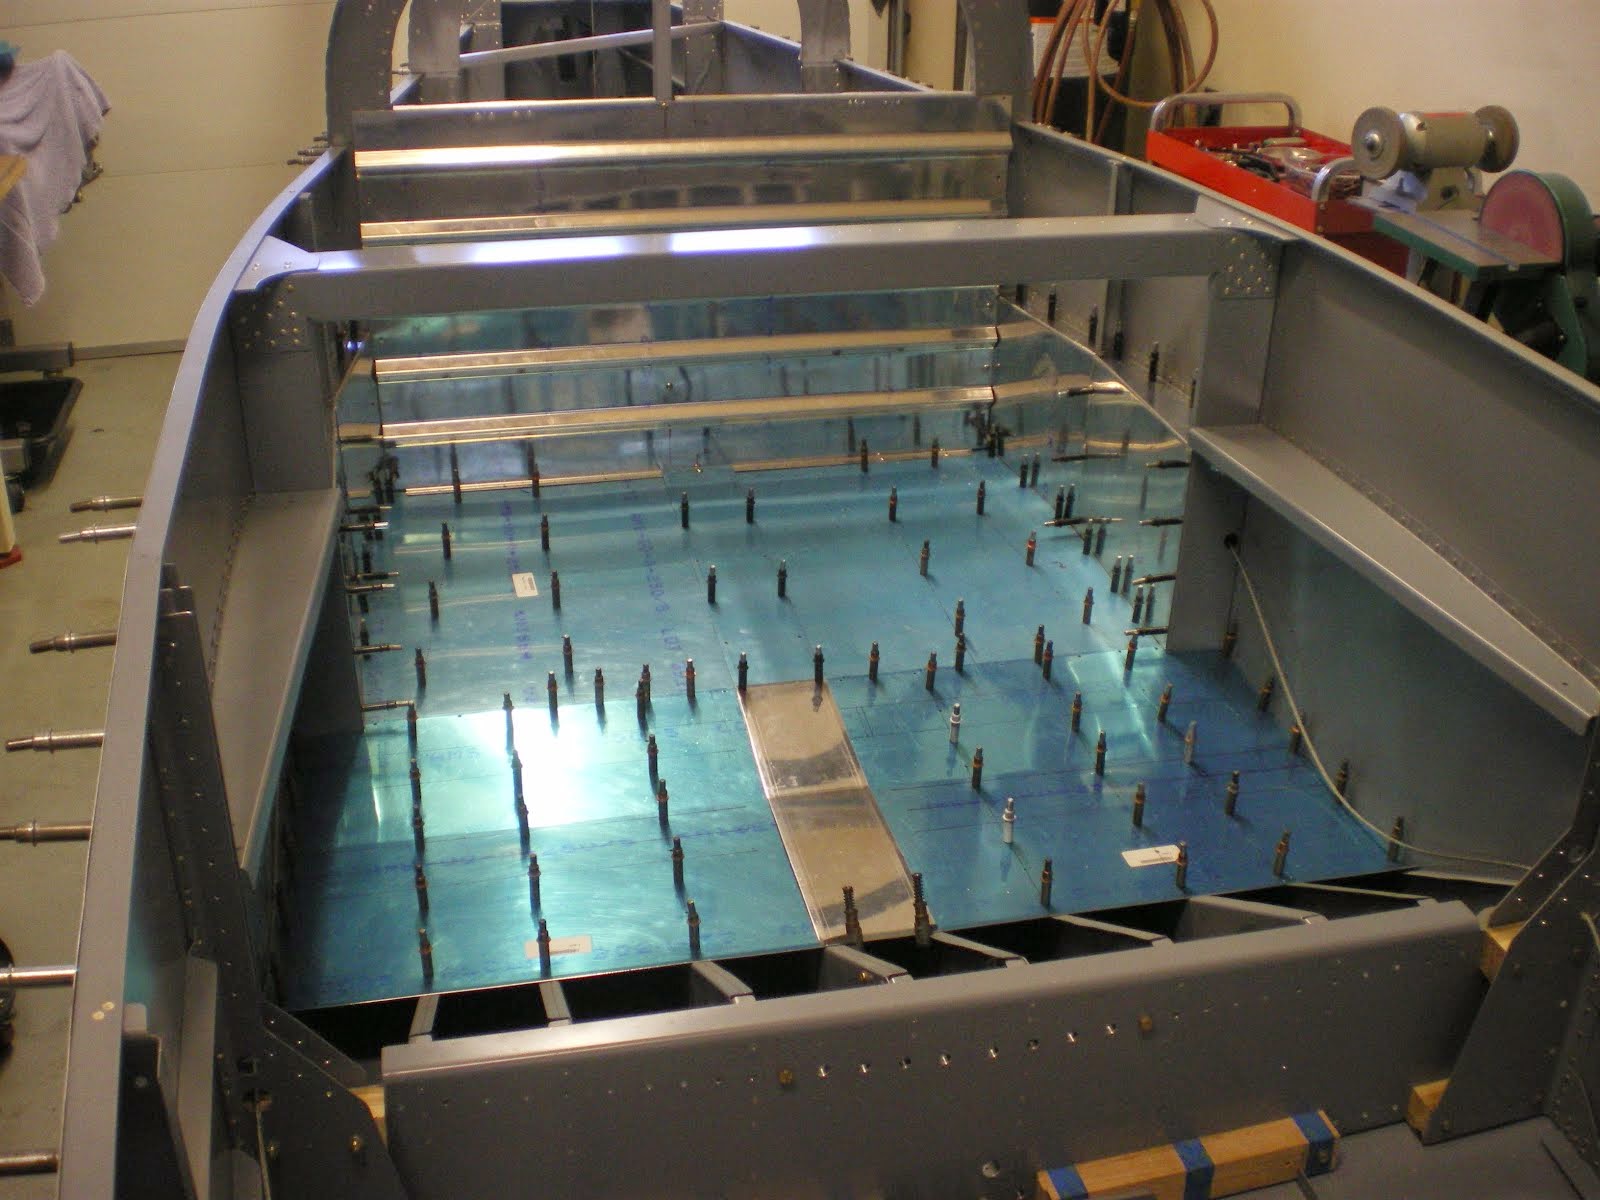
Building the center section
I'm back! I've started work on the center section. I pulled apart the wing kit crate and inventoried the kit. I put all the hardware away and now I can begin work. I wanted to get the wing center section done so I can put it out of the way.
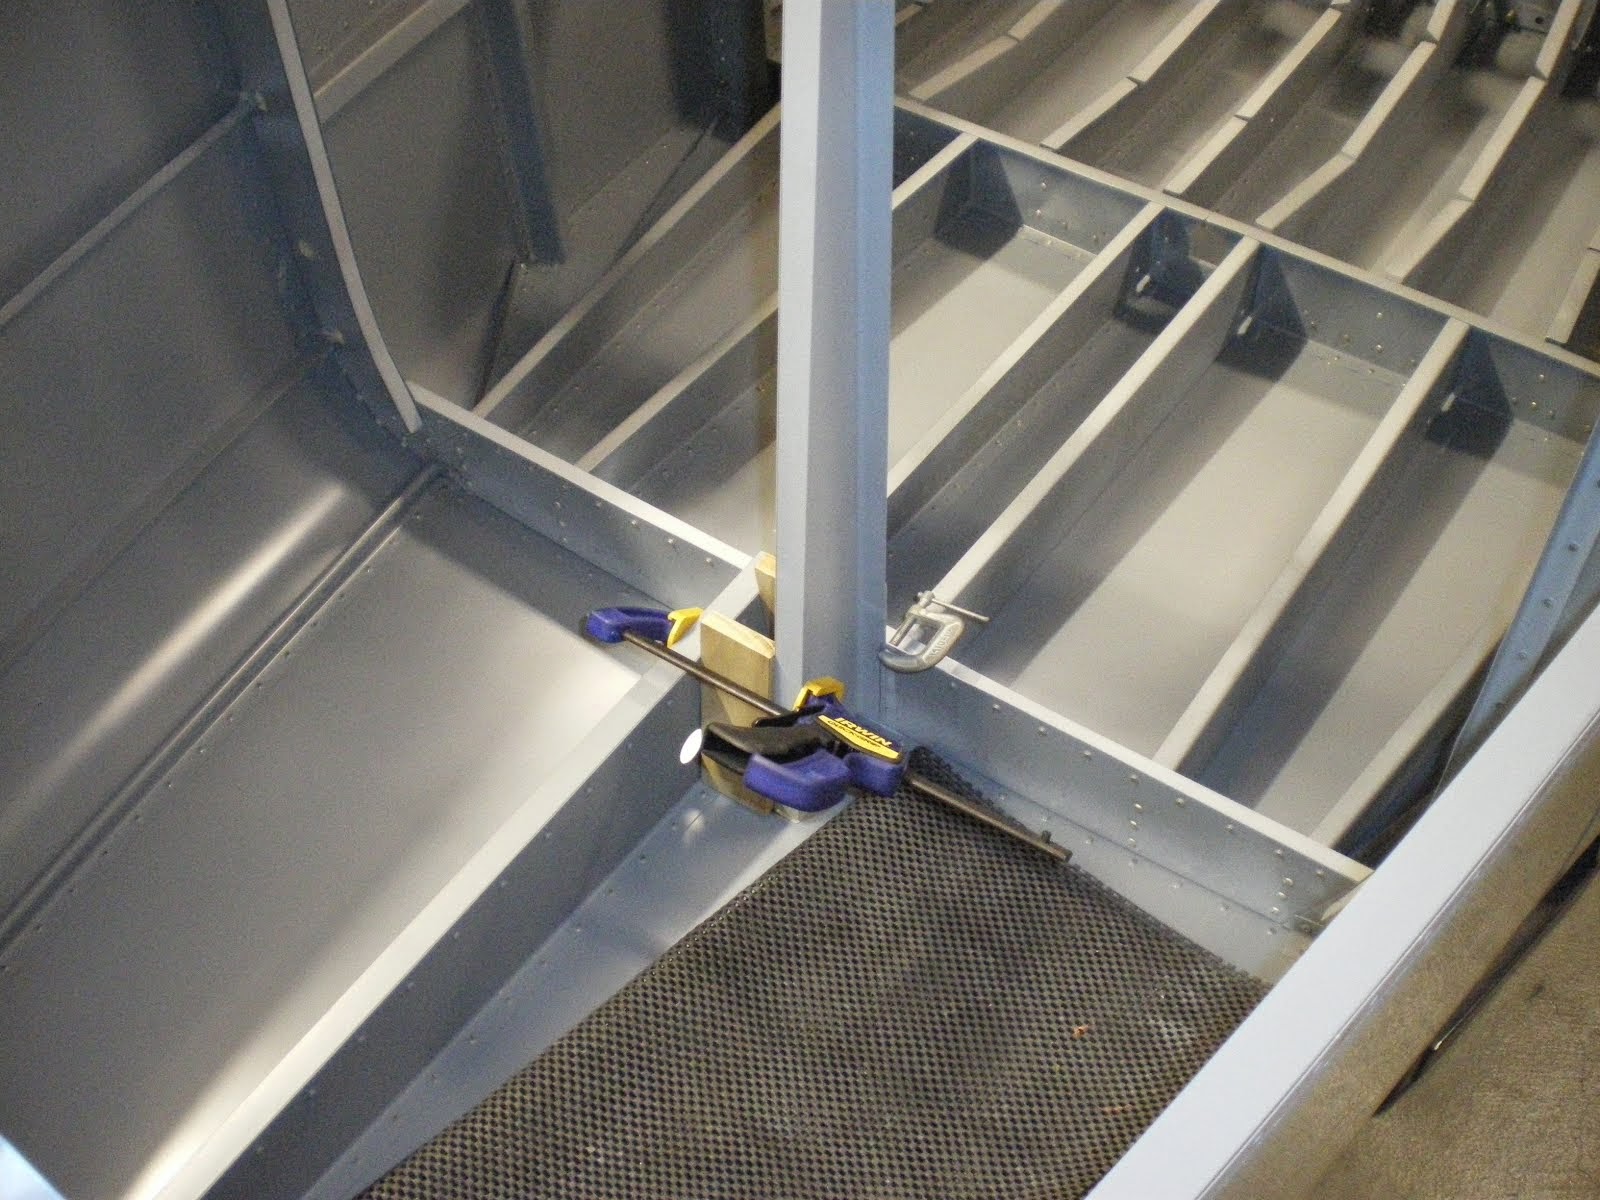
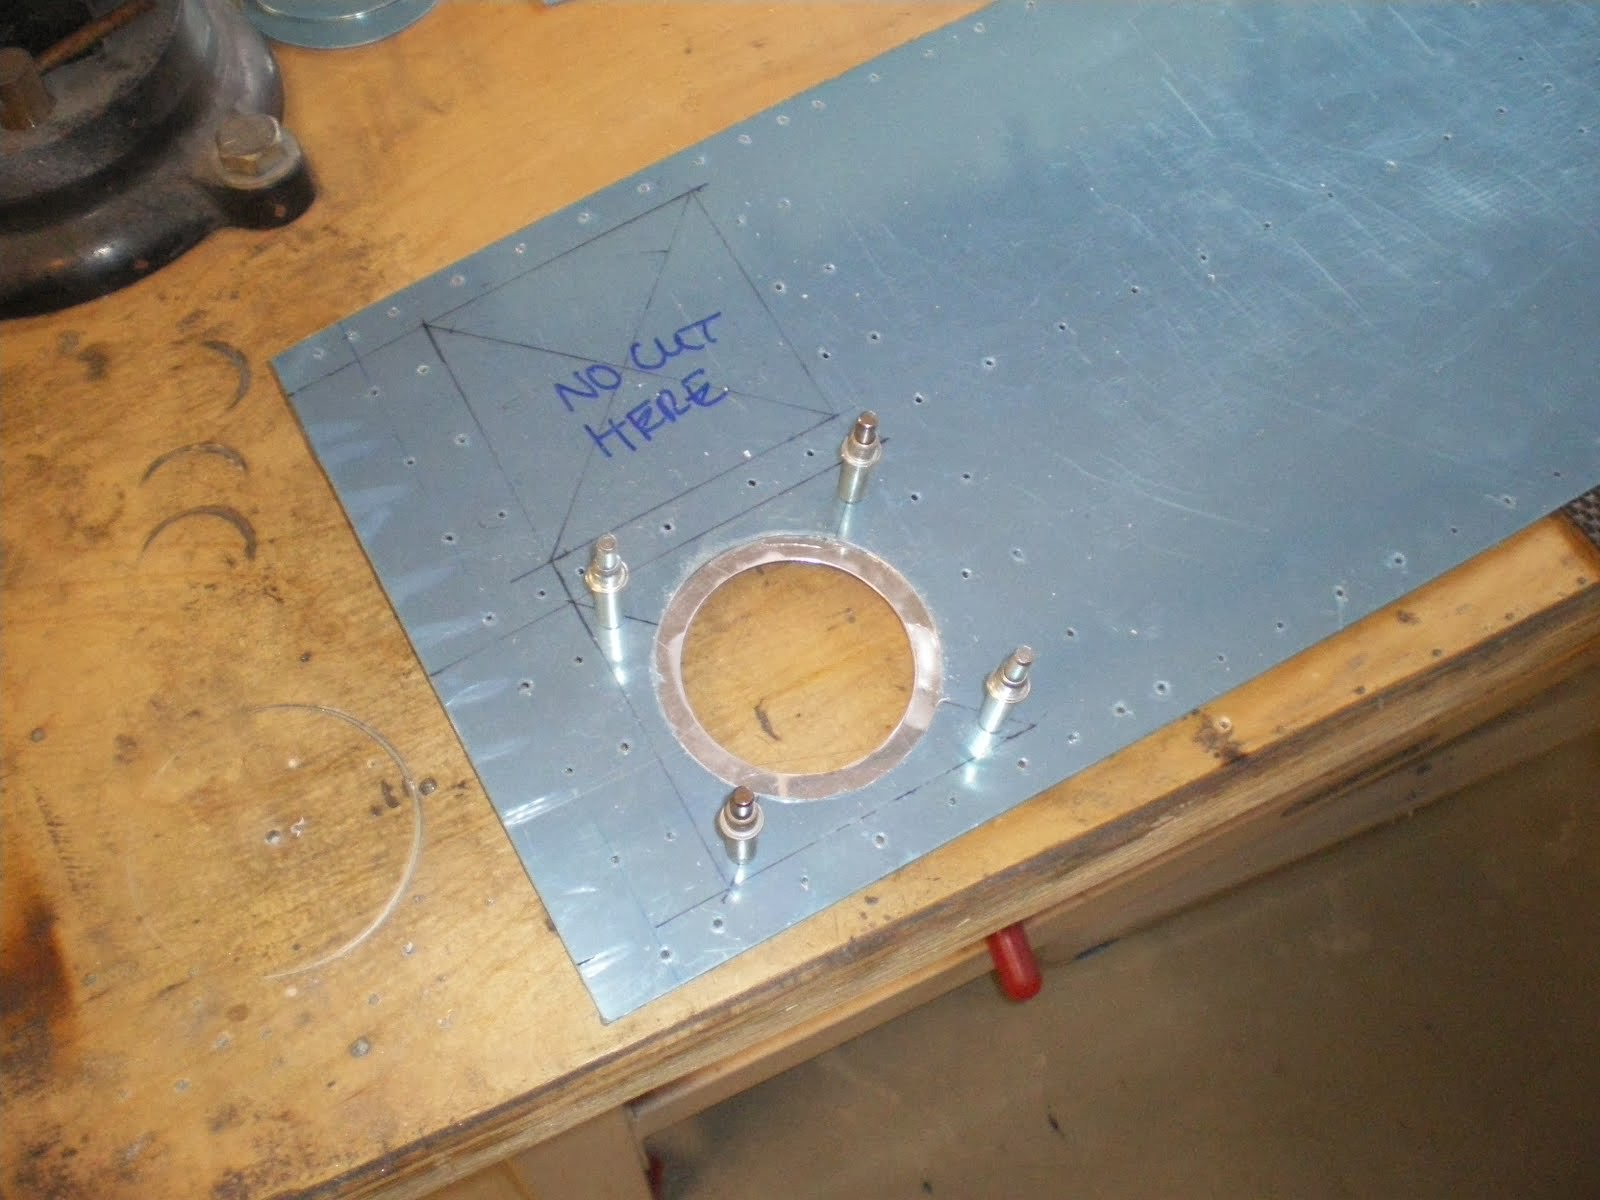
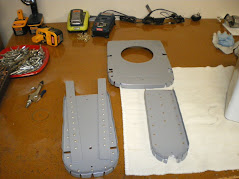
It comes pre drilled to match the spars. This set is unique set the spars and center section are a match set. The come matched and ID from the Van's aircraft. I could not simply go and buy another section if something were to happen to either the spar or the center section. I would have to try and match drill a new piece to the old one. Soooo be careful!!!!! I put the section together and test fit all the parts. I only have to drill a few holes in the side pieces for tack rivets and drill out the rudder cable fairlead holes. The rest is etching and alodining for paint. I painted the parts and assembled.
It comes pre drilled to match the spars. This set is unique set the spars and center section are a match set. The come matched and ID from the Van's aircraft. I could not simply go and buy another section if something were to happen to either the spar or the center section. I would have to try and match drill a new piece to the old one. Soooo be careful!!!!! I put the section together and test fit all the parts. I only have to drill a few holes in the side pieces for tack rivets and drill out the rudder cable fairlead holes. The rest is etching and alodining for paint. I painted the parts and assembled.
Subscribe to:
Comments (Atom)


