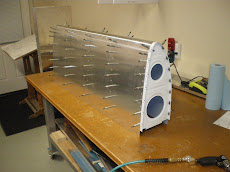
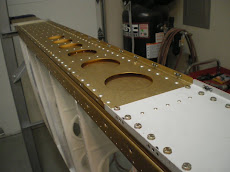
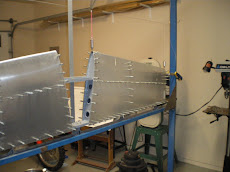
I finished riveting the skins on last night. I does not take long to rivet them on once you get going. After I got both skins drilled, I proceeded to debur, dimple and prime the skins. This takes some time, especially the dimpling process. Wrestling the skins open to get them into the C frame dimpler and not punch holes in the skins is challenging. You really need to people to do this job. But I didn't have anyone around so I used my shoulders and head to hold the skins open and then put weights on the bottom skin to keep it from flopping back up. I would then put the dimple down onto the male die and whack it with a dead blow hammer. There is a little flexing in the C frame so on my next skin I am going to put a stick of metal bar under the bottom of it and extend it down to the floor. This will keep it from flexing and give superior dimples.
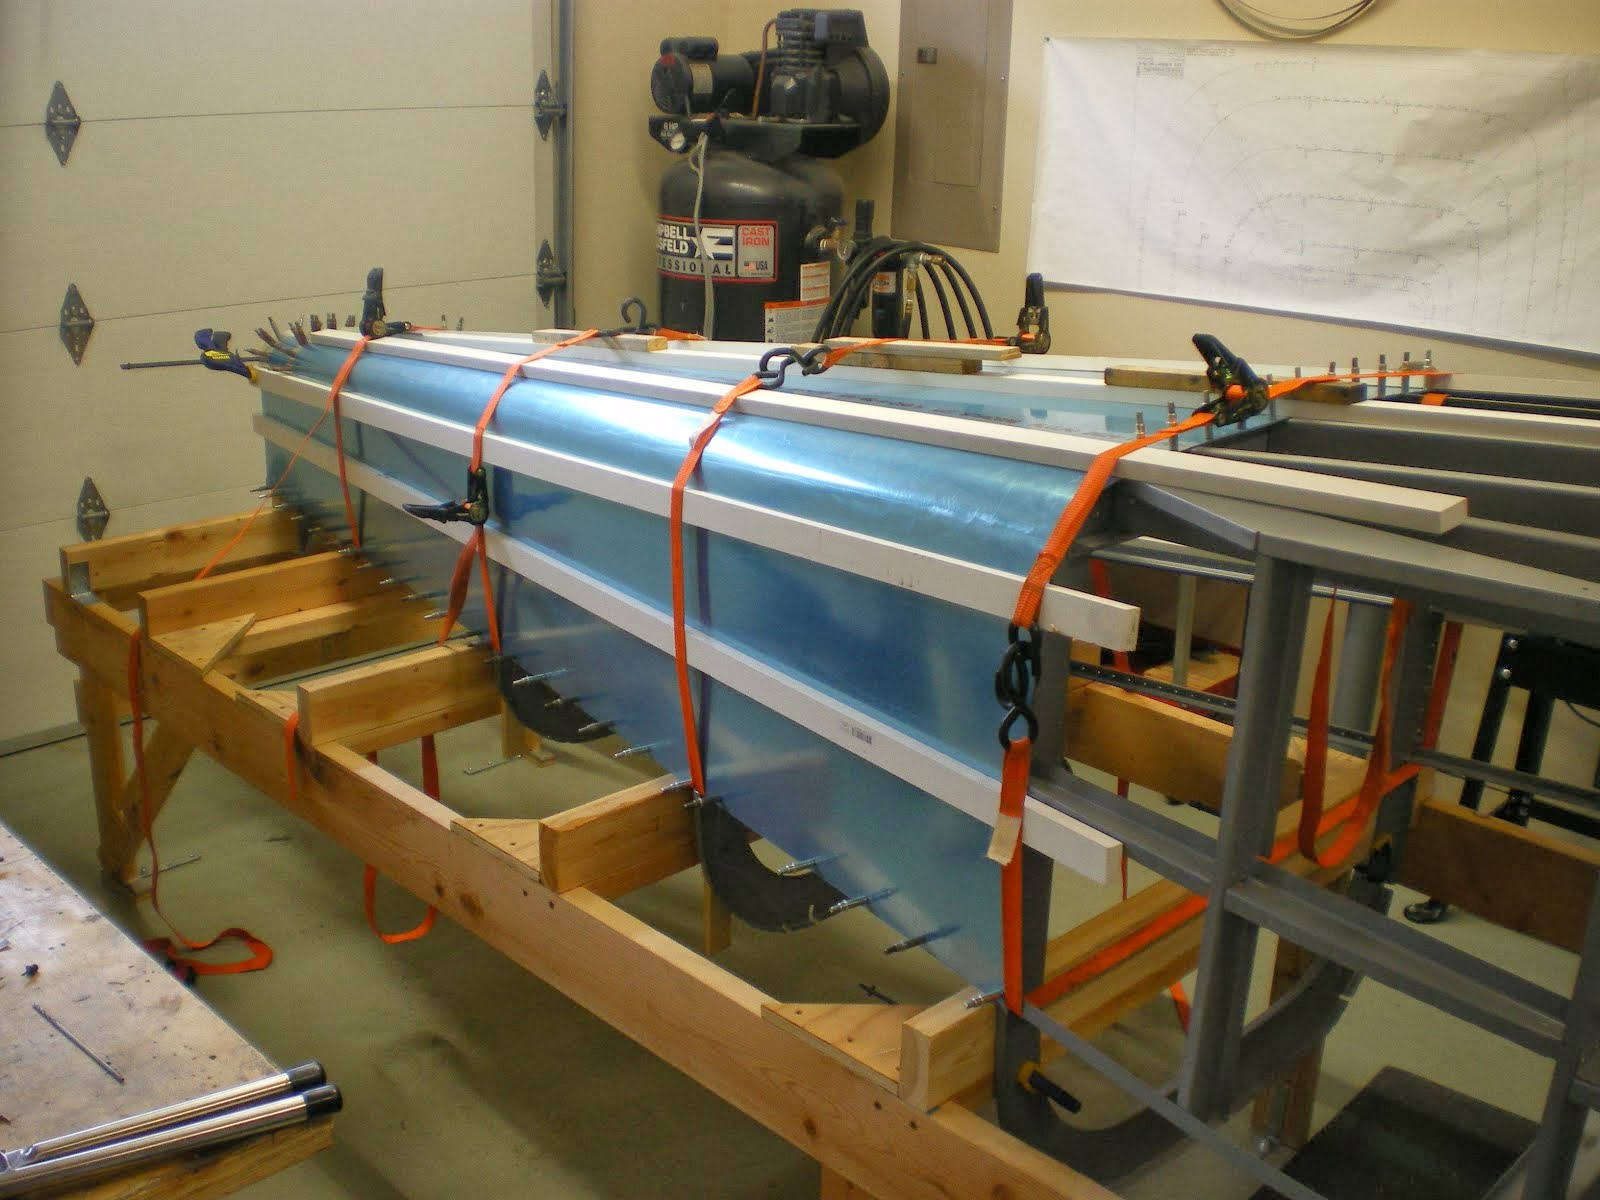
Once the skins were primed with epoxy paint, I smashed down the leading edge of the skins so they would conform to the ribs better. The skins are open at about a 90 degree angle so you can dimple them. You want them open at about a 40 degree angle when you put them on. This will make a better curve on the nose rib. I riveted the top of the skins first, starting out at the tip and them working my way up the front spar and working out of the skin. After the top spar is riveted then you work youself out down the middle rib. All of the rest of the rivets can be squeezed. Every rivet I install, I slightly shave the dimple with my deburring tool. This seats the rivet down into the dimple a little better and you cannot even get your fingernail under the edge of the head when your done. This also helps paint lay down on the rivet as well. I' ve seen paint jobs were the paint will form a ring right around the head. It stands out all of the rivets and the paint will bridge the gap. It looks funny and it is easily remedied by taking time to shave the dimple holes. Another thing I do it leave out the end rib so I can install rivets into the middle nose rib. It says to use pop rivets but I put real rivets in the TOP side so it looks good. I the cleco the skins back down on the bottom side and pop rivet the bottom side of the nose rib on. This pulls the skins up to the rib making a nice formed shape of the nose. If you tried to rivet both side you will dent the bottom one because of the sharp curves. I just fill in the hole of the pop rivet with some JB weld and once painted it looks like a real rivet. Don't forget to take off the nuts that hold the end ribs in place. I've heard of people riveting their skins on then remembering that the did not remove the inside nut and their skins are all closed UP. Bad news there.
Subscribe to:
Post Comments (Atom)





















No comments:
Post a Comment