Saturday, March 7, 2009
Finishing the right elevator
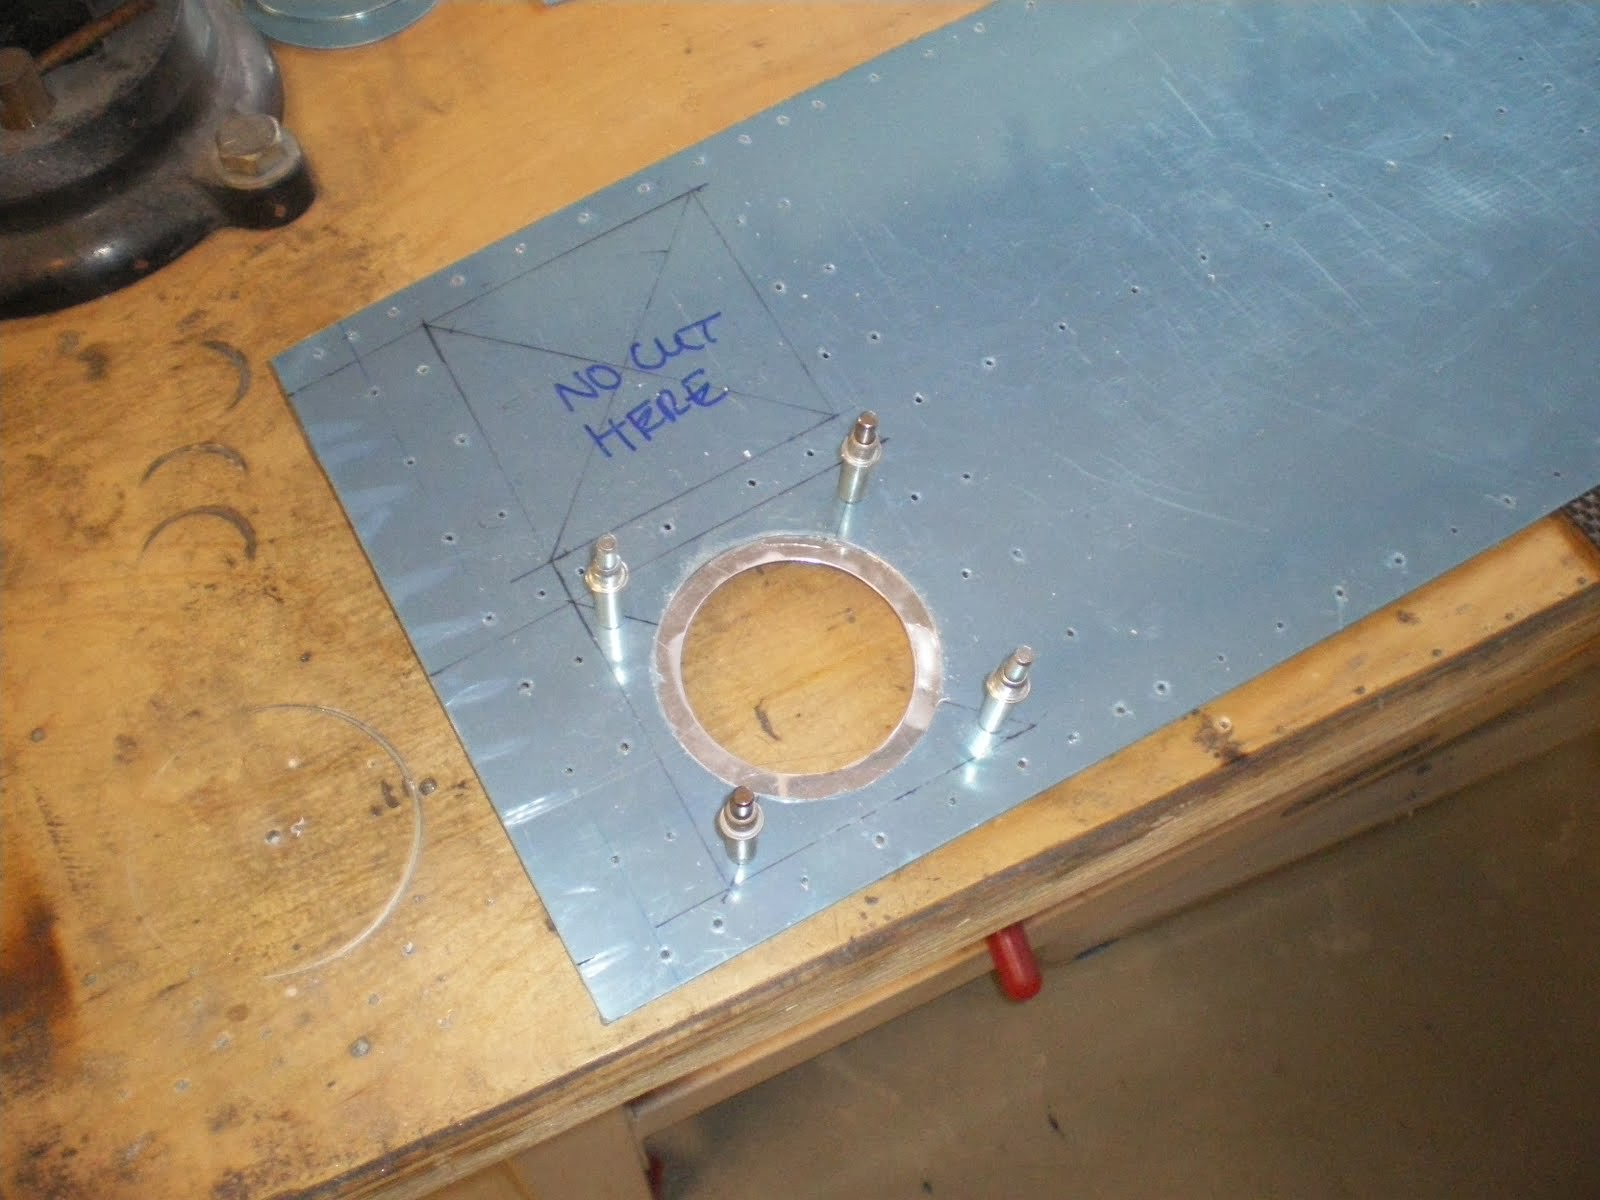
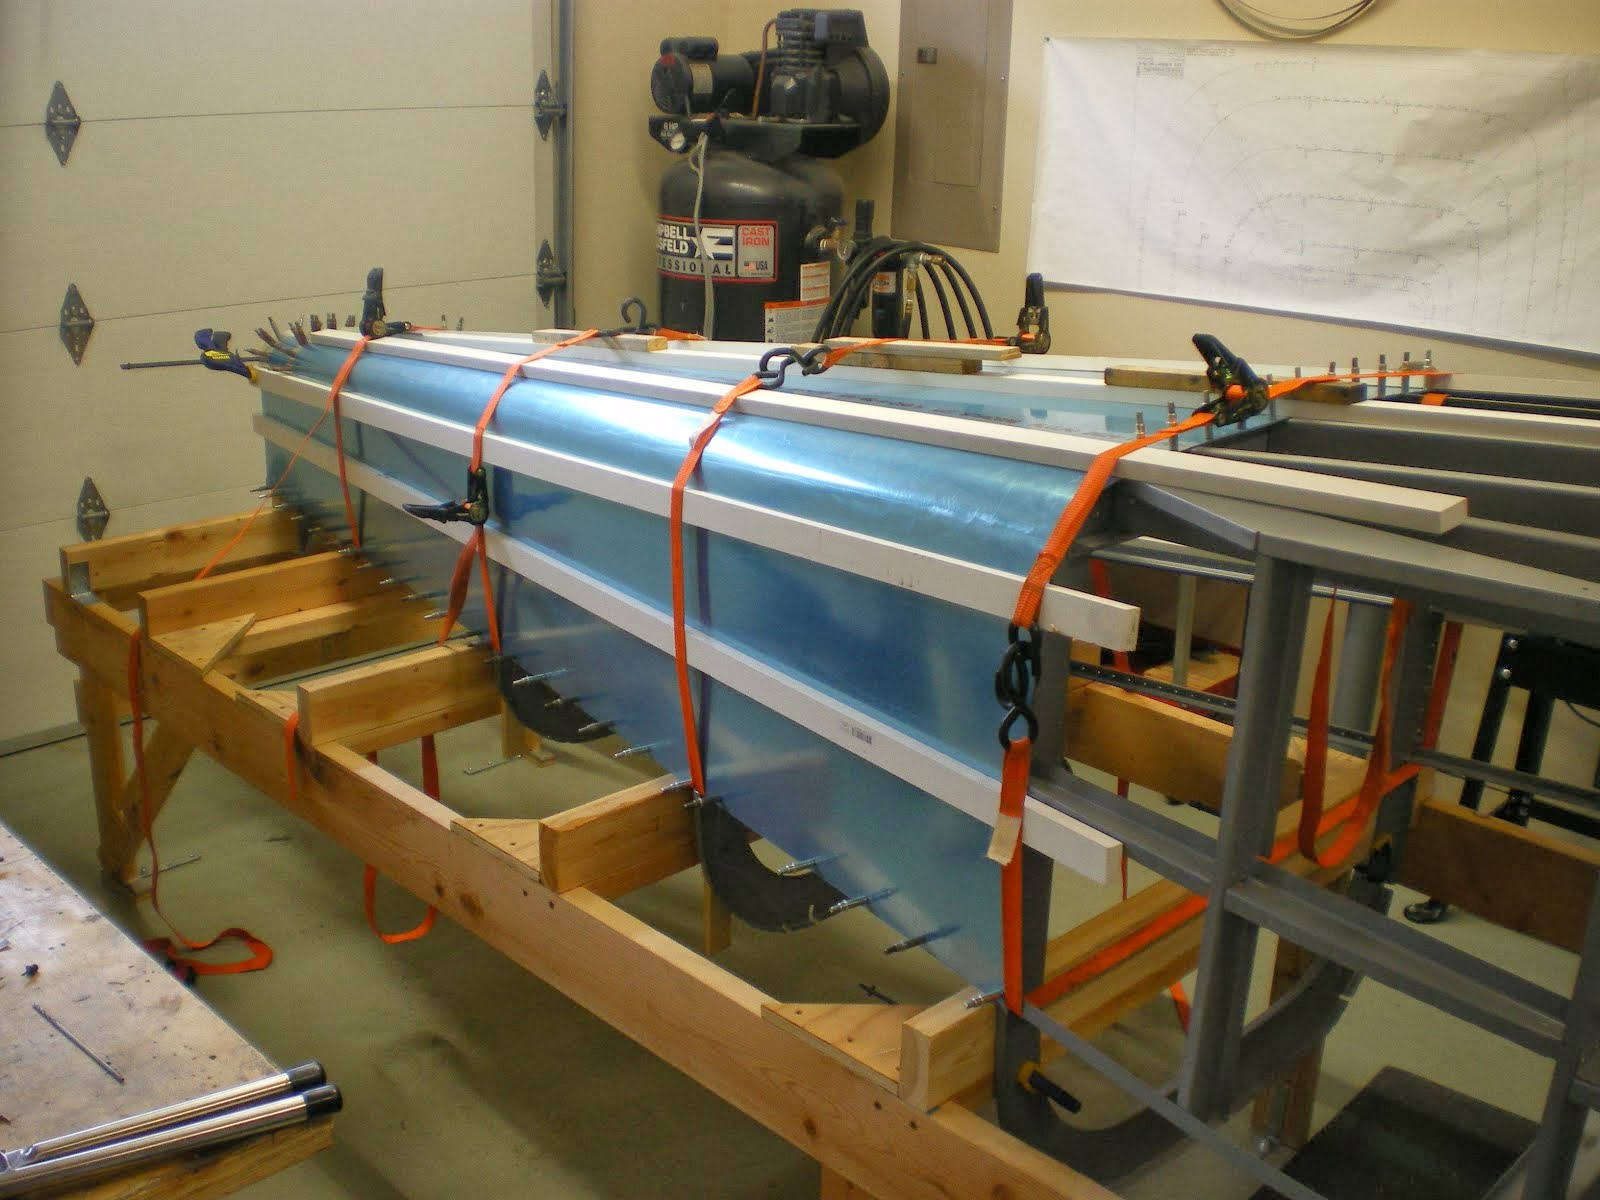
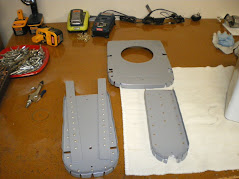
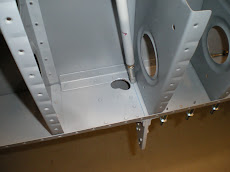
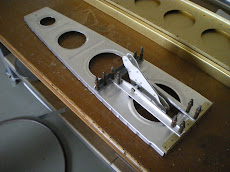
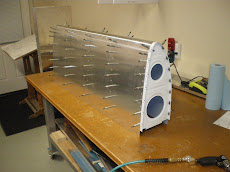
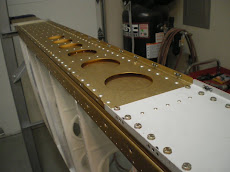
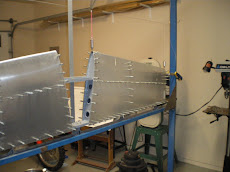
The elevator is made the same way as the rudder-in V blocks aligned on the bench. The major difference to the rudder is that there are counter balances that go forward of the hinge line to offset the weight of the elevator. This makes the controls feel very light and it also reduces the chances flutter in flight. Flutter can rip the control surfaces right off the airplane. It mostly applies to airplanes flying over 200mph. You assemble the skins with the stiffeners and the skeleton then put it in the jig and drill the end ribs to the skins to set you alignment. The spar and skins come predilled. Deburr and dimple all your new holes then it's back into the jig for riveting. All except the tip end where the counter balance is at. You have to fit the conter balance and weight to the tip and drill it all in place. You have to pay attention to the two end ribs and make sure they don't twist during the drilling process. This will give you uneven gaps between your horz stab and elevator. You will see this uneven gap and it will stand out like a sore thumb. Once it's all drilled, you debur , dimple, and prime the inside of the counter balance. Assemble it all together and rivet. Make the tip fit and pop rivet the tip on. Next comes the epoxy/floc you have to do to fill in the end over the counter balance weight. It will have to be molded and then all sanded and filled before painting. I usually wait to do all the tail fiberglassing at once because it sucks.
Subscribe to:
Post Comments (Atom)





















No comments:
Post a Comment