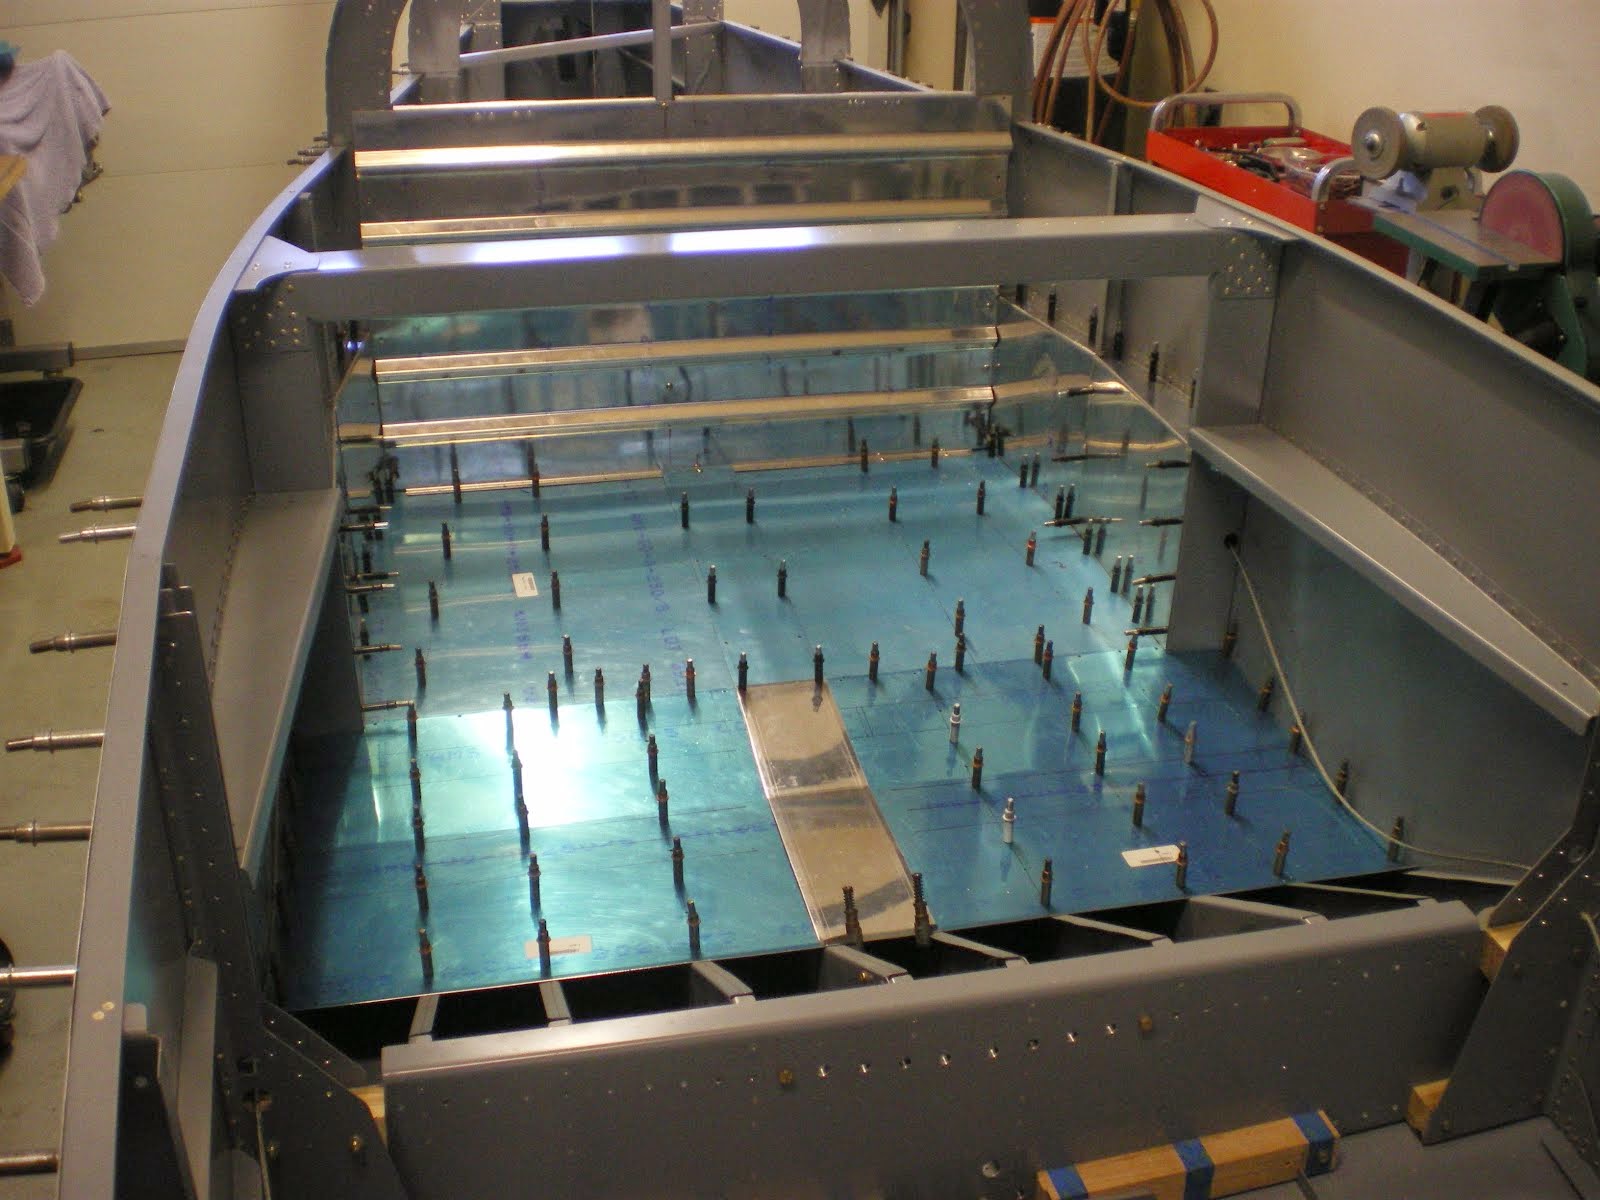
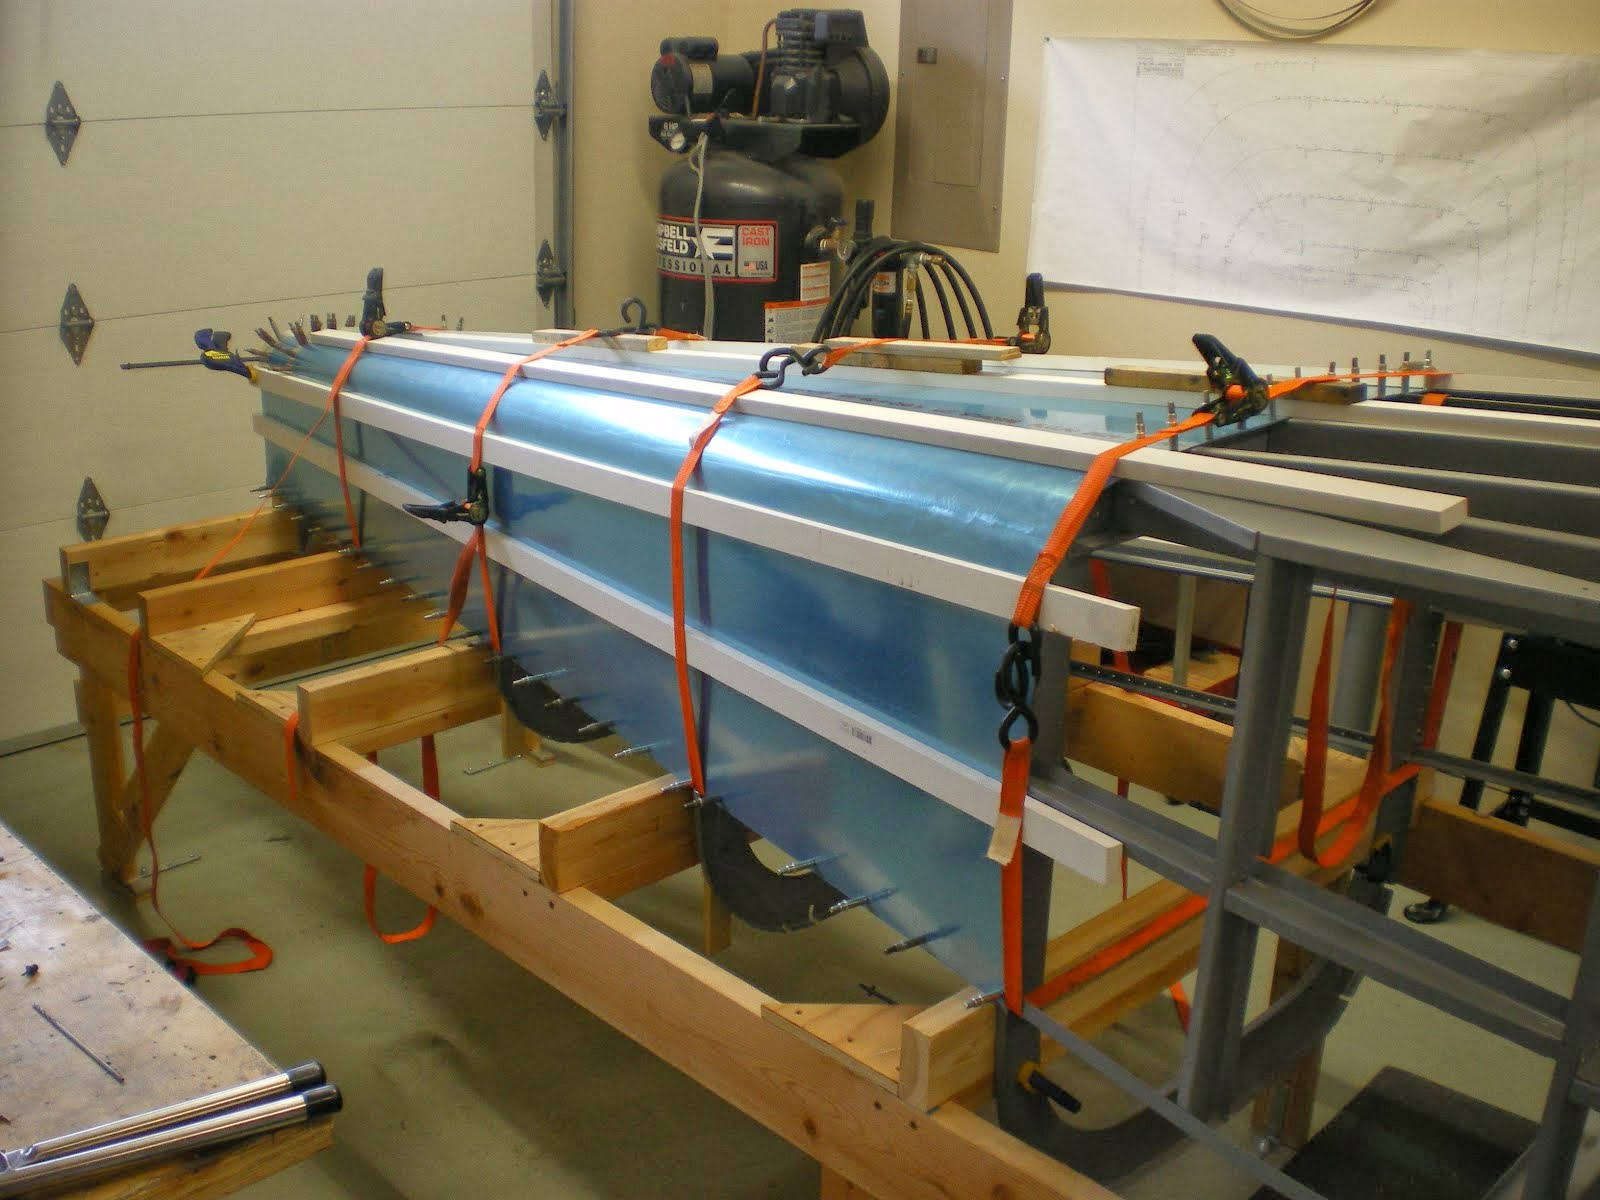
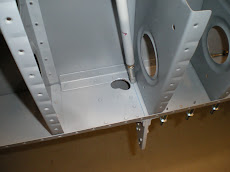
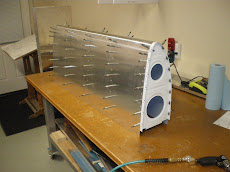
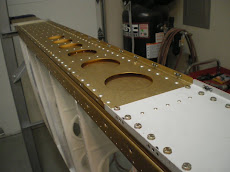
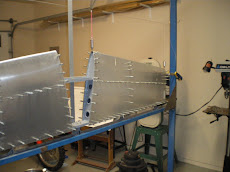
I have finally gotten around to the tank skin. I had to go to Home Depot and get some narrow boards so I can strap down the skin. I lay boards across the skins on top and bottom and then strap it down in about 5 places. The boards apply even pressure across the skin. I start drilling on the top skin near the spar and work my way towards the leading edge of the wing. I then go over the edge and around working towards the bottom spar. I have not drilled the screw hole on the bottom yet due to my skin being slightly long. I have ran it over the edge of the bottom skins and marked them. I have to take the skin off and trim the excess 1/8 inch off. I also did not pre-drill the bottom holes for this very reason. Once the skin is trimmed and has a perfect fit, I will drill all of the screw attachment holes to #19 and start the process of dimpling them. You have to get all the spar nutplates in before you put on the top main skin.
Drilling the tank skin is more complicated then the outboard leading edge skins. You can't reach in the and just move the ribs to find the centerline. You have to measure them and then put the skin on and strap it down. You look for your centerlines and make adjustments as necessary. I have to take the skin off several times to get all my lines to show. I did use a small pick and I pushed the ribs over slightly through the pre-drilled holes to get the lines to be right on center. The tops of the ribs must be right on however as this is where it's secured with thread-all. The ribs have enough flex in them that you can move them 1/8 either way to get things to line up.
I have to use the pick method a lot more when drilling the bottom side. I had one rib on the bottom that did not want to come in line so I have to pull it all apart and make an adjustment. Luckily, I had most of the skin drilled so I had all the holes to line it all back up.
Next thing is pull it apart, trim the edges, line it all back up and drill the screw holes. I also have some very fine filing to do where the two leading edge skins but up to each other. I have a small gap on the nose of the joints. I will file this on the corners near the spar then move the whole asssembly over so I get a perfect but joint. I have not drilled the top screw holes to full size for this very reason. I can move it over a 1/16th and then re-drill the holes to full size.
Saturday, December 26, 2009
Monday, December 21, 2009
Drilling on bottom skins
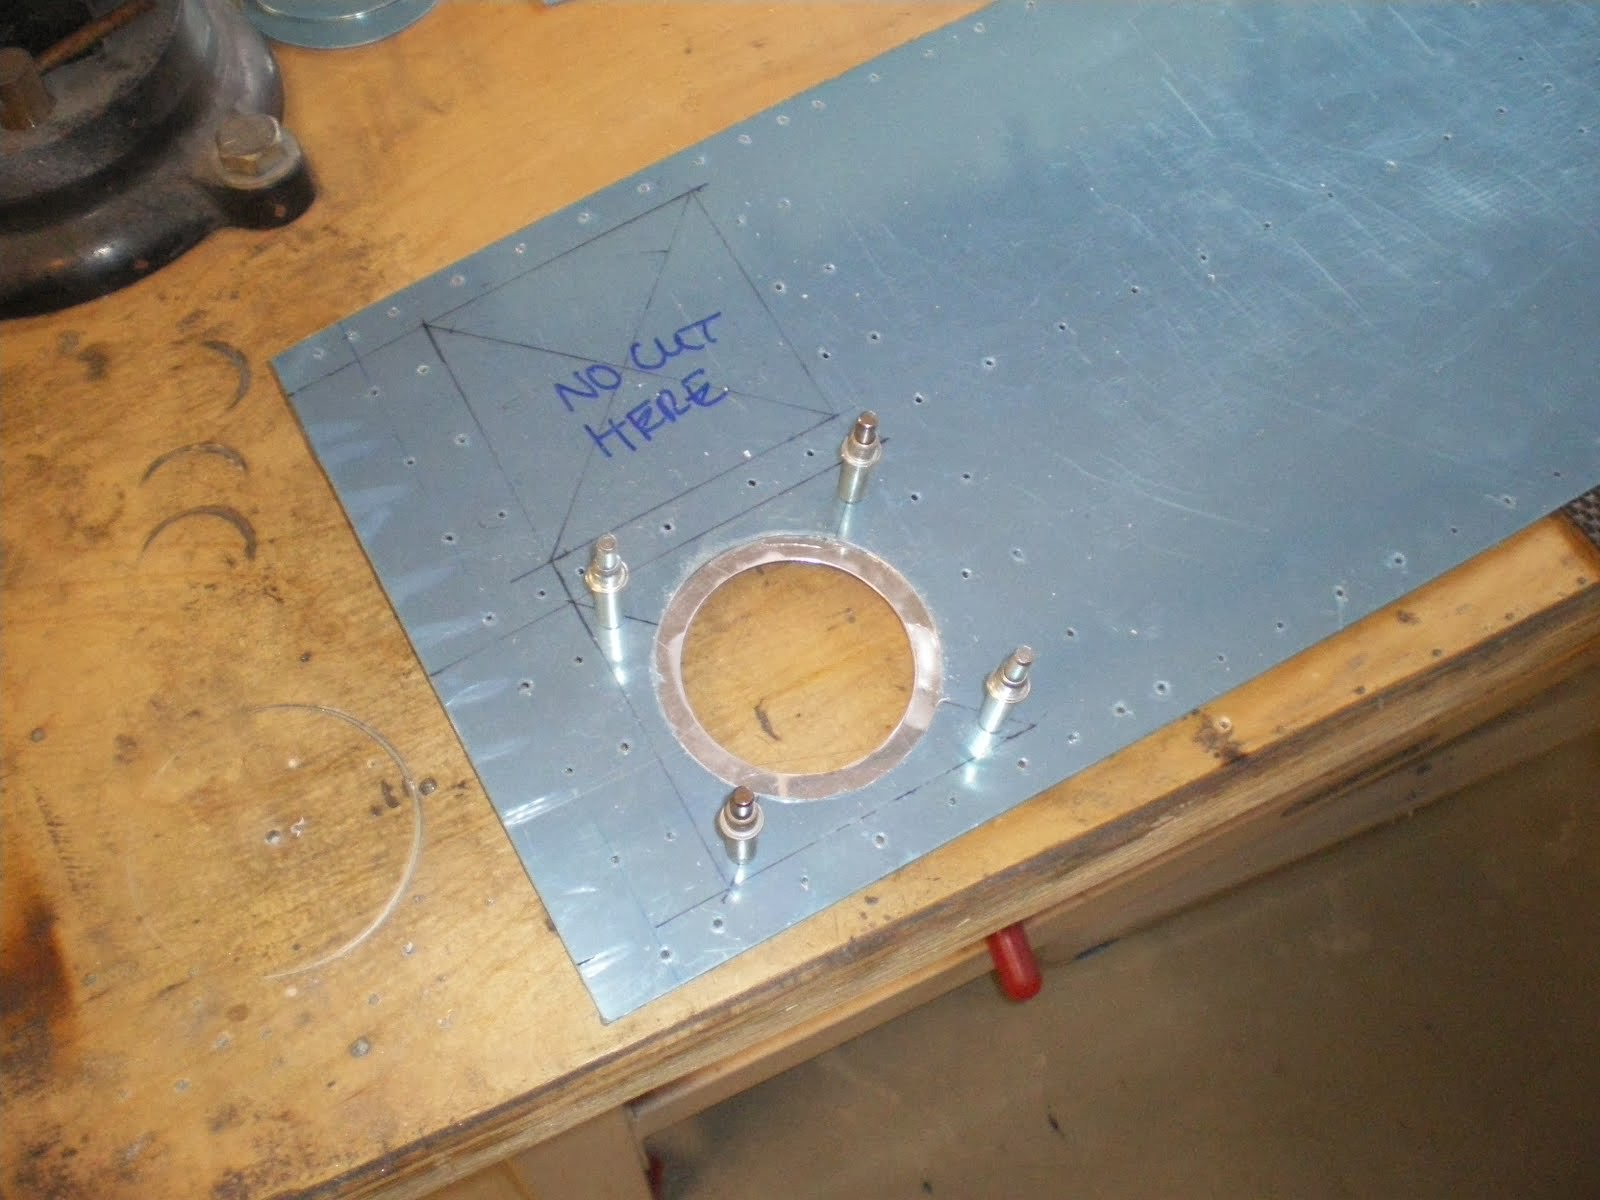
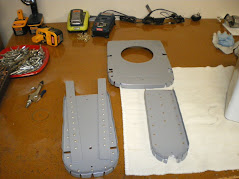
I have drilled the bottom wing skins on. This the last step before I can start drilling on the tank skins. Once I have drilled the tank skin on, it will be time to start pulling skins off and start the long process of deburring, dimpling and priming skins. The one thing I hate about wings is there is two. You have to do everything twice. I have made up the access cover and drilled the screw holes for that as well. I have to make sure and get the nutplates mounted before I attempt to put on the bottom skins. I had to do a little shaving of the outboard skin where the leading edge skin butt joints the bottom skin. It did not fit near the end and so I shaved it down a bit. I have also drilled the overlap of the outboard with the inboard skins. I will joggle this overlap so it is not so pronounced. The you file the edges down so they lay down nice and flat. I though about just doing a one piece bottom skin in .032 but that would be a lot of money. A 4x12 sheet is about 400 dollars now. Then there is all of the cutting and trimming to make it. Plus it's a few more pounds. A few there and here and next thing you know your plane weighs 1200lbs :).
Tuesday, December 15, 2009
Working on tank skins
I have drilled on the top skin and leading edge skin as you can see. Now I am working on the tank skin. I have been getting it ready to drill by using the original skin as a template for drilling the hole pattern where the rib stations are located. I cannot use the whole skin due to my tank being bigger than stock. My ribs are slightly closer together and I have two more of them in total. I have to take the skeleton and mark the layout of the ribs onto the skin. Then I take the stock skin and lay it over the bigger skin. I back drill the rib station onto the bigger tank one at a time. I use the very edge of the skins to align with each other. I then can see the marks I made through the drilled holes in the stock skin. I clamp everything down an then drill away. It took about two hours to layout the top and now I have to work on the bottom. I not drilling the holes in the back baffle or top of the spar flanger area because I want to move them to actual centers. The stock skins are just slightly off, which is one draw back of have skins drilled and not the ribs or spars. The new kits have everything "matched hole" so there is not this problem anymore. It is nice to have the skins as templates for certain things as it saves a lot of layout time. It also makes are your rib lines straight looking. Hand built airplanes have wobbly looking rivet patterns because they are hand drilled and it's hard to get everything perfectly straight.
Friday, December 11, 2009
Drilling on leading edge skin
I have drilled on the outer leading edge skin. This skin is .032 compared to the .025 skin provided in the kit. It will be stronger and it's same thickness as the main skin so there will be no lip at the butt joint. I used some plywood stringers and ratchet straps to clamp the skin down to the ribs. This really works nice to stretch the skin out over the ribs and hold them down. I mark the center line of the ribs with a red marker, then just pull the ribs in alignment by looking at the line through the pre-drilled holes in the skin. If you lay out your ribs off the skin it works well. If you the measurements from the plans your ribs will be off the centerline from the skins and then you'll be pulling them over into place. Next will taking everthing apart and deburring the holes, dimpling, priming and then riveting. I will build a cradle for the leading edge so I can rivet it off the wing.
Tuesday, December 8, 2009
Top Wing skin drilled
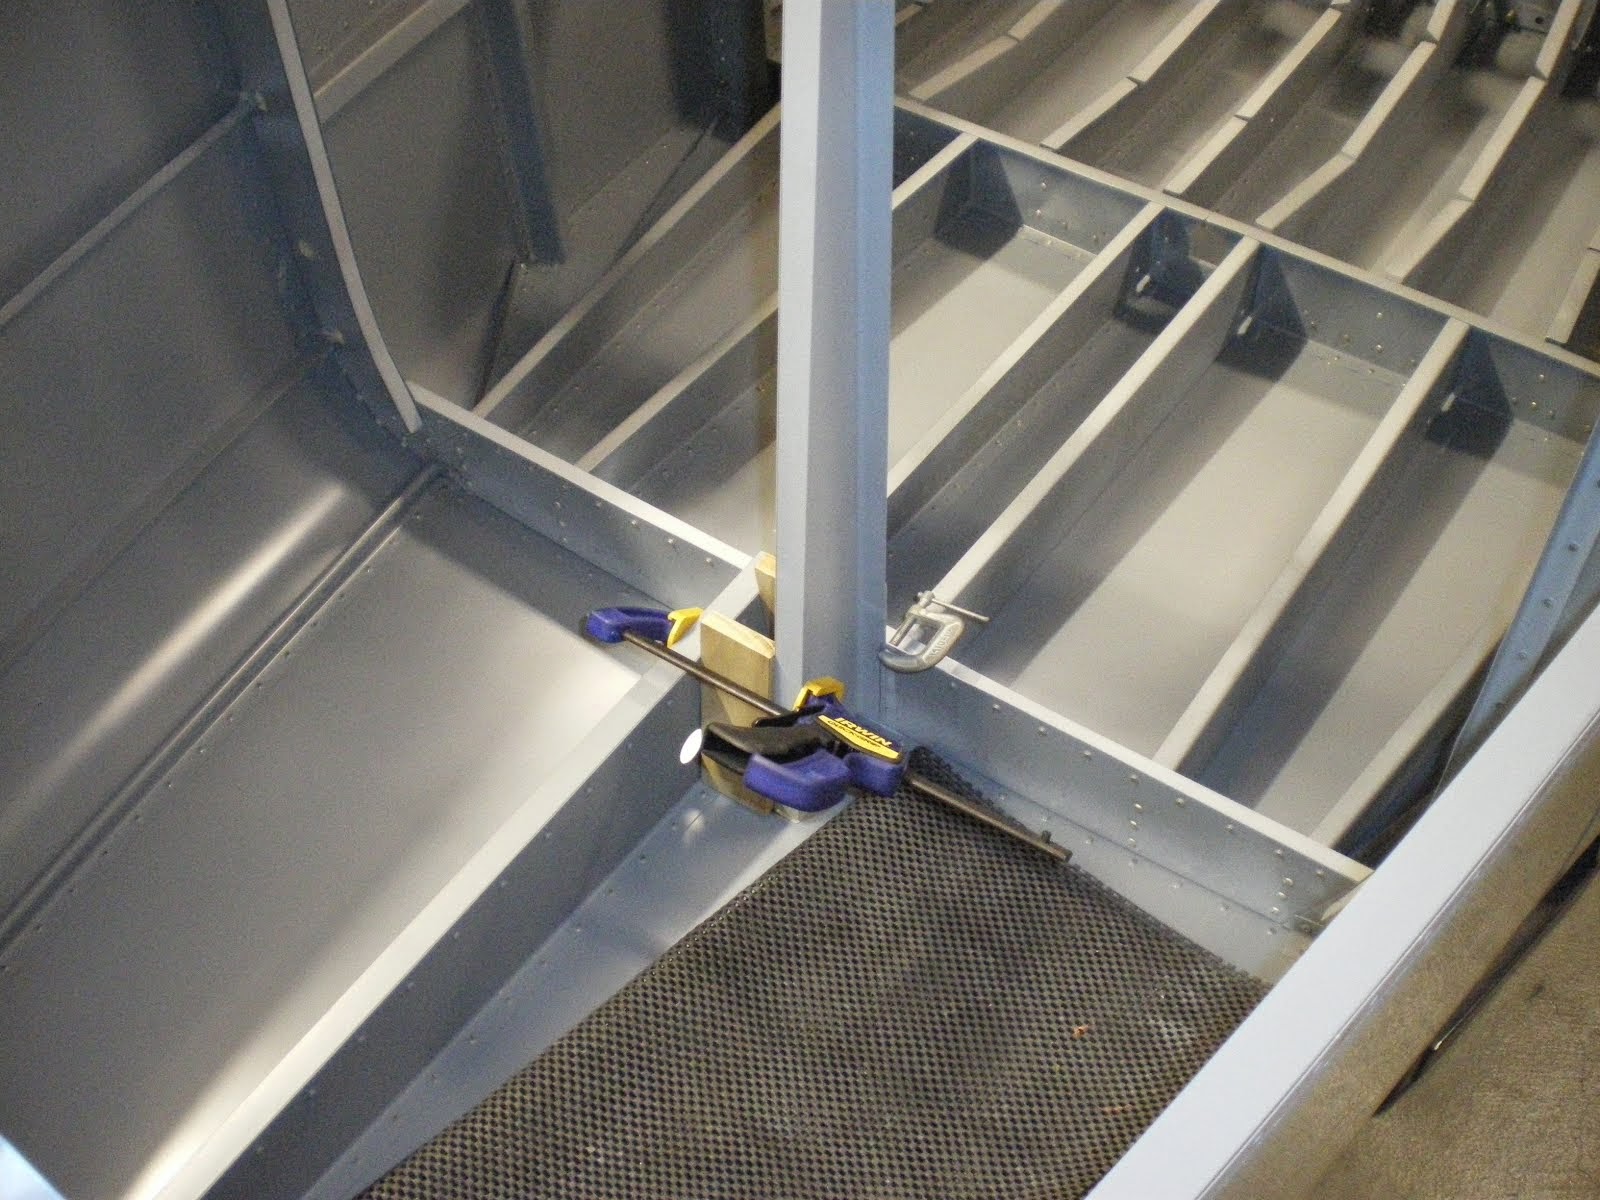
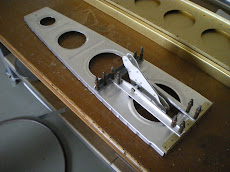
I have drilled on the top wing skin. I have mounted the stub rib to the rear spar and wing skin. I have also mounted the bellcrank braces at stations 73.5" and 83.5". This helps reinforce the bellcrank rib from forces applied by the aileron. I have also drilled on the leading edge skin to the top spar to mount it. I will clamp it down and put straps on next, then I will drill the rest of the skins on after that. I have to brace the root rib so it's square to the spar flange and then put thread-all in the leading edge ribs to keep them at equal distances apart.
Tuesday, December 1, 2009
Doug Eves is coming out West
I spoke with Doug Eves today and he is going to try and get out West in June/July of 2010. I look forward to seeing Doug and his pretty RV-6 that I built. Doug keeps the plane in pristine condition and it is basically his third child. I never had any regrets selling my RV-6 to Doug as I know it's kept in top condition and he thoroughly enjoys flying the plane. You have to be a builder to understand the satisfaction you get knowing someone else is enjoying the fruits of your labor. I also know that Doug appreciates my efforts in building the plane. Besides, now I have to build one a little bit better or he will never let me live it down. I also plane to blow his wheel pants off with this one by making it faster. I hope Doug makes it out and we can explore the Northwest and BC. Maybe even get in a little fishing too!
Back Drilling the Wing Skins
I have back drilled the outboard wing leading edge skin. The original is .025 and is much longer than mine. I have a .032 leading edge skin that I got from Harmon. My RV-6 wing is the same length as the standard RV-6 wing. However, my gas tanks are longer-thus holding more gas. The leading edge skin is therefore shorter and I have upgraded it to .032. My tank skins are longer than the original and my ribs are closer together for added strength. I have back drilled the four outboard rib locations to my .032 skin. I will have to blind drill the edge rib that it close to the gas tank. The next thing I must do it start drilling the main wing skins onto the ribs before I can start drilling on the leading edge skins.
Subscribe to:
Comments (Atom)


