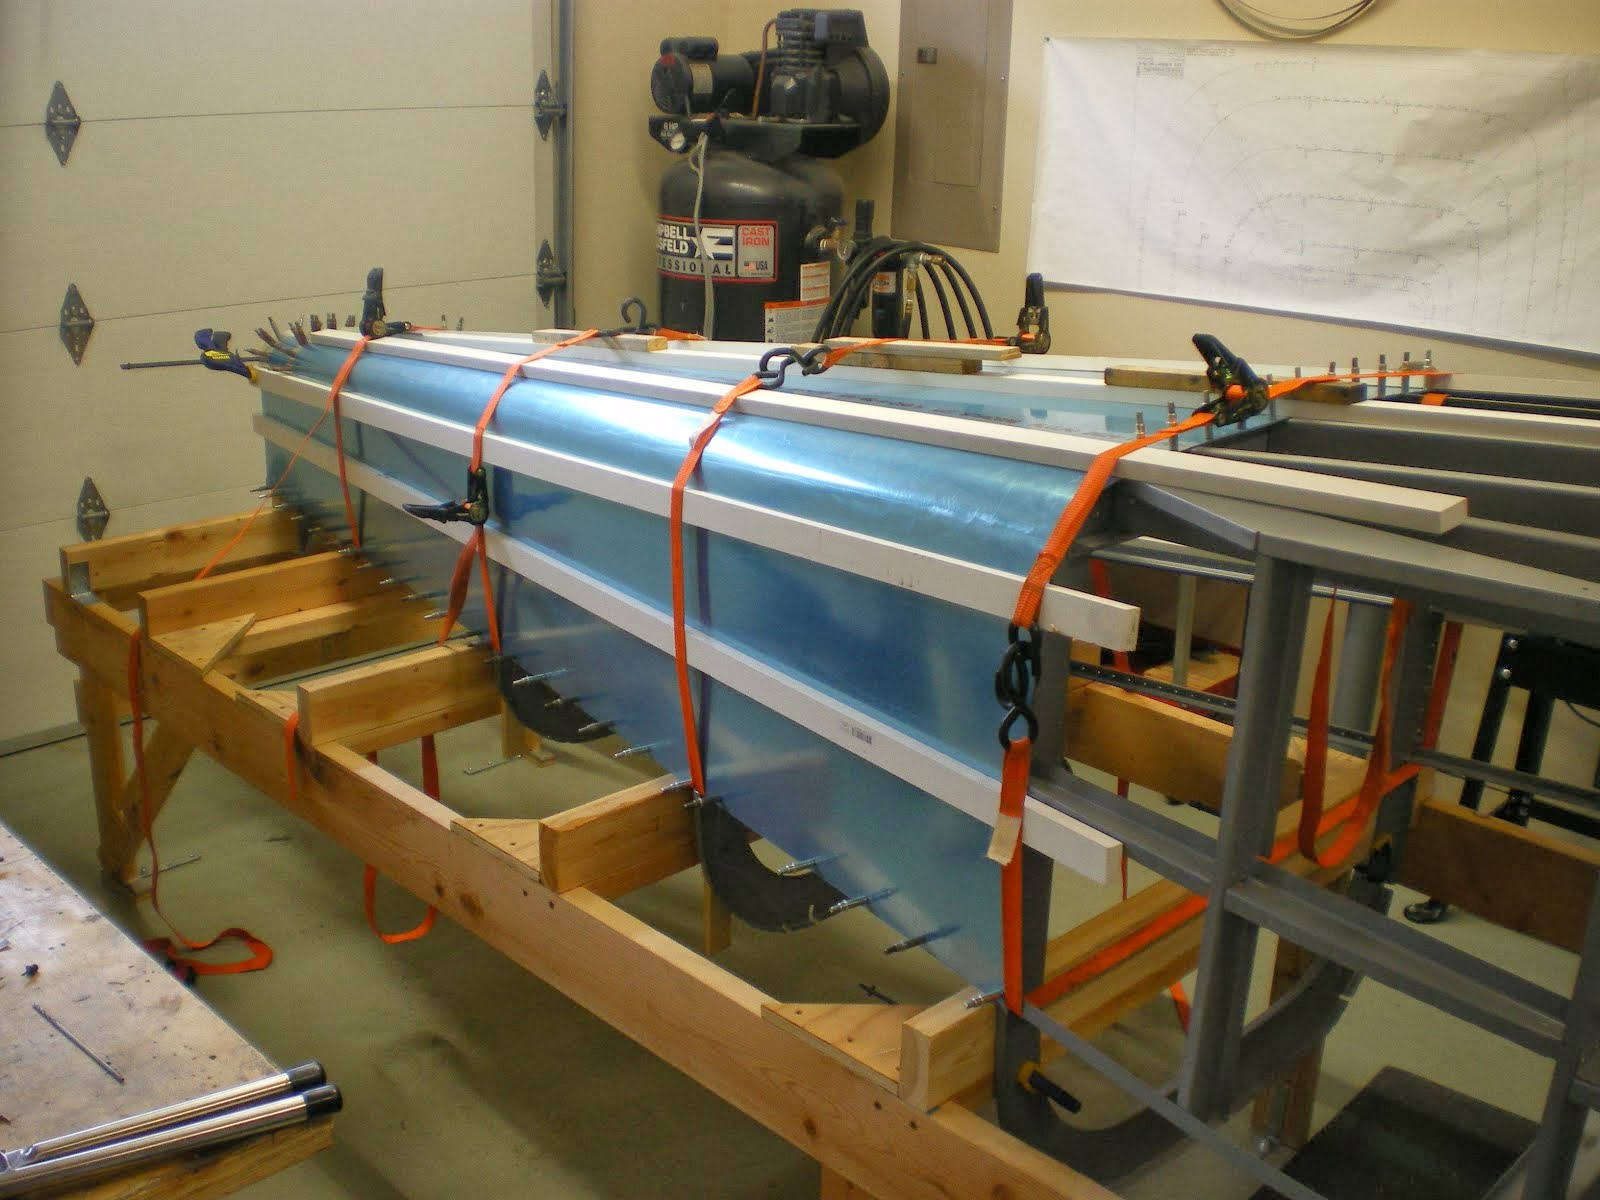
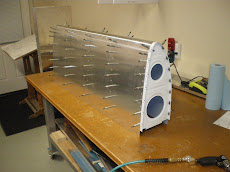
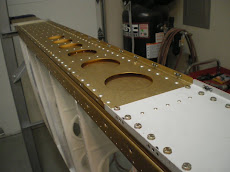
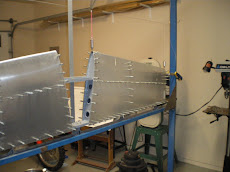
I have finally gotten around to the tank skin. I had to go to Home Depot and get some narrow boards so I can strap down the skin. I lay boards across the skins on top and bottom and then strap it down in about 5 places. The boards apply even pressure across the skin. I start drilling on the top skin near the spar and work my way towards the leading edge of the wing. I then go over the edge and around working towards the bottom spar. I have not drilled the screw hole on the bottom yet due to my skin being slightly long. I have ran it over the edge of the bottom skins and marked them. I have to take the skin off and trim the excess 1/8 inch off. I also did not pre-drill the bottom holes for this very reason. Once the skin is trimmed and has a perfect fit, I will drill all of the screw attachment holes to #19 and start the process of dimpling them. You have to get all the spar nutplates in before you put on the top main skin.
Drilling the tank skin is more complicated then the outboard leading edge skins. You can't reach in the and just move the ribs to find the centerline. You have to measure them and then put the skin on and strap it down. You look for your centerlines and make adjustments as necessary. I have to take the skin off several times to get all my lines to show. I did use a small pick and I pushed the ribs over slightly through the pre-drilled holes to get the lines to be right on center. The tops of the ribs must be right on however as this is where it's secured with thread-all. The ribs have enough flex in them that you can move them 1/8 either way to get things to line up.
I have to use the pick method a lot more when drilling the bottom side. I had one rib on the bottom that did not want to come in line so I have to pull it all apart and make an adjustment. Luckily, I had most of the skin drilled so I had all the holes to line it all back up.
Next thing is pull it apart, trim the edges, line it all back up and drill the screw holes. I also have some very fine filing to do where the two leading edge skins but up to each other. I have a small gap on the nose of the joints. I will file this on the corners near the spar then move the whole asssembly over so I get a perfect but joint. I have not drilled the top screw holes to full size for this very reason. I can move it over a 1/16th and then re-drill the holes to full size.
Subscribe to:
Post Comments (Atom)





















No comments:
Post a Comment