Friday, March 30, 2012
Firewall
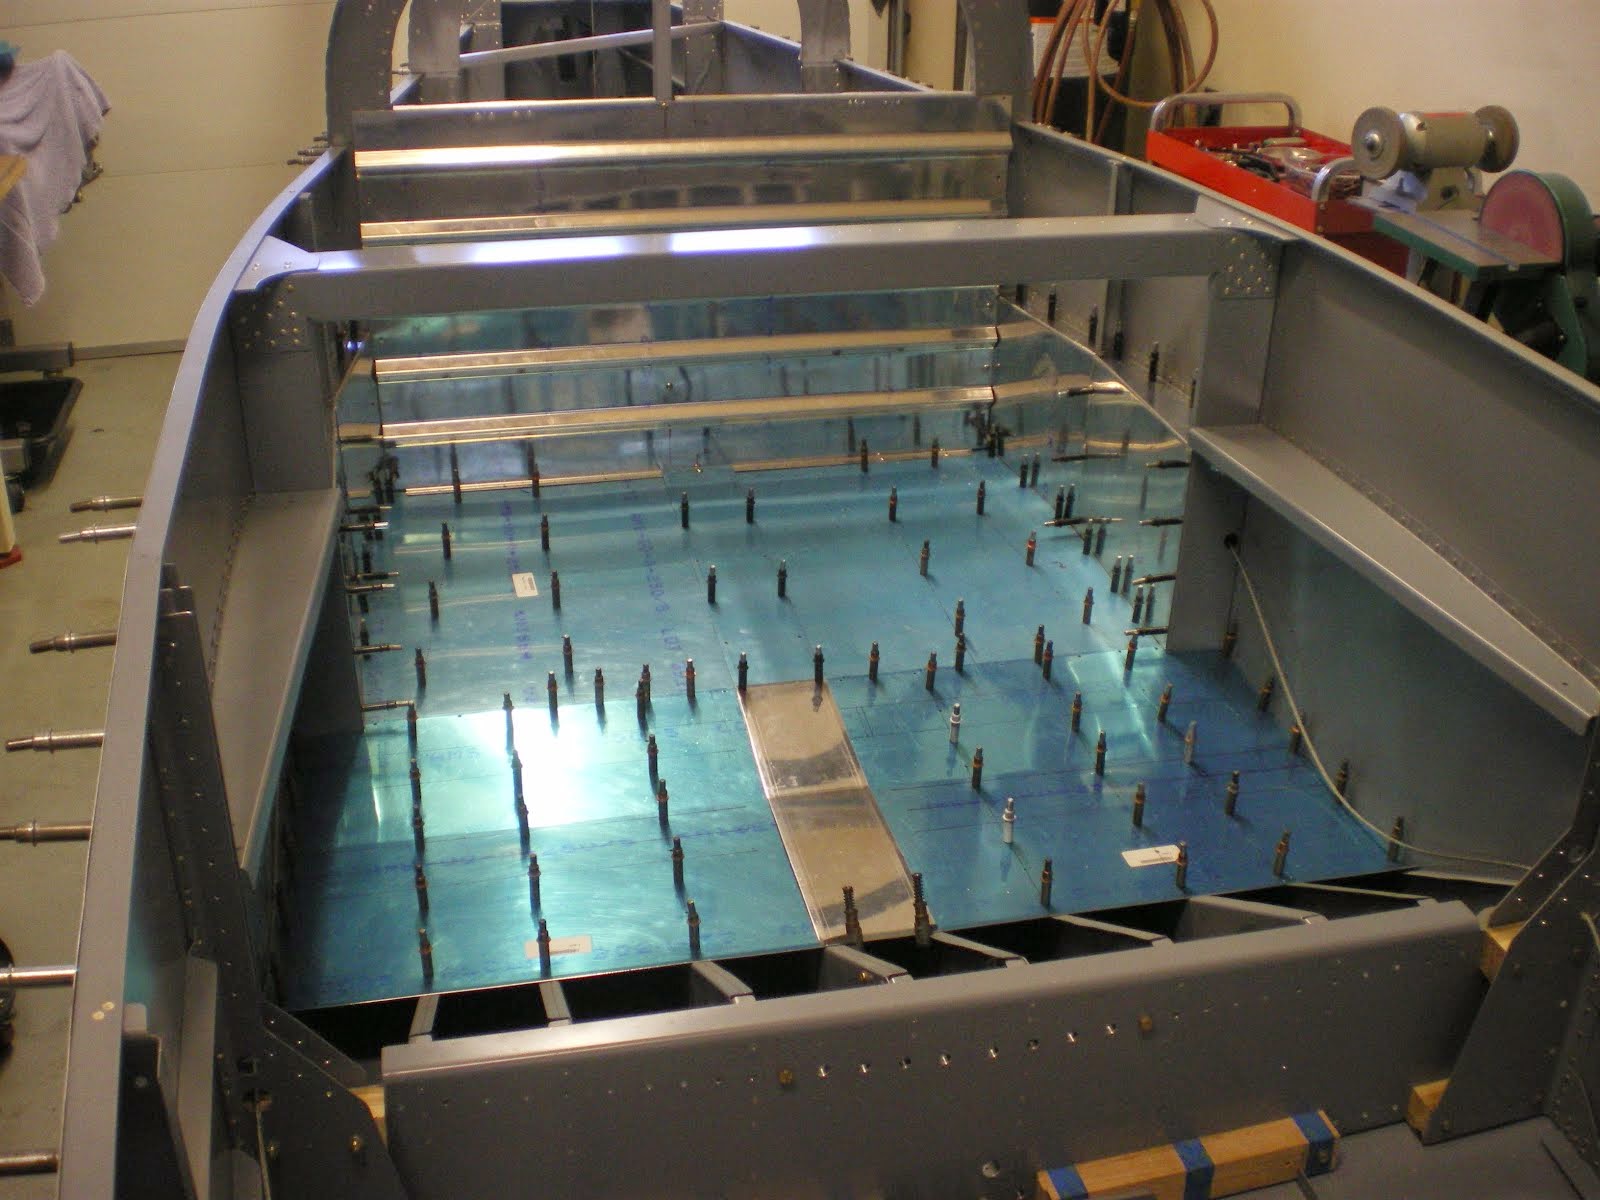
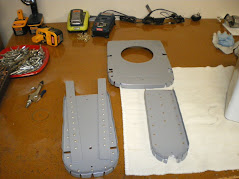
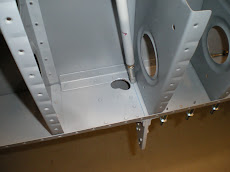
I have the firewall all riveted together. It has taken a long time to get to this point since there is so many things that are mounted on the firewall. The batter box, starter/master solenoids, brake fluid resevoir, heat box, ground strap, all cable penetrations and sending unit block. The list goes on and on. All of these items has to be located, drilled and mounted so they all fit. After that is done, then you have to fit the engine mount to the firewall and drill all six holes. I have started drilling the engine mount as I need these holes in the firewall so I can mount it in the jig. The engine mount will also help me locate more items like the fuel line penetration and a few other things. I still have to seal around the prop governor box and then paint the angles grey for the interior color. This way I will not have to do it later which is a real pain to mask off when it's in the plane. I still have about two or three days more work to go this thing before I can set it aside and work on another bulkhead.
Sunday, March 11, 2012
Fabbing the firewall
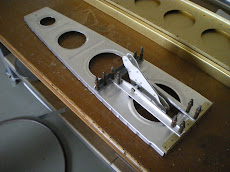
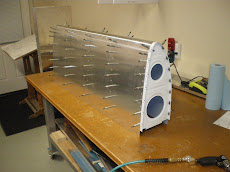
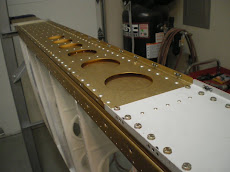
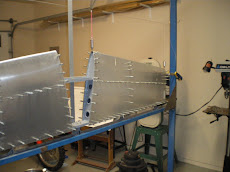
I have finished the wings for the most part. My next project to tackle before I can start building the fuselage is getting all of the bulkheads fabbed up. The center section was completed several years ago because it came with the wing kit. Now I am working on the firewall.
The firewall is a lot of work due to the amount of small parts that make it up to complete the structure that holds all of the longeron brackets. These are steel weldments that will attach the firewall to the longerons. It's the main structure that transfers the load of the airplane to the fuselage. There is also a ton of other things that attach to the firewall as well.
The battery box, master solenoid, starter solenoid, heat box, brake resevoir, brake line reinforcements, cable pass throughs, sending unit block.....ect.
So each one of those items has to be carefully laid out and drilled.
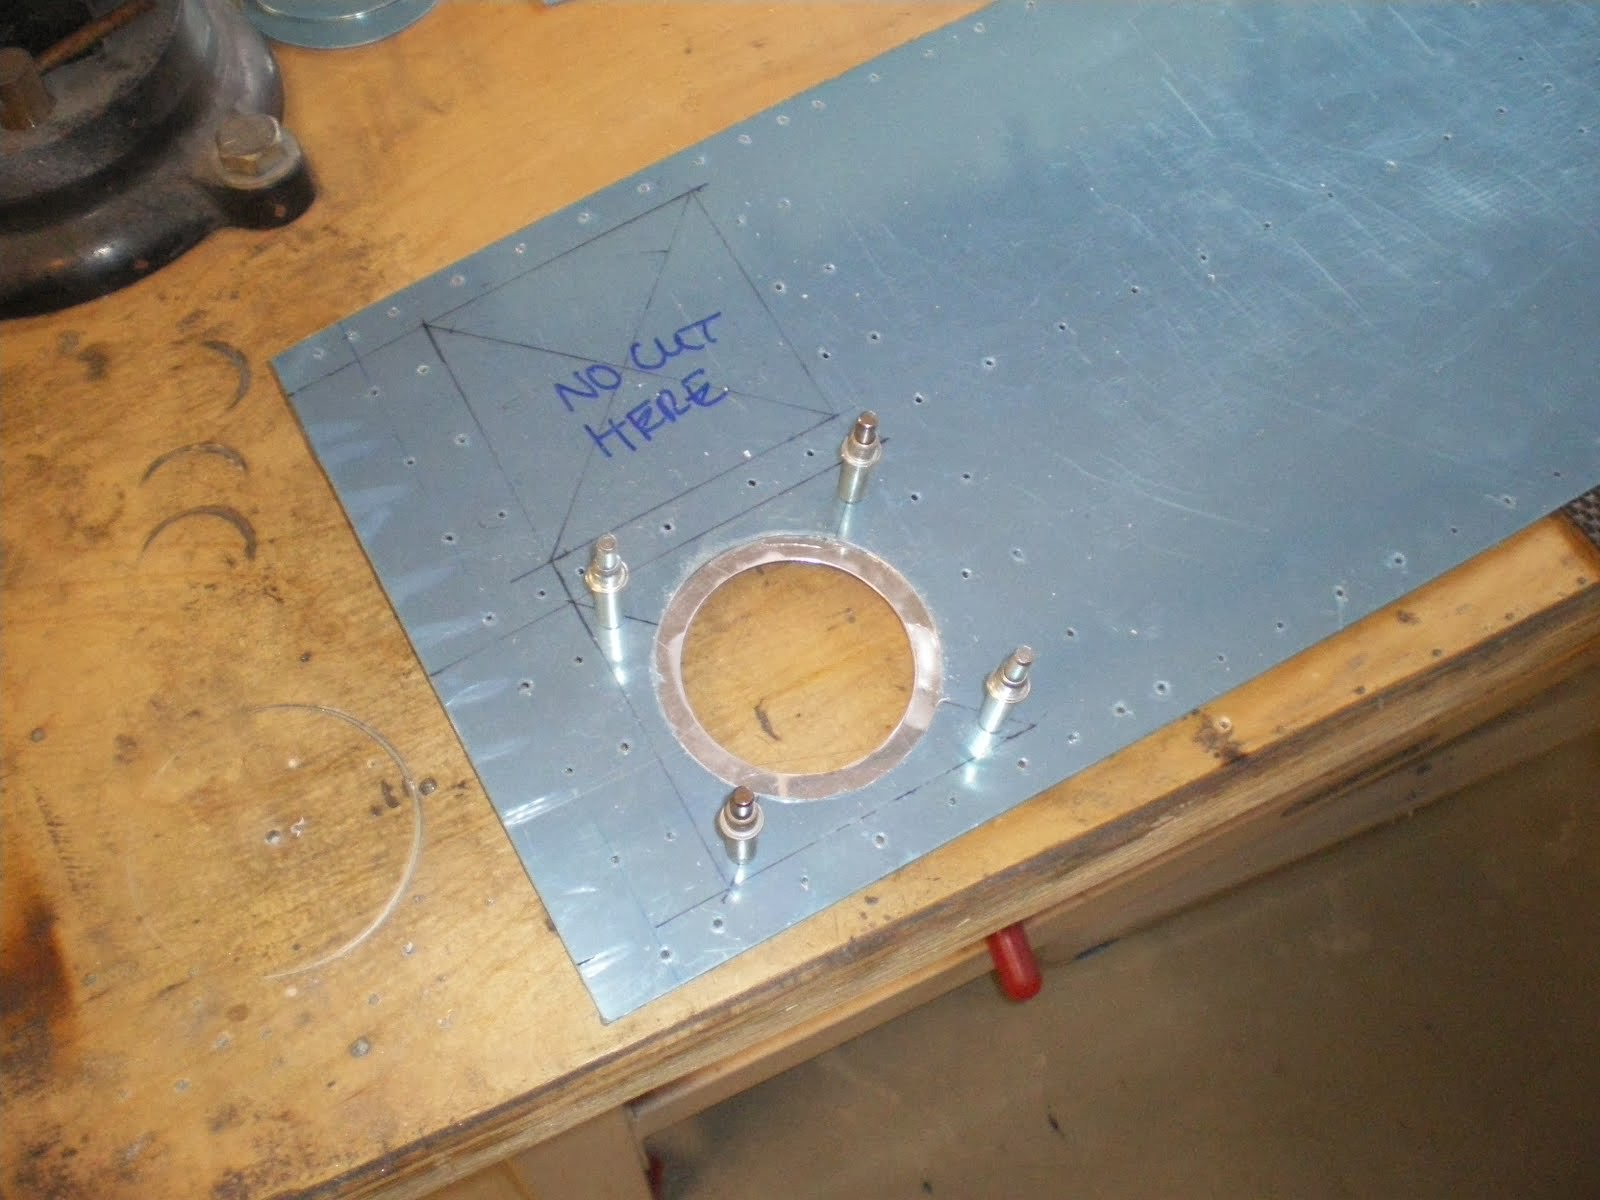
Drilling Stainless is not easy. Cutting holes in it is not easy either. Small uni-bits work ok but holes saws have to used for larger holes.
Then after all this is done, you have to add nutplates so you can attach all this stuff. Nutplates work well so you don't have to crawl inside the airplane and lay on your back to get at nuts while someone on the outside holes the bolts. With the nutplate you can just pull out the bolts and take off the piece you're working on and replace it (like a starter solenoid).
I am going off of the RV-7 plans side that is what they sent me for a firewall. The firewall is a little different in that it is NOT as beefy as the RV-6 firewall. The 6 has an X bracing across both sides of the back on each side of the governor cutout. The 7 only has one angle that goes from the bottom corner up to the top of the governor cutout. I guess that Van's re-engineered the RV-7 firewall and found out that they did not need the extra angles for strength.
I am now taking everything back apart and the process of deburring, countersinking, dimpling, etching, alodining, and then priming will take place before I can paint them. I think that I am going to paint them the interior gray color so I can just mask the whole firewall off when I spray for interior paint.
Subscribe to:
Comments (Atom)


