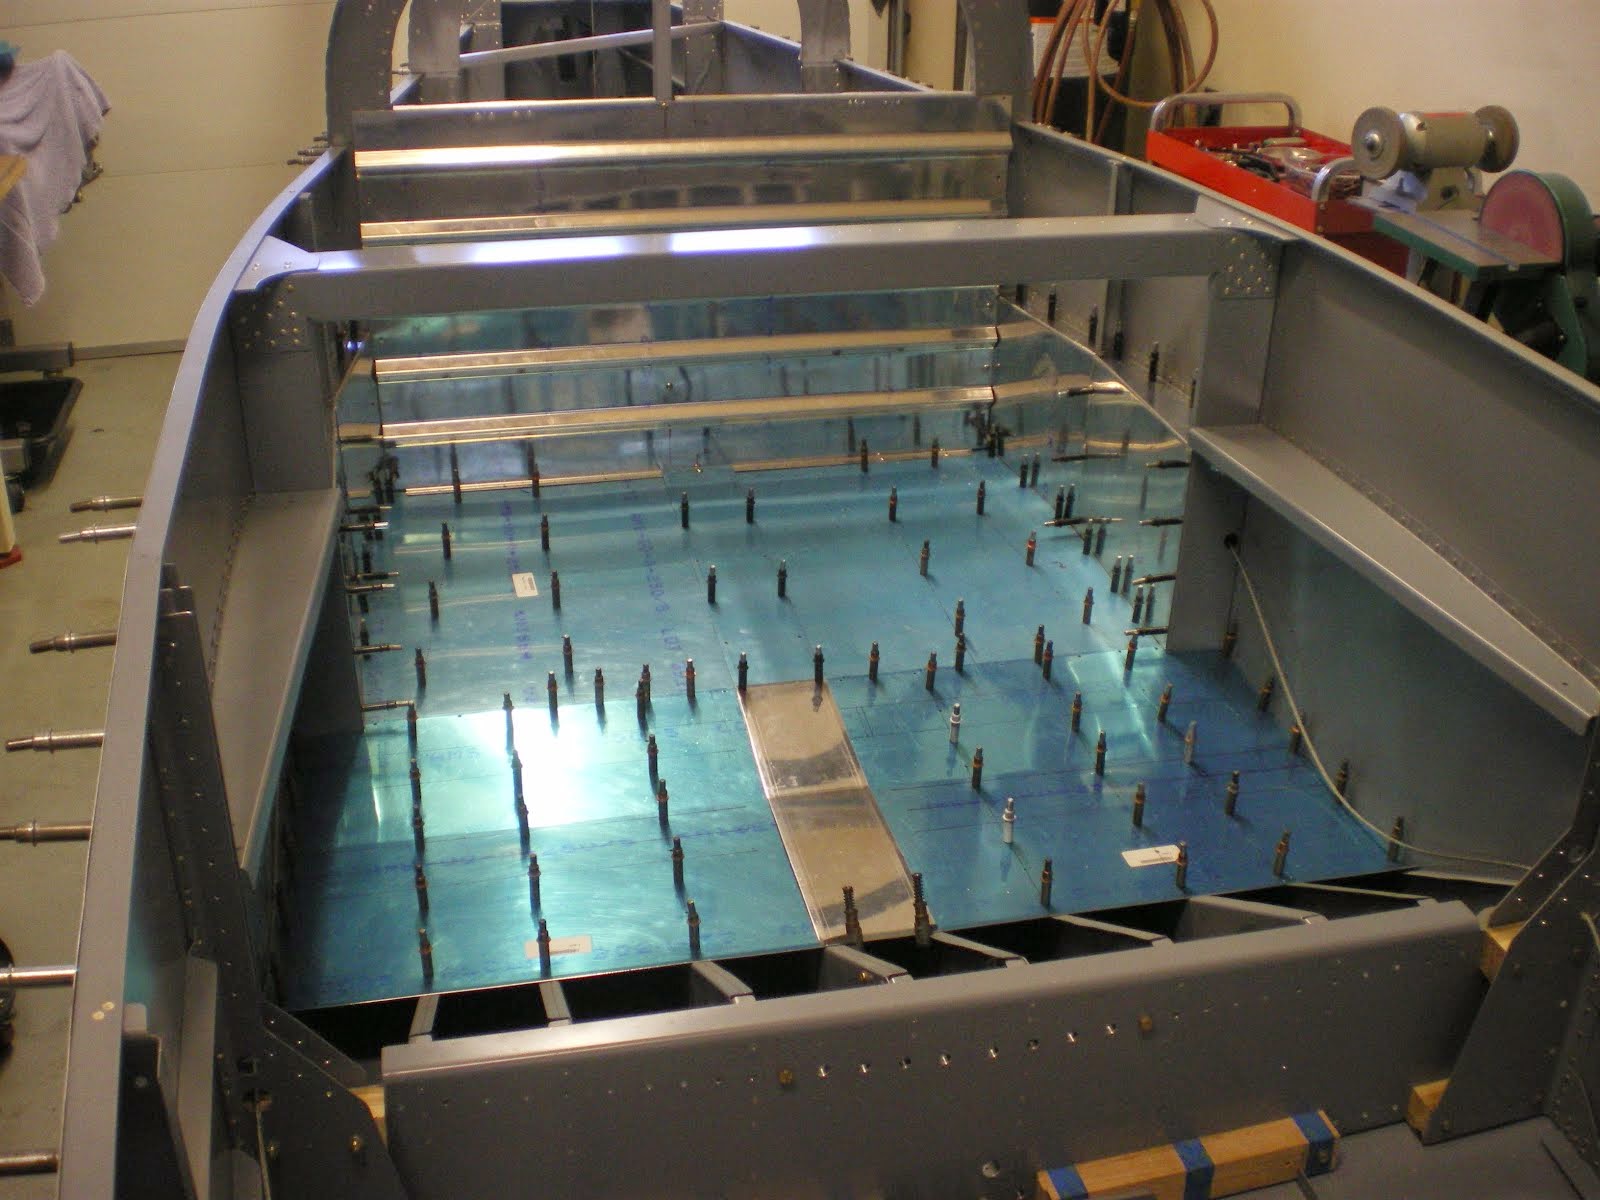
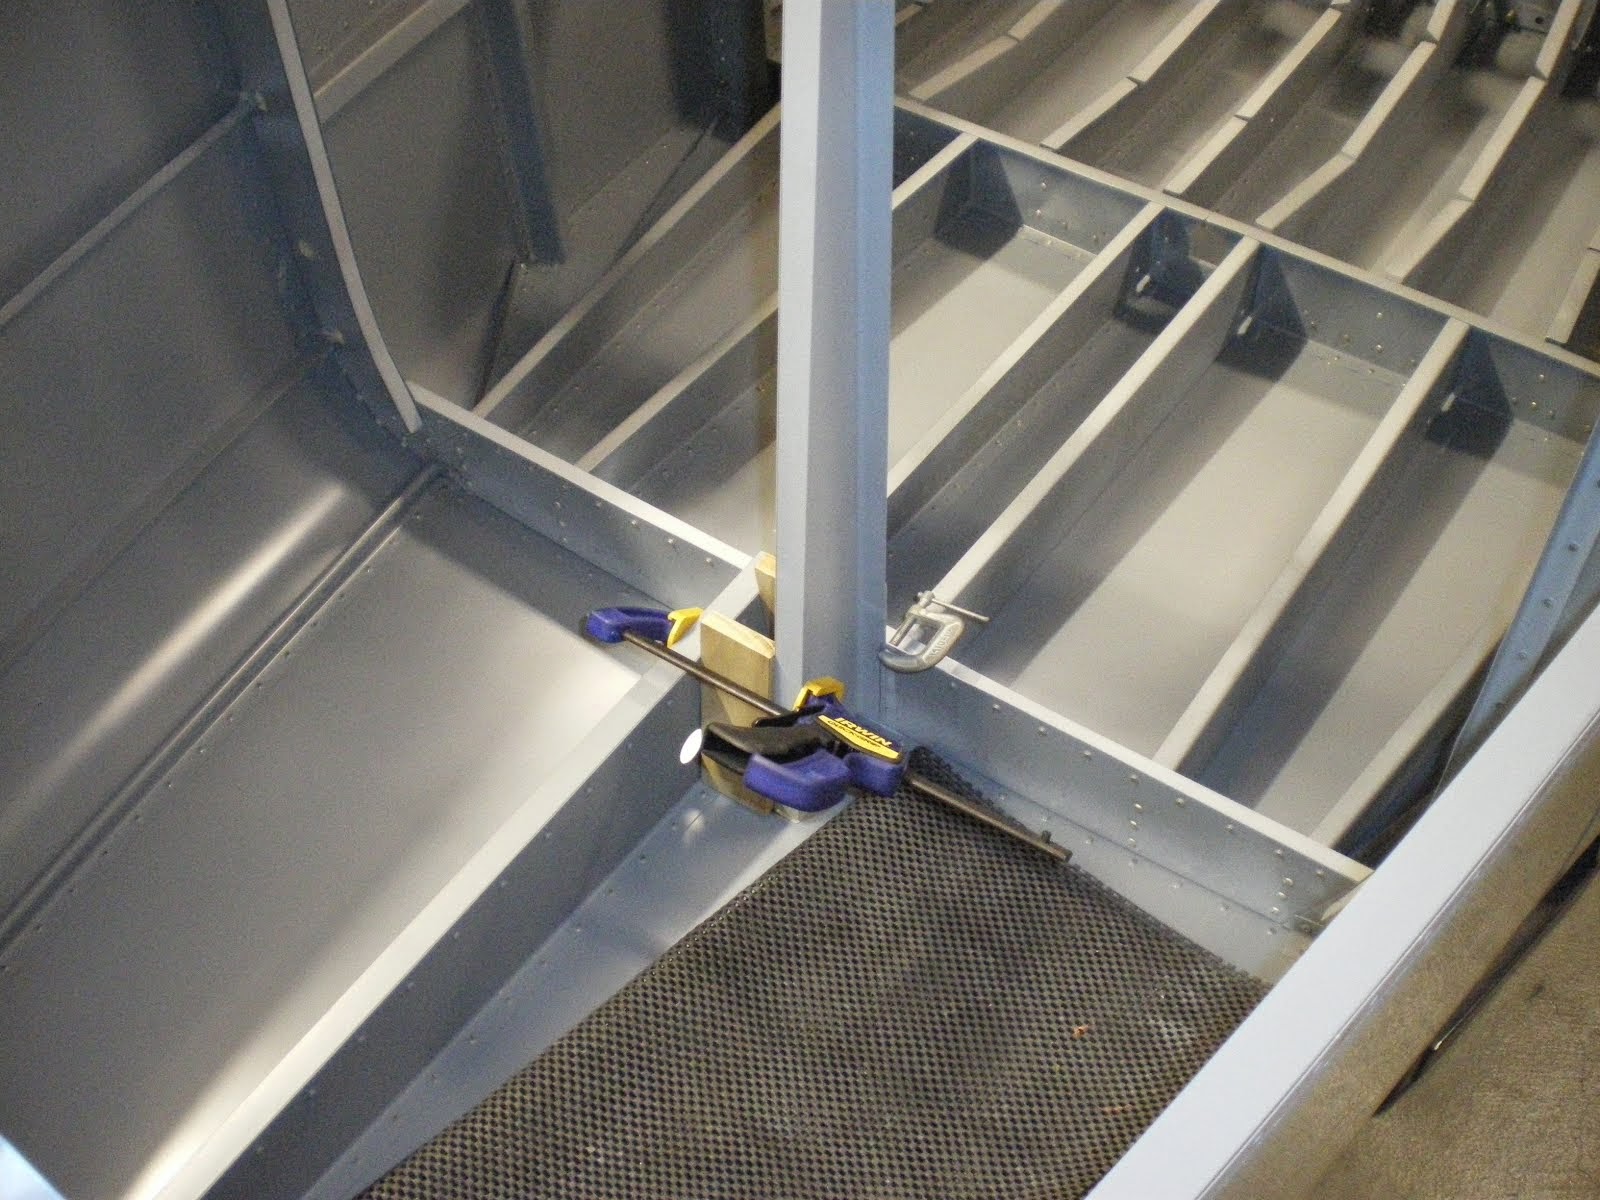
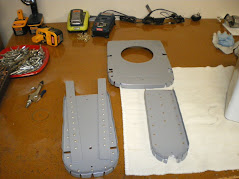
In the past few weeks I have been working on getting the cockpit floorboards installed in the plane.
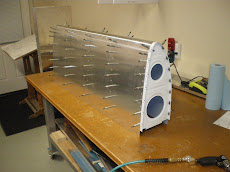
There is quite a few nutplates to install in the cockpit with all the panels that need to be removed for inspections. I wanted to get the floorboards and side panels done before I went back to the tail and finished up the turtle. There is a lot of work in the baggage area and it's a lot easier to get in there without the turtledeck skins on.
On the last RV-6, I worked from the inside and was constantly climbing in and out of the plane. It was hard work kneeling down and trying to get at everything. Over the years I have learned to work smarted, not harder. This stems from experience.
With the fuselage open and set at the correct height, you can simple lean over the reach almost anything you need to get at.
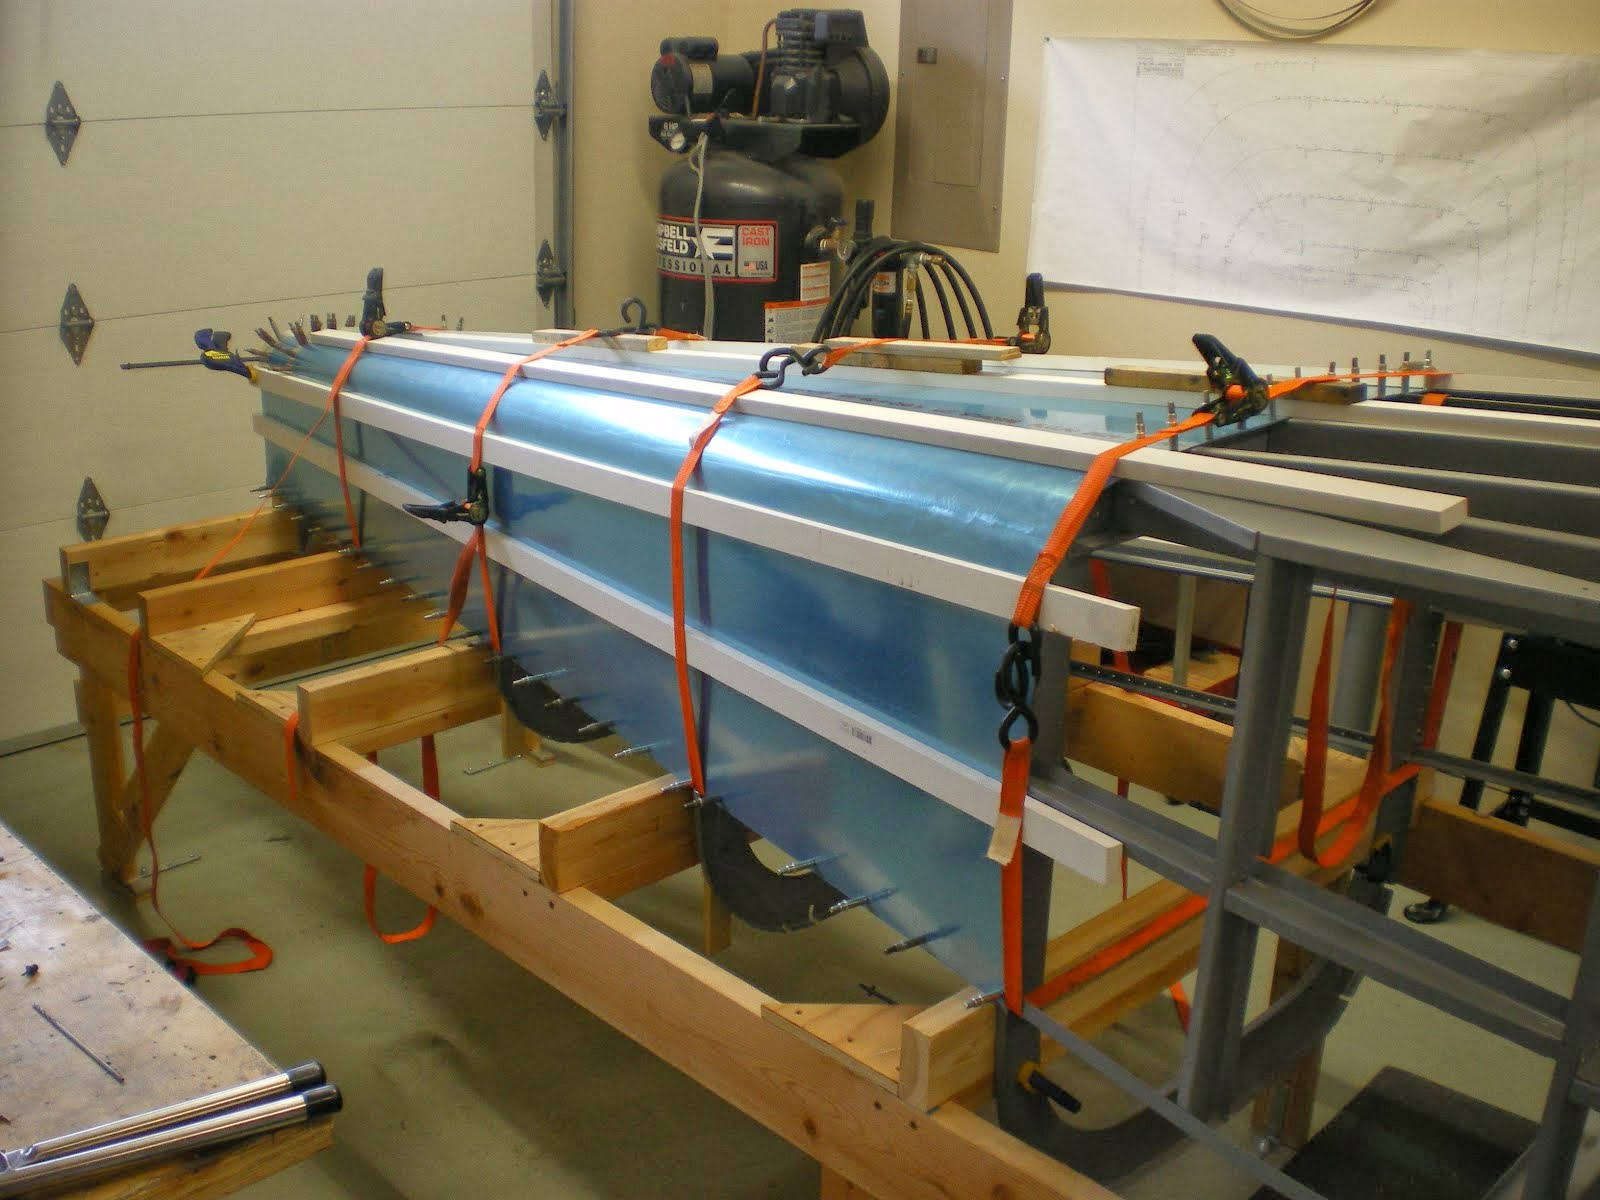
The baggage compartment panels were all fabricated by me. Vans does not provide the correct panels. I don't know what people do with the ones supplied in the kit but they just don't fit. I have to make them for the first RV-6. After I got those done, I made the baggage floor boards, then the seat pans and seat backs. Then the last part was to make the stick covers. These are tricky since they have to fit around the centersection. Getting a good fitment is critical because air will blow in from the wings and blow around your legs. In cold weather, you will find out where you did not get a good fit and the spaces will blow out ice cold air. On this plane, I got a excellent fit and I'm really happy.
I spent a better part of the week just putting in nutplates. Then I had to get paint since I ran out of primer. I am using OMNI primer and urethane paint. I went to get some PPG DCC single stage Concept paint and they wanted 232.00 a quart!!! Uh, no thanks.......
I had the paint store match the old color than was in the first RV-6. Northwest Orient Gray (33131) and then I add 30g of black toner to each quart. This gives me a nice light gray that hides lots of imperfection in the parts. I sprayed the seat belt brackets with the Urethane since they have to be bolted in before you pop rivet the floorboards in place.
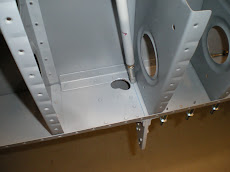
I also installed the soundproofing in the bottom of the cockpit. This helps keep sound and vibration (from the exhaust) out of the cockpit. It also helps insulate the cockpit too. I bought some double sided soundproofing from JEGS. I cut the fabric to size for each bay and then I seal the edging of each piece with aluminum tape. This keeps the moisture from getting in the felting. It takes a while to get all of this done. I sprayed the bottom each bay again with primer to seal it off and cover the rivets with primer. I don't want any of the adhesive touching aluminum. I used 3M Super 77 spray to glue the pieces down to the bottom of the fuselage skin.
I spent about a week just etching, alodining and priming pieces...........
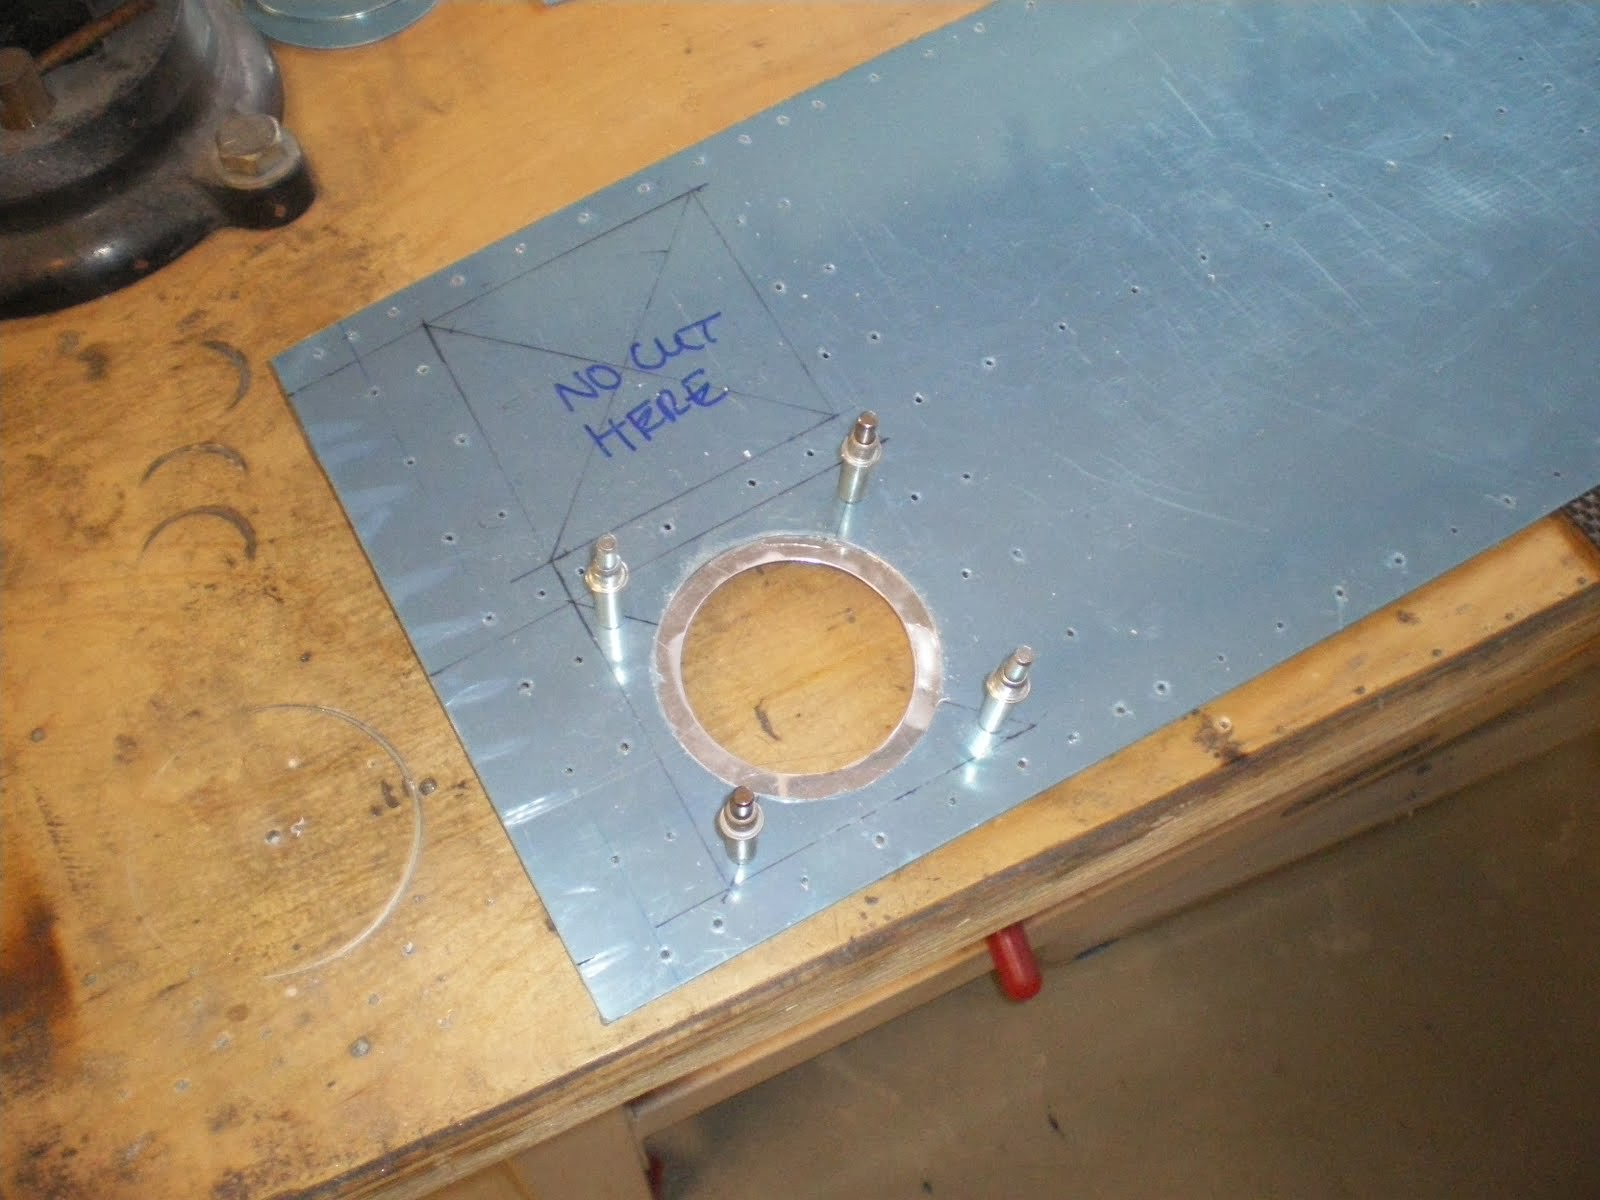
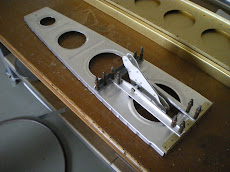
Now I am starting back in the tailcone again to finish the strobe light power pack mounting plate. It's the same as the ELT plate except it's for the right side.
Subscribe to:
Post Comments (Atom)





















No comments:
Post a Comment