Thursday, April 30, 2009
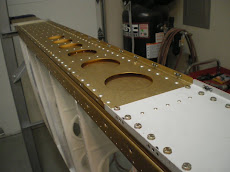
Drilling the rear spar flange strips
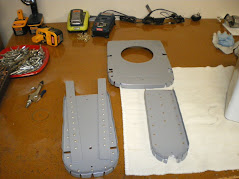
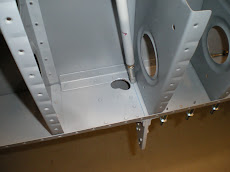
I have have been working on the rear spar, getting the flange strips cut and drilled and making the rear spar attach doubler. I fabricated the aileron bracket doublers and have etched, alodined and painted all these pieces. I have to paint the rear spar with some epoxy paint which I will this weekend. Once this is done and dried, I will rivet on all the pieces. I can then move on to the ribs and start deburring all the edges and lighting holes then flute the ribs to get them straight. I will then start attaching the ribs to the spars on the bench before I mount the whole thing in the jig and prepare for drilling on wing skins. One thing to note about the rear spar is that it's has a Z bend in it. However there are two different angles on the bend. One goes on the top and the other on the bottom. You reverse them to make a right hand/left hand spar. You have to stop and think about that before you make two left hand spars. Van's gets calls all the time about guys making two of the same part. Airplanes are symetrical so you have left and right parts.
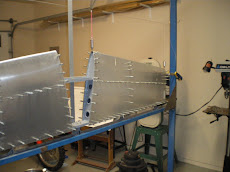
Starting on the wings!
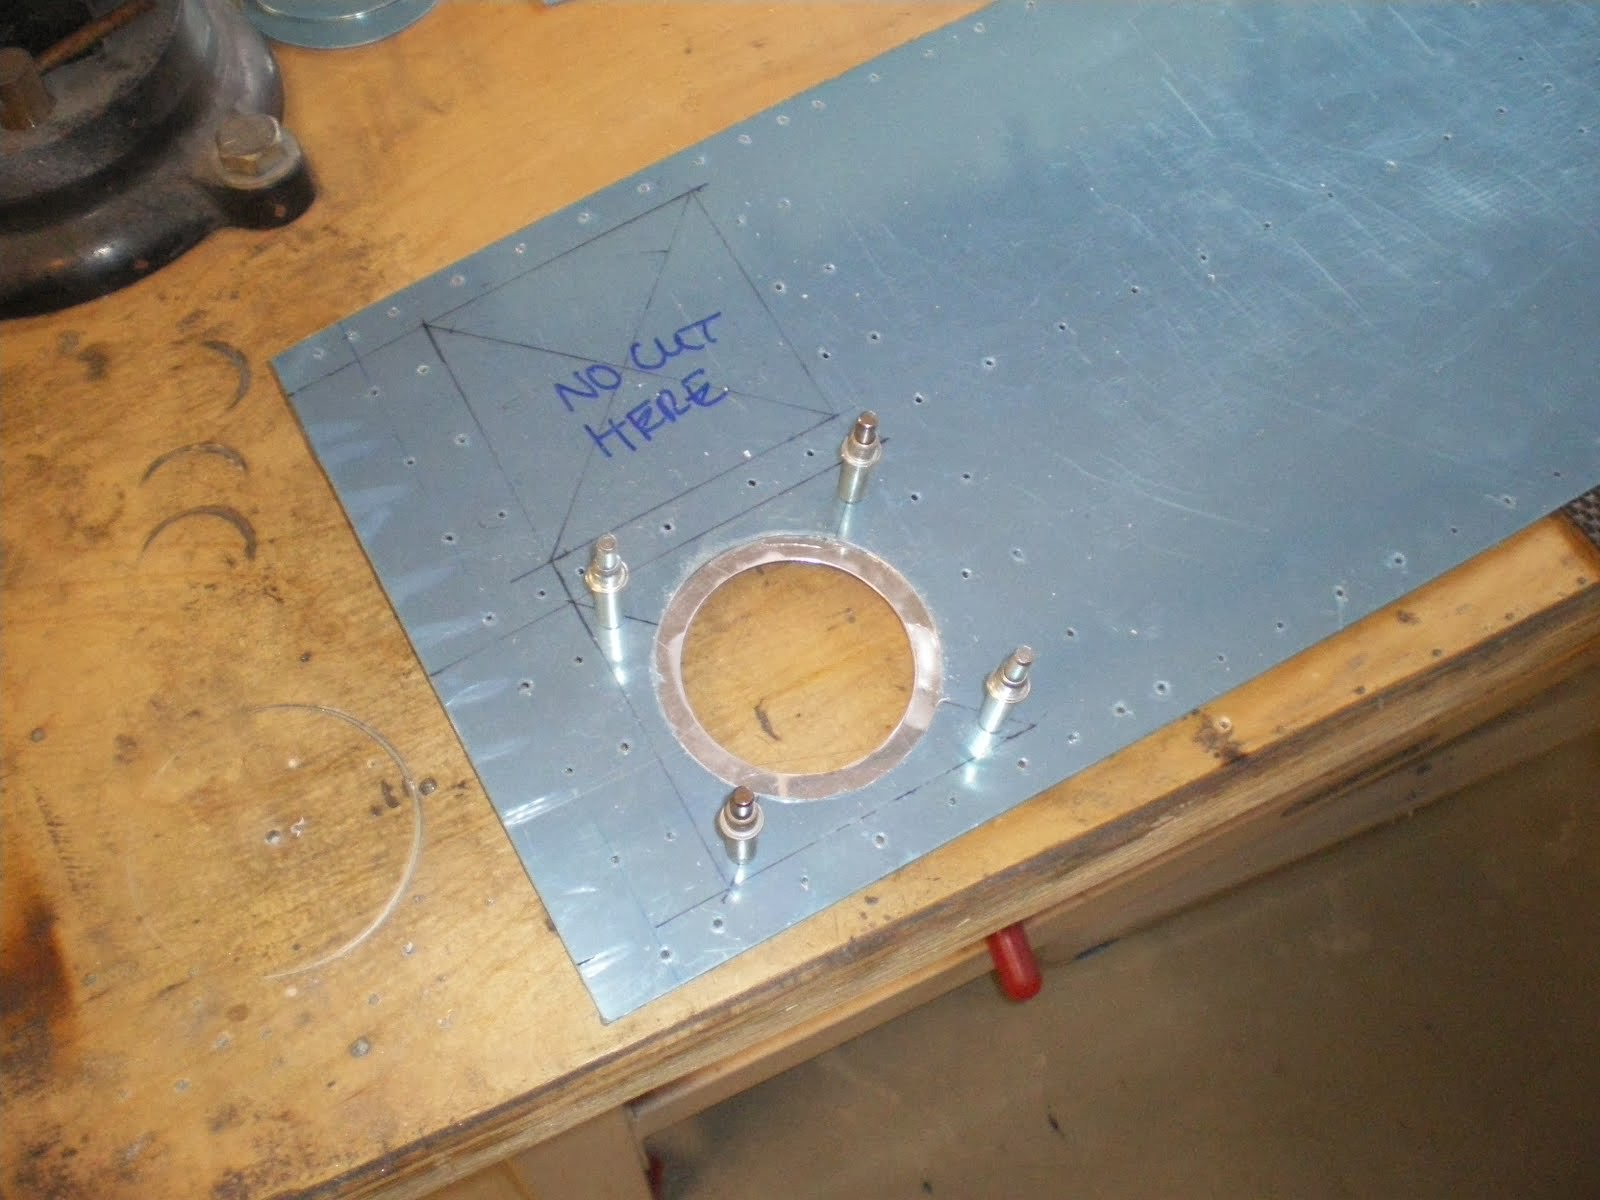
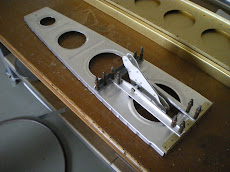
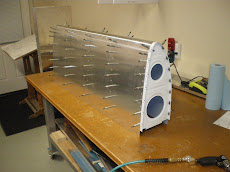
I have started on the right wing. I am modifying the spar a bit to extend the gas tank attach plate. I had to drill out the 3/16" rivets 13" past the standard RV-6 attach plate. The new gas tanks with be about 13" longer which should hold about 10 more gallons total or 5 gallons per side. I purchased Harmon Rocket III gas tank skins, baffles and leading edge skins from Harmon. Having the extra gas will be helpful when traveling long distances and give me peace of mind knowing I have an extra hour of gas to get down safely. I thought about using aftermarket aux tanks, but they are expensive, complex to pipe in and hard to mount. It's just easier to make the tank longer. I have to move some leading edge ribs around to fit up next to the tank ribs but it's not that tough. I set up the spar on my drill press and leveled it all up with a machinist level. Once I got things right on I would drill out the rivet with small 1/8" drills working up to #25 drill bit. I then punched the rest of the rivet out taking care not to auger the holes out. I then cut the attach plate and lined it up with the top of the standard attach plate using aluminum angle as a straight edge. I want the top of the wing (what you see all the time) to line up well and the bottom will be where it is. Once the plate was all lined up, I backed drilled through the spar holes. I also added some stiffeners under the plate with some bar stock and some angles on the back side of the spar. This will help with the extra load the gas tank will put on the spar/wing and also stiffen the spar, keeping it from twisting. I etched the plate and then dipped it alodine. I am dipping everything on the wing in alodine to help with corrosion resistance. I painted the plate and then bolted it back down to the spar. Using bolts it a little of an overkilled in this area but it's easier then trying to get set up to drive some 3/16" rivets. The ther reason I am using bolts is so I can remove this plate if ever need be.
Tuesday, April 21, 2009
Saving on gas!
I went out and bought a crotch rocket the other day to use a my commuter to work. It gets really good MPG. Too bad it cost me about 4K to get 60mpg. I have to have something to bomb around on/in when I'm not flying a airplane. When I get the plane done, I will most likely sell this thing when I get the airplane going. These things can be expensive and I cannot afford both of these toys at the same time. I like to Italian Red on this bike and I am thinking of painting my airplane with this color instead of the Electric Blue.
Rocket comes to town
My dad came up in the Harmon Rocket to visit. This thing is a beast of an airplane with 260hp in a 1200lb airframe. Start doing the math and it's a lot of hp/lb when it comes to airplanes. It climbs out at 3500fpm no problem and cruises at 230mph. It's good to get incentive to get my project going so I can get out and beat up on the aerial neighborhood.
Finishing the Horz stab tips
One of the last things I have to do to get the tail pretty much done is install the tips on the horz stab. They are little tips but you have to seal the ends up. I made some out of Balsa wood and sealed them up with epoxy resin. I then used some epoxy/floc mixture and set them inside the tip. Once dry I sanded any high spots off and then used Bondo to fill the lows. Once everything is in orded on the tail, I will get it packed away in the shed and start on the wings.
Sunday, April 12, 2009
Finishing the tail
I have been working on getting all of the details of the tail kit wrapped up so I can start on the wings. I have been putting on the tips and fiberglassing/filling for several days. This part I really hate but it has to be done. If you want it to look nice and finished you must do a good job of attaching the tips to the ends. I laid up fiberglass over the tips and smoothed it all out on the last RV-6. I am not going that route this time. I attached the tips and am making a nice seam between the metal and the tip. When it gets painted, it will look nice and crisp without having all of the weight, time and material that I had in the last one. I also am fitting the elevators to the horz stab and getting everything rigged up. Once this is all done, I will store it away in the shed and get started on the wings.
Wednesday, April 1, 2009
Working on left elevator
I haven't posted in a while. I have been working on the left elevator and trim tab. This elevator takes about twice as long to build due to the trim tab being part of the elevator. There are a lot of extra parts and trying to get it all to line up and not have any twist in the elevator or the tab is difficult. Usually there will be a little twist and you end up with a slight V is the trailing edge of the elevator when you look at it on edge. I haven't seen too many RV's with straight ones. It's just the nature of riveting it all together. One change I did make to mine is I did not fold over the tabs on the ends of the trim tab or elevator. I make little ribs for each end and install them. It makes a nicer end and you don't have to worry about ruining the skins if you don't get the bend just right. The Rocket kit I had did this as well.
I went down to Van's last week and picked up my fuselage kit. It was a good time and only 12hrs of driving to get it. Saved about 600 bucks in shipping and crating. The newer kits are som much nicer than the older kit I used for my first RV-6. Still have to drill lots of holes but I don't mind that much. I tricked it out again by adding all of the upgrades you can get. It will be another slider canopy, dual brakes, electric flaps, aileron trim...ect. Also got the wing tips as well, as shipping these monsters takes lots of $$$$$.
Getting the elevator finished up and will install the tip tomorrow. Then it's on to fiberglassing the tips and fitting everything together.
Subscribe to:
Posts (Atom)


