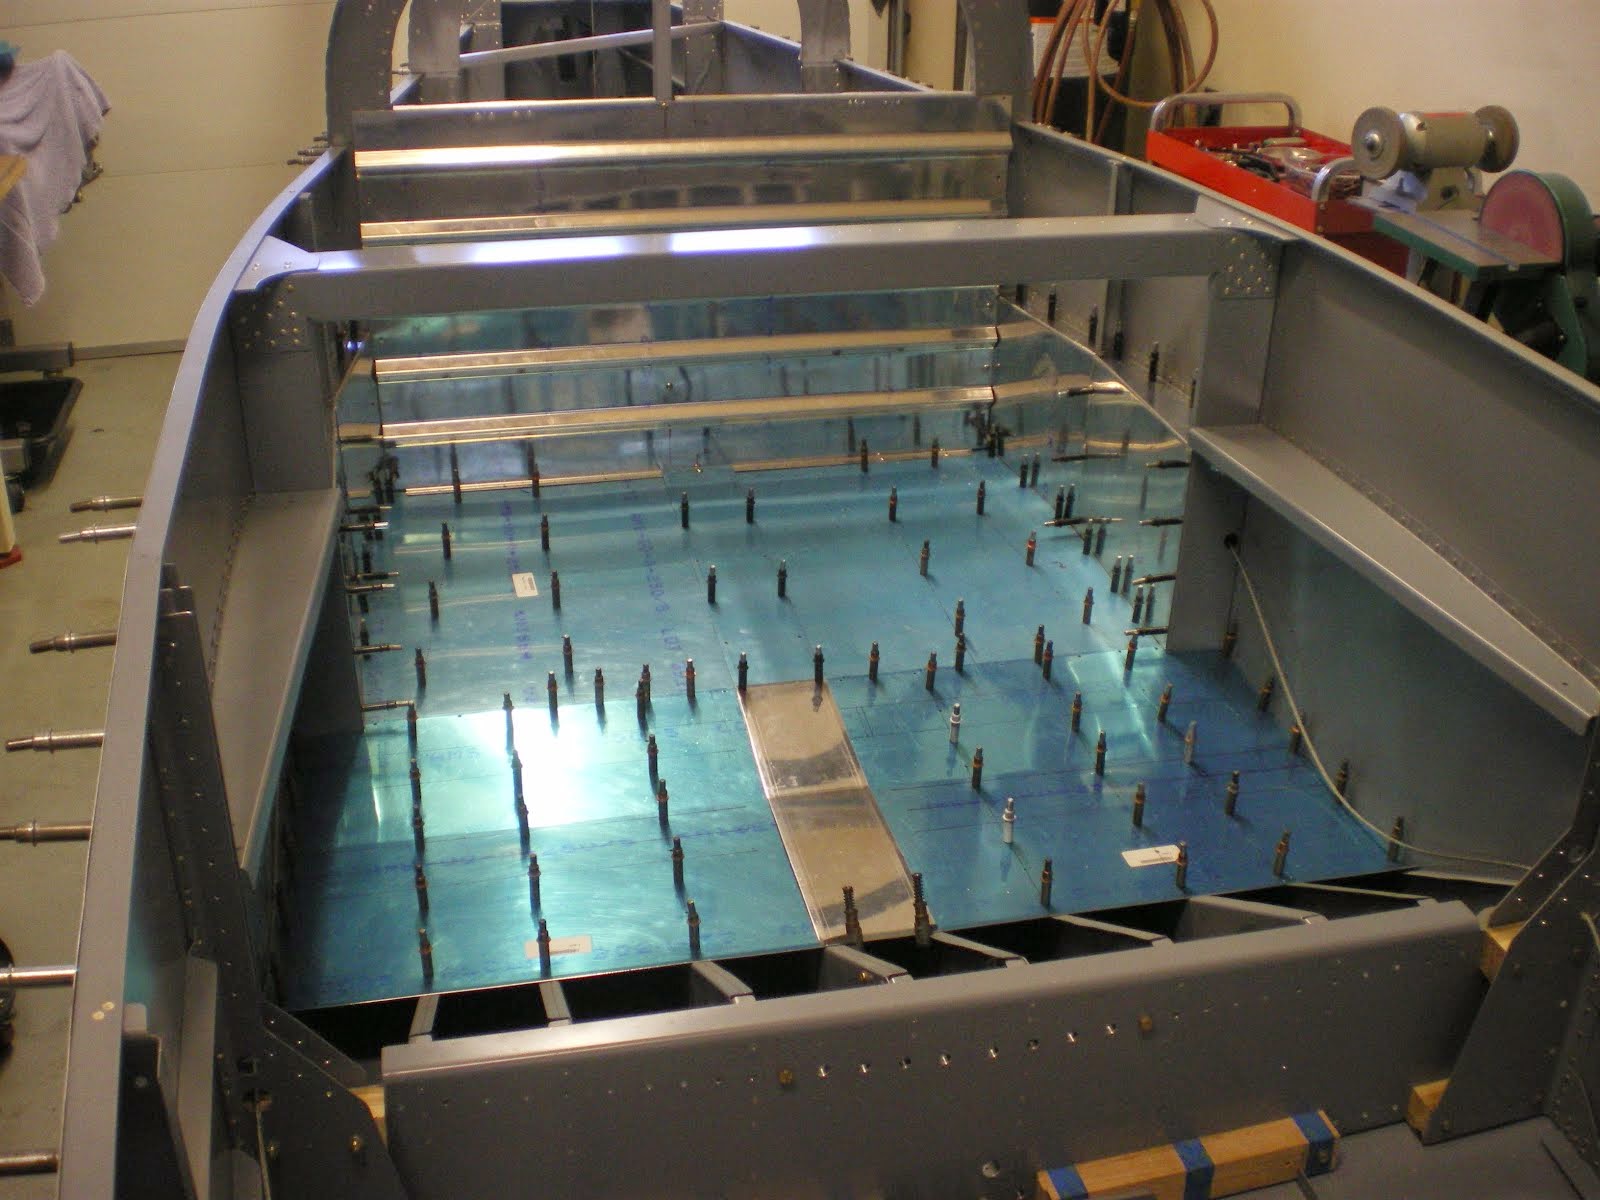
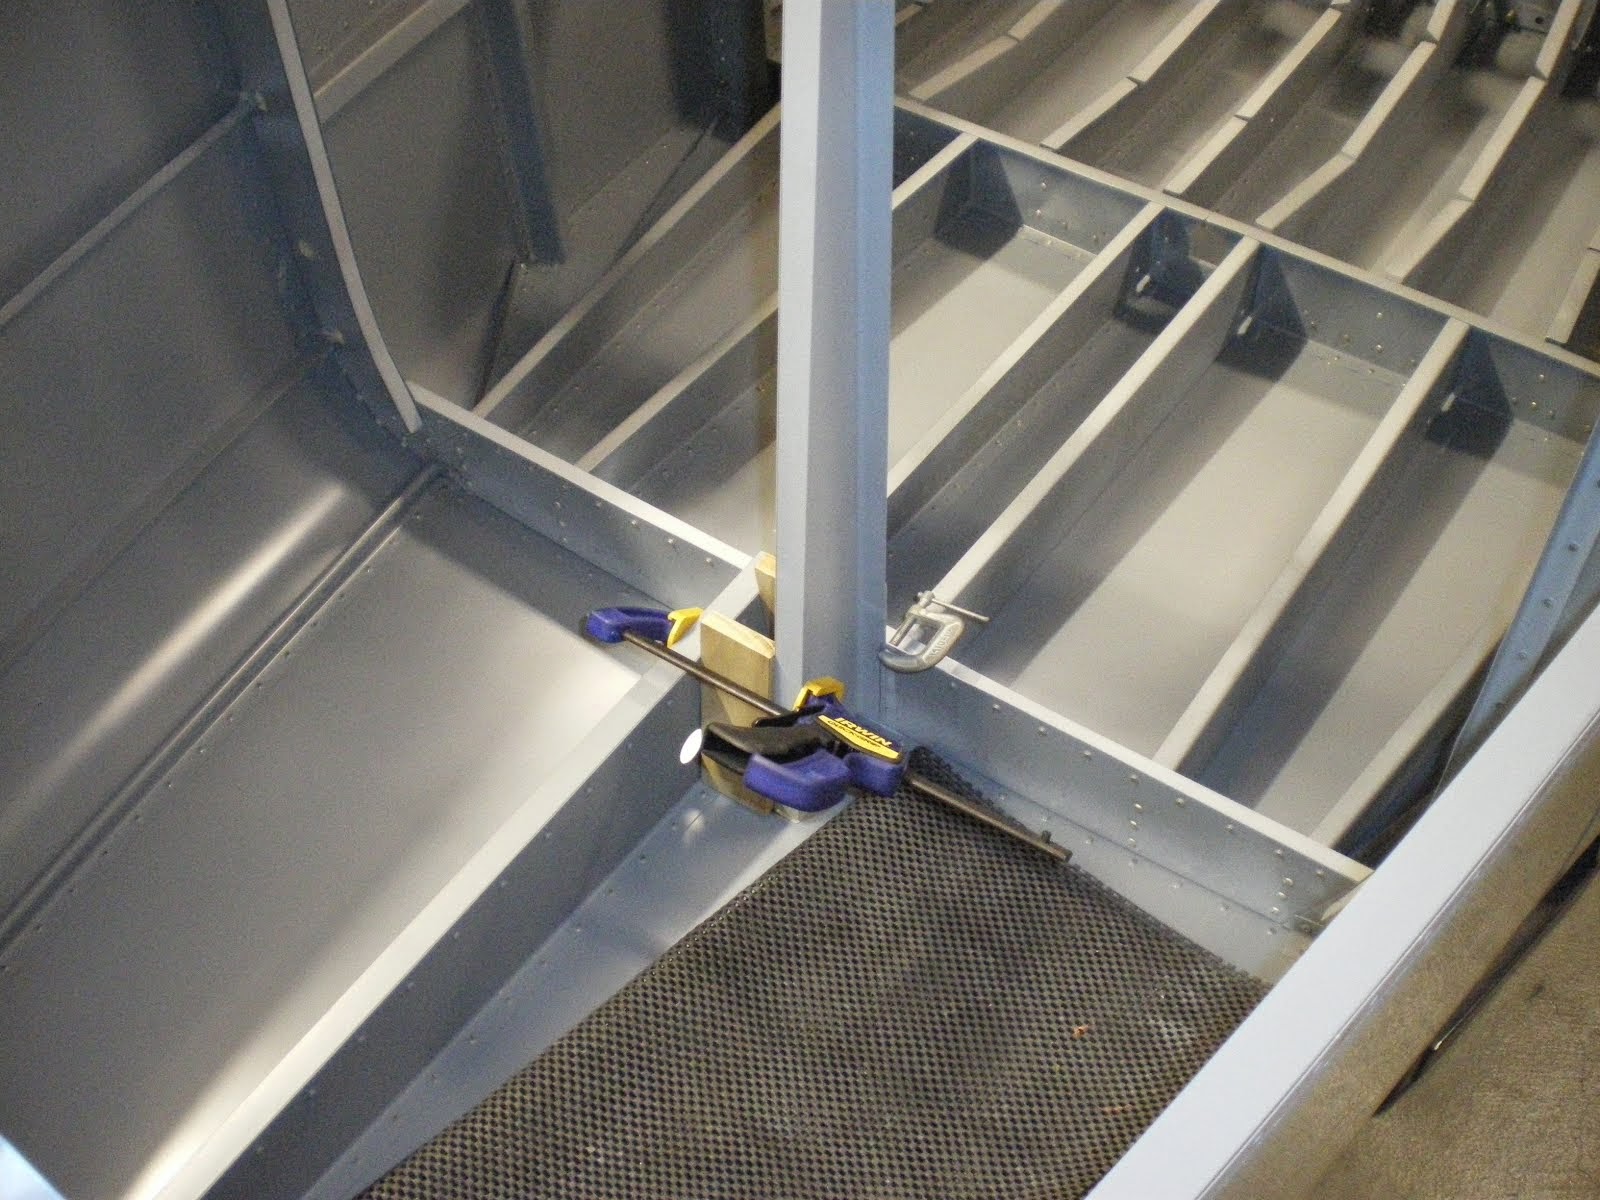
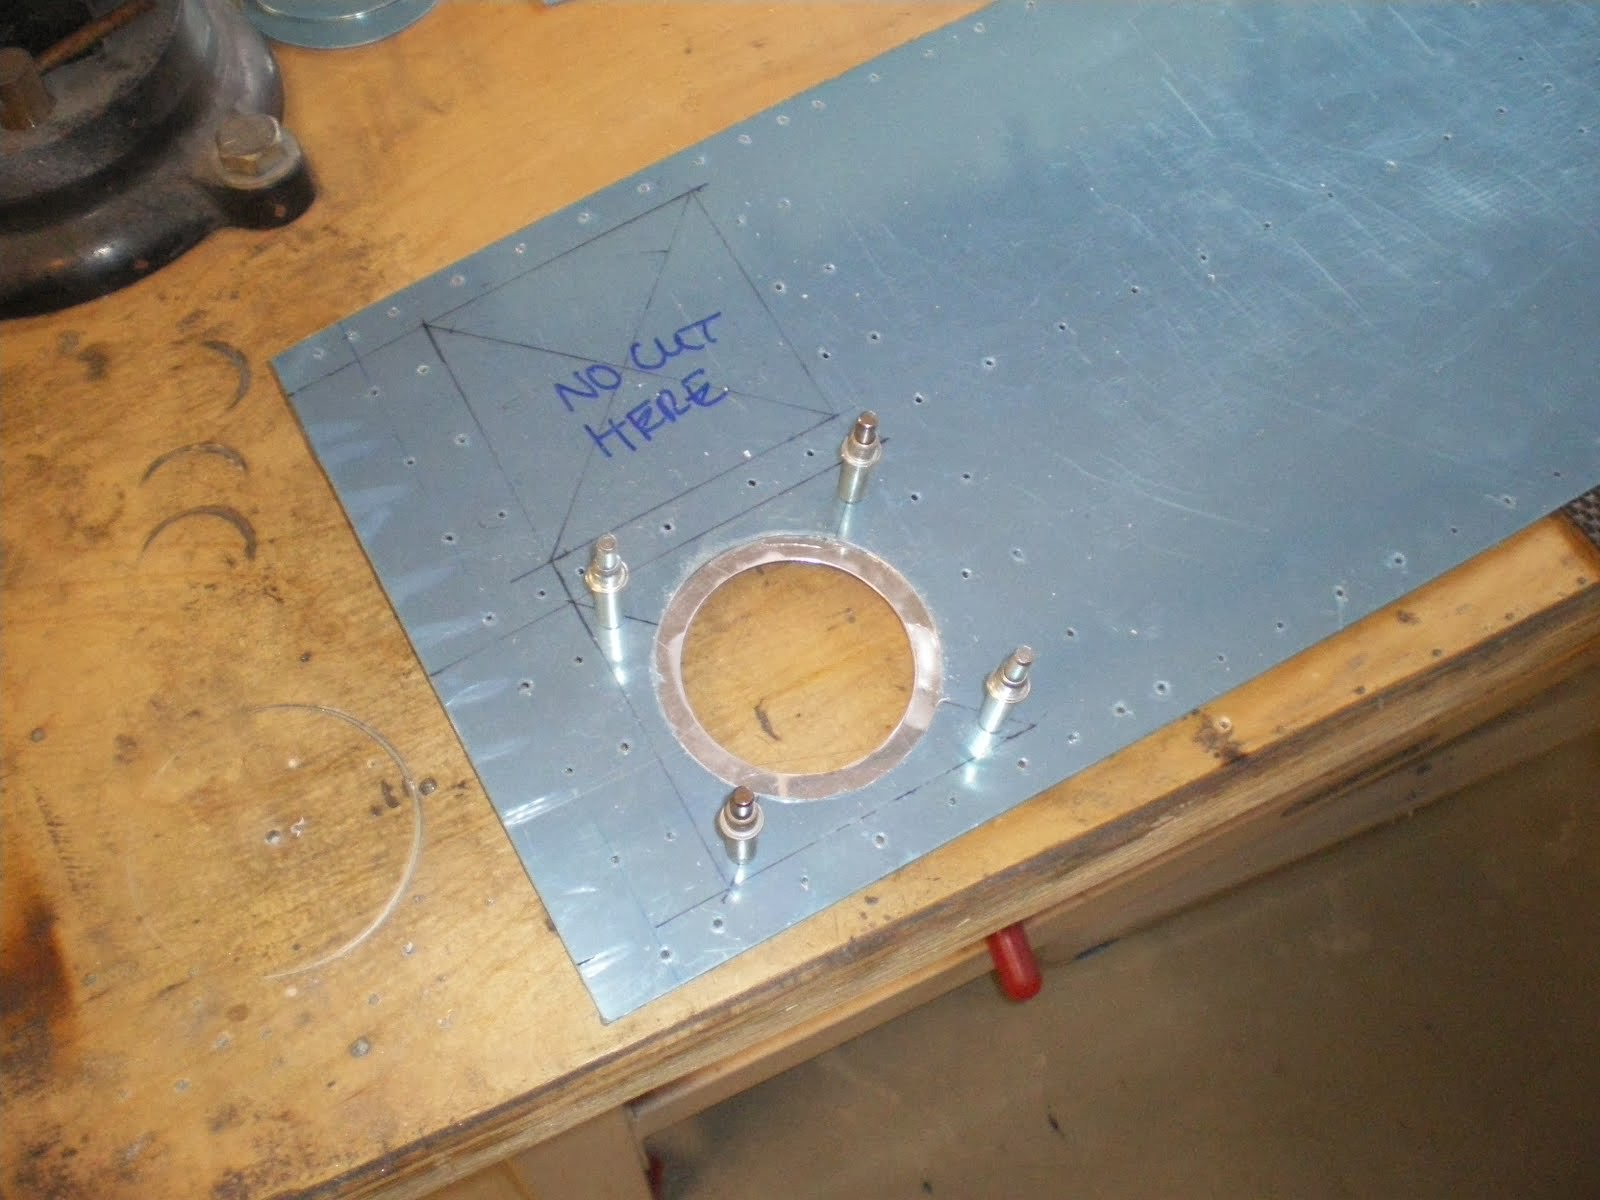
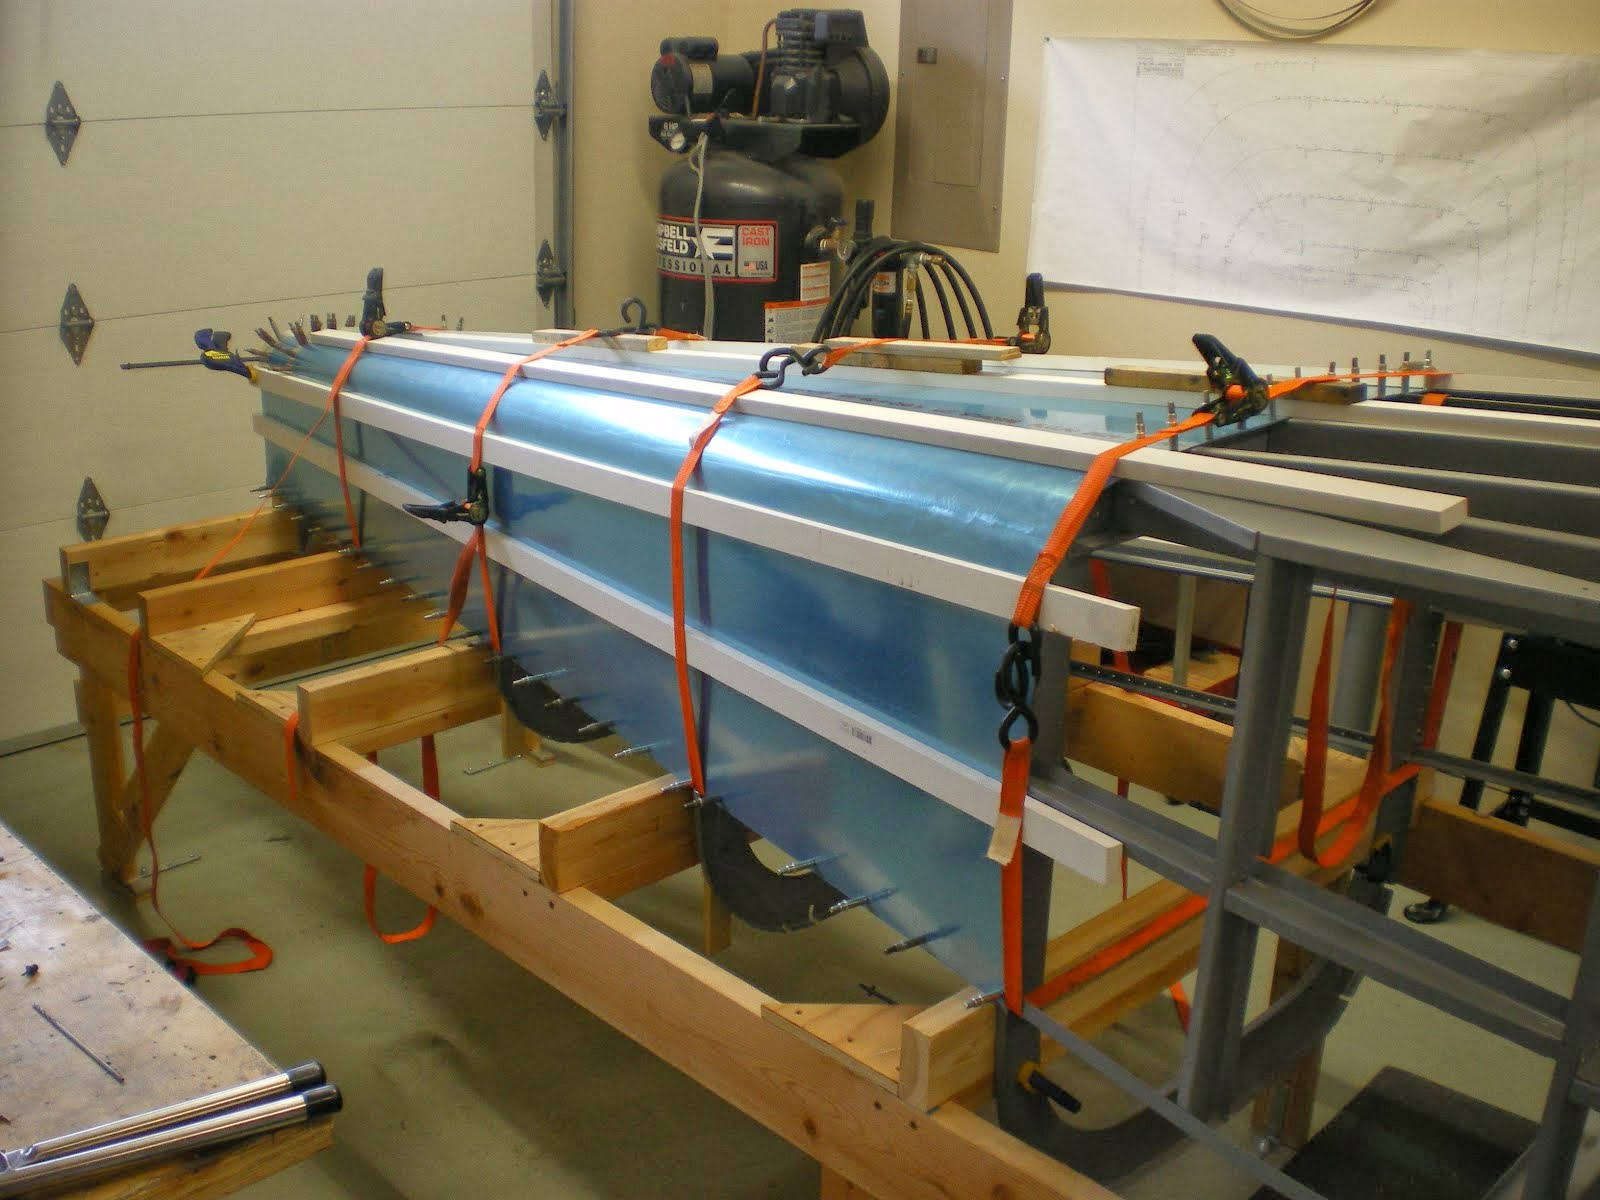
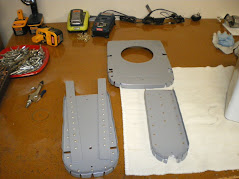
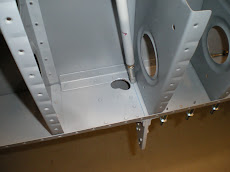
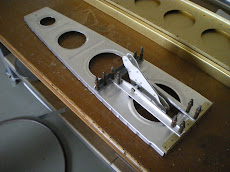
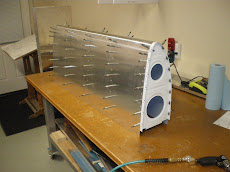
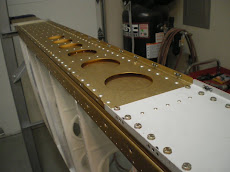
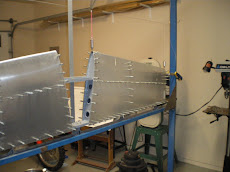
I have completed all the work on the aileron. The hole has been cut into the rear spar so the control rod can pass through it. I got smart and made a template of the hole from the other wing. This time I got it correct in very little time without making the hole too large. The aileron mounting brackets have been riveted to the rear spar, the aileron gap seal is installed and riveted.
I have now moved on to the flap. The flap is mostly constructed and now I must pull everything apart and start the process and deburring and dimpling holes. Once the flap is riveted together, I can then mount it on the wing and get it fitted up next the aileron. This is where the flap brace is installed and then the wing can be closed up for good.
Tuesday, December 13, 2011
Tuesday, November 29, 2011
One more thing
I just want everyone to know that I have a really awesome wife!
Cut, Cut, Cut and Edit.
My wife is sneaking on here and being funny. That's OK, I know her Facebook password!
Actually, this is a airplane blog. However, we all know that if you are going to build an airplane and have a family, it takes a very special woman to understand your passion for building, owning and flying airplanes. And the kids are crazy about it too! My family is awesome.
Working on the aileron/main wing skin
I know, I know. I haven't posted anything in a while. However, I have been working on the main wing skin and the aileron. My buddy Mike came over several weeks ago and we got the main wing sking riveted on. This was of course, after I deburred, dimpled and primed all the wing skins. Once the main wing skin was on, I could start work on a aileron. Last one too!
The aileron is almost done and I will have to start getting it mounted onto the wing. I have two airfoil templates that will position the aileron in place and then I can drill the attach brackets to the rear spar. Once this is done I can start working on the flap. Once the flap is done, I am all done building control surfaces. Thank God that will be done. With the flap in place, then I can start installing wiring, pitot tube plumbing and rivet the bottom wing skins in place. Then comes the wing tip. I will then be done making wings and can start fabbing up the fuselage bulkheads.
The aileron is almost done and I will have to start getting it mounted onto the wing. I have two airfoil templates that will position the aileron in place and then I can drill the attach brackets to the rear spar. Once this is done I can start working on the flap. Once the flap is done, I am all done building control surfaces. Thank God that will be done. With the flap in place, then I can start installing wiring, pitot tube plumbing and rivet the bottom wing skins in place. Then comes the wing tip. I will then be done making wings and can start fabbing up the fuselage bulkheads.
Sunday, October 2, 2011
Finishing the gas tank
The past month I have been working on riveting together the gas tank. Since there is several thousand holes in the tank and they all have to be sealed, it takes a while. I started with putting together the end rib, fuel pickup, anti-rotation brackets, and vent line. I also made all of the bottom stiffeners and then back riveted them to the tank skin. Next comes installing the ribs. I did two at a time so that I don't make too much of a mess with the pro seal. Once I got all but the inboard rib installed, I fab up the vent line and installed that. Then I put the last rib in place and hooking up all the plumbing. After that comes the back baffle plate. I have access holes in each bay so I can come back if I ever get a leak and seal it up. It's extra work installing all those nutplates and covers, but it makes gaining access very easy. Once the baffle was installed, I started sealing up the access holes with the covers. I finally got the whole thing sealed up and I am now starting the final fitting of the tank to the wing. This consist of getting the tank strapped back down and installing all of the screws. Some of the rows are already dimpled. The rest have to be machine countersunk and this takes time. I don't countersink the hole all the way. I leave a little left that I can shave out with my deburring tool. I have had the countersinks plung way too deep even though they are set to depth. The other thing I do is grease all the screw threads before installing them. This helps lube up the nutplate and keeps it so the screws don't corrode in them. Also, using SS screws, you can get dissimilar metal corrosion so this helps with that as well. I should have the tank done by tomorrow and then I will start getting the wing prepped for the main skin.
Thursday, September 1, 2011
This time I am really getting back into it.
I have started work again on the wing. I have riveted the airleron bellcrank support ribs in. All the gas tank nutplates have been installed (all 128 of them). I have installed the pitot tube line and adel clamps. I am working now on getting the .032 stiffener angles drilled onto the bottom of the tank skin. I have to cut all of the access plates in the back of the tank baffle. Then I can start dimpling, etching and riveting the tank together. What fun!
I will get some pics of the updates on the wing soon.
I will get some pics of the updates on the wing soon.
Sunday, April 3, 2011
Getting back into it!
I have started working on the wing again. I am completing the process of drilling the wing tank. Over the weekend I have gotten the wing tank drilled and now I am working on the nutplates that go with it. There are 300 nutplates just for the gas tank and it's access panels. Each nutplate needs 3 holes drilled for it. This tank is supposed to hold gas and I keep drilling more holes into it. Everyone of the holes has to be sealed back up. I am not done yet as I have to drill stiffeners on the bottom skin.
Thursday, January 20, 2011
Fuel injection mounted on engine
A while back I was searching on the internet. I found someone selling a fuel injection system. It was at a fair price so I bought it. Sometimes you can get sunk in deals like these because the cost to fix it up you can almost buy new. However, when it showed up, it was in great condition. I sent it off to Airflow Performance (the leading fuel injection company) and they overhauled the servo and flow divider, then provided me with new injectors, lines, fittings and hardware. All said and done, I had about 1500 into the system instead of 2900 buying it outright from AFP. That works for me!
Leading edge riveted together
I spent a good portion of the night getting the leading edge skin riveted on. The skin come out nice and now I have to put it on the spar and finish riveting it to the spar flanges. I can then pop rivet all of the ribs to the spar in the leading edge section. Next will be to put all the skins back on and start fabbing up the gas tank. Once the gas tank is drilled, I will pull it all apart and start working on riveting the wing skins on.
Sunday, January 16, 2011
Left wing fabbed up.
I haven't posted in sometime. I have been working ont the left wing. I have all the skins drilled, except the tank skin. I have all the ribs riveted to the wing spars and the skeleton is mounted in the jig and plumbed. The pitot tube has been fitted and the plumbing is done. All of the small brackets and angles have been drilled. I am now starting to debur, dimple and prime the skins. I will have the leading edge skin riveted together today and mounted on the wing. Then I will start the drilling of the tank skins and fabrication of the tank ribs. It's no easy job building the tank. I am striving to get the left wing done around the end of Febuary. I have tons of pics to post!
Subscribe to:
Posts (Atom)


