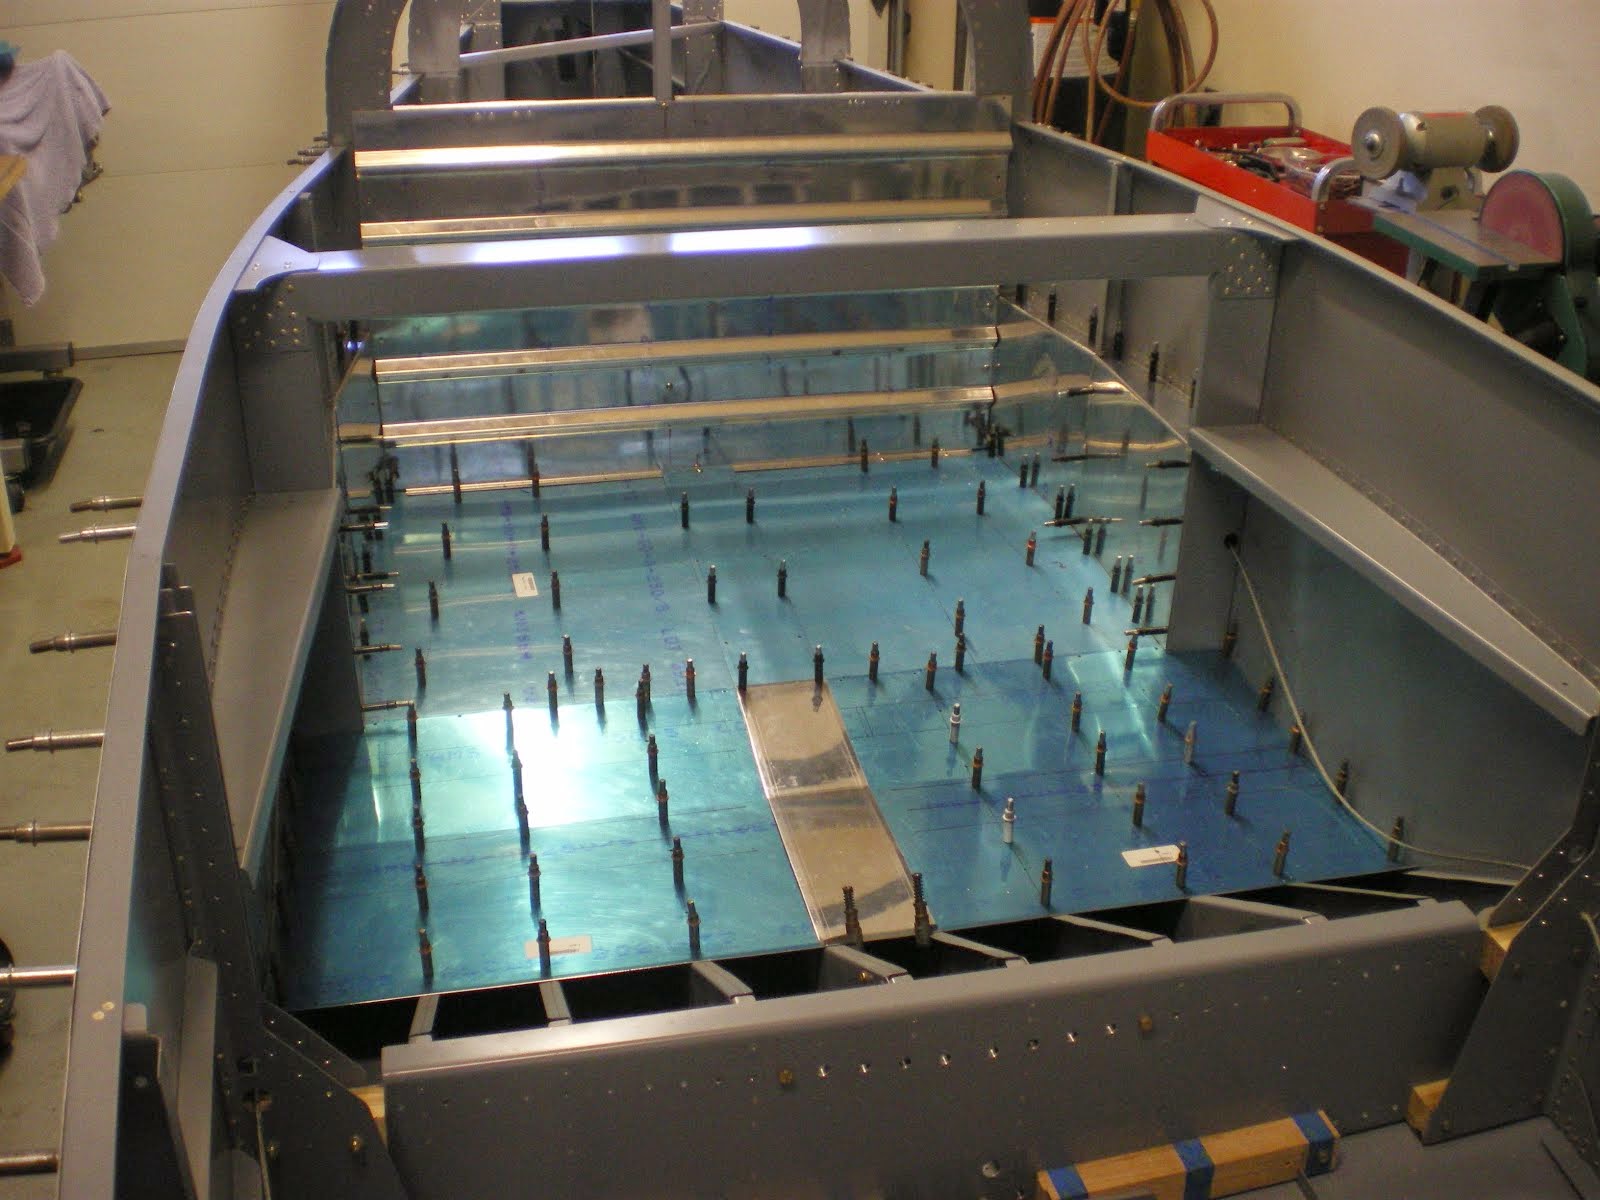
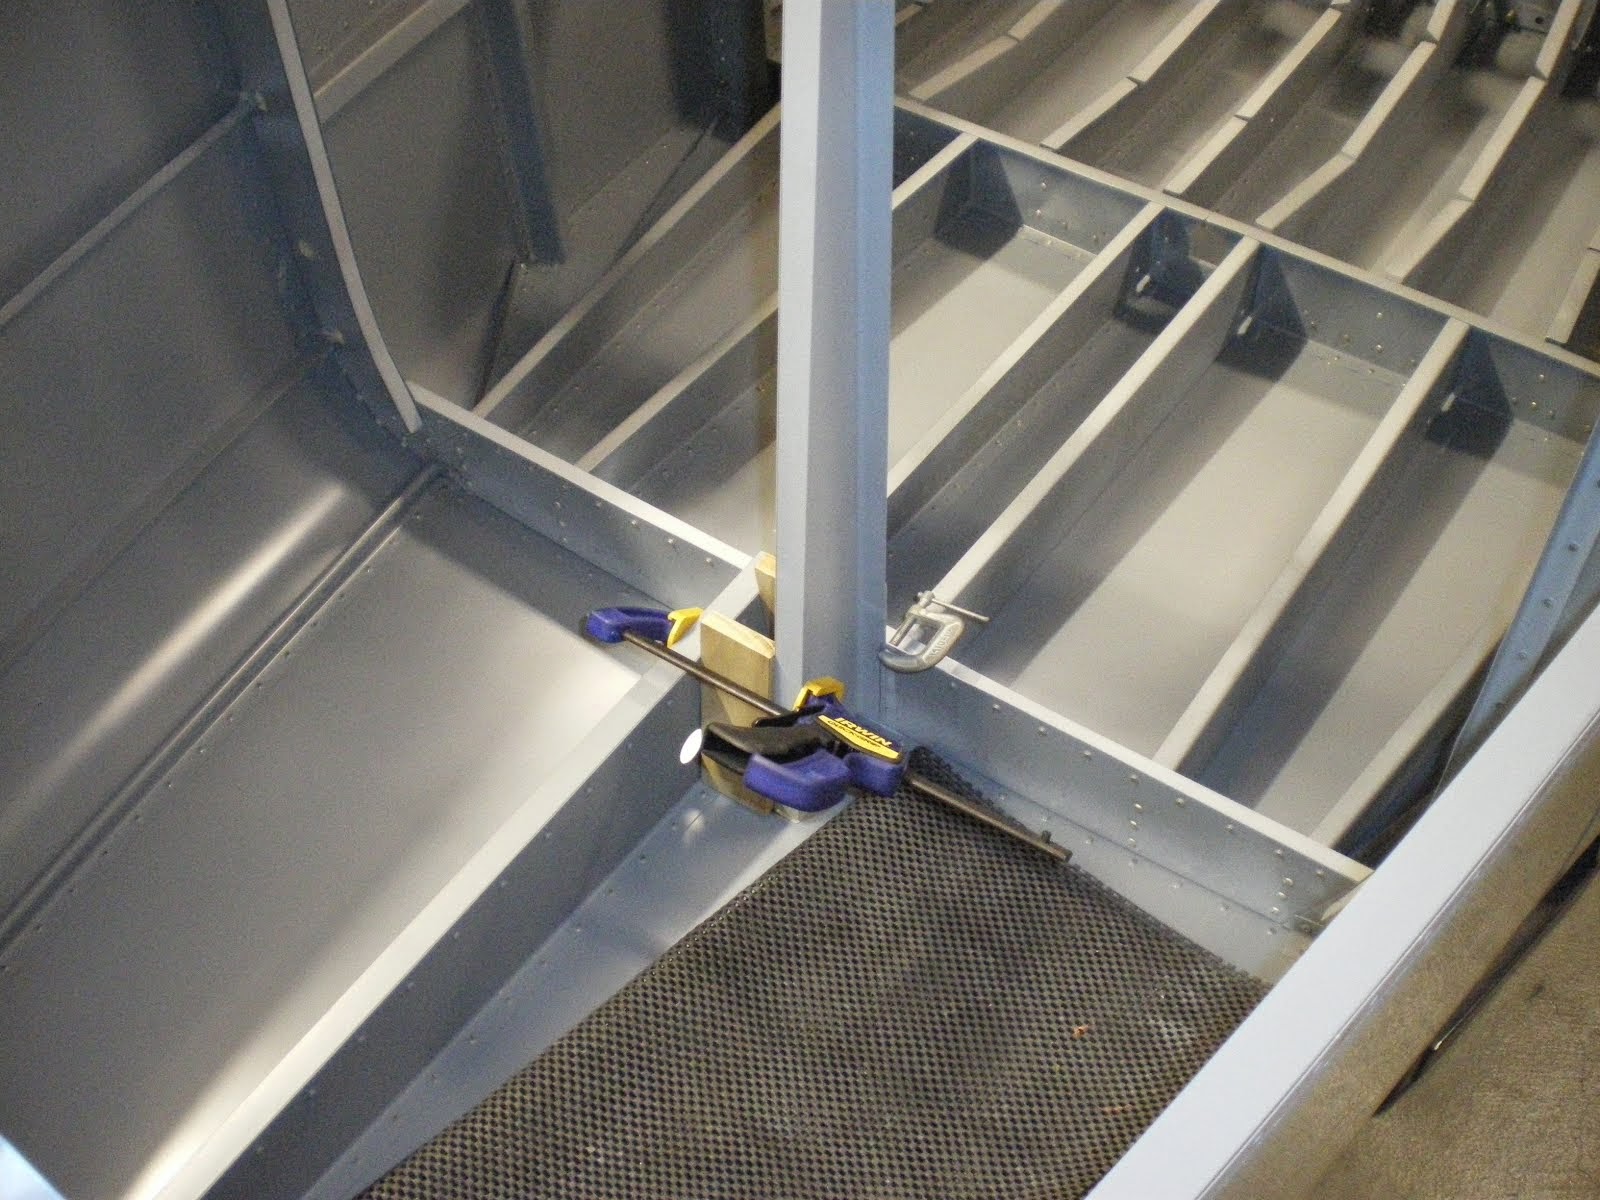
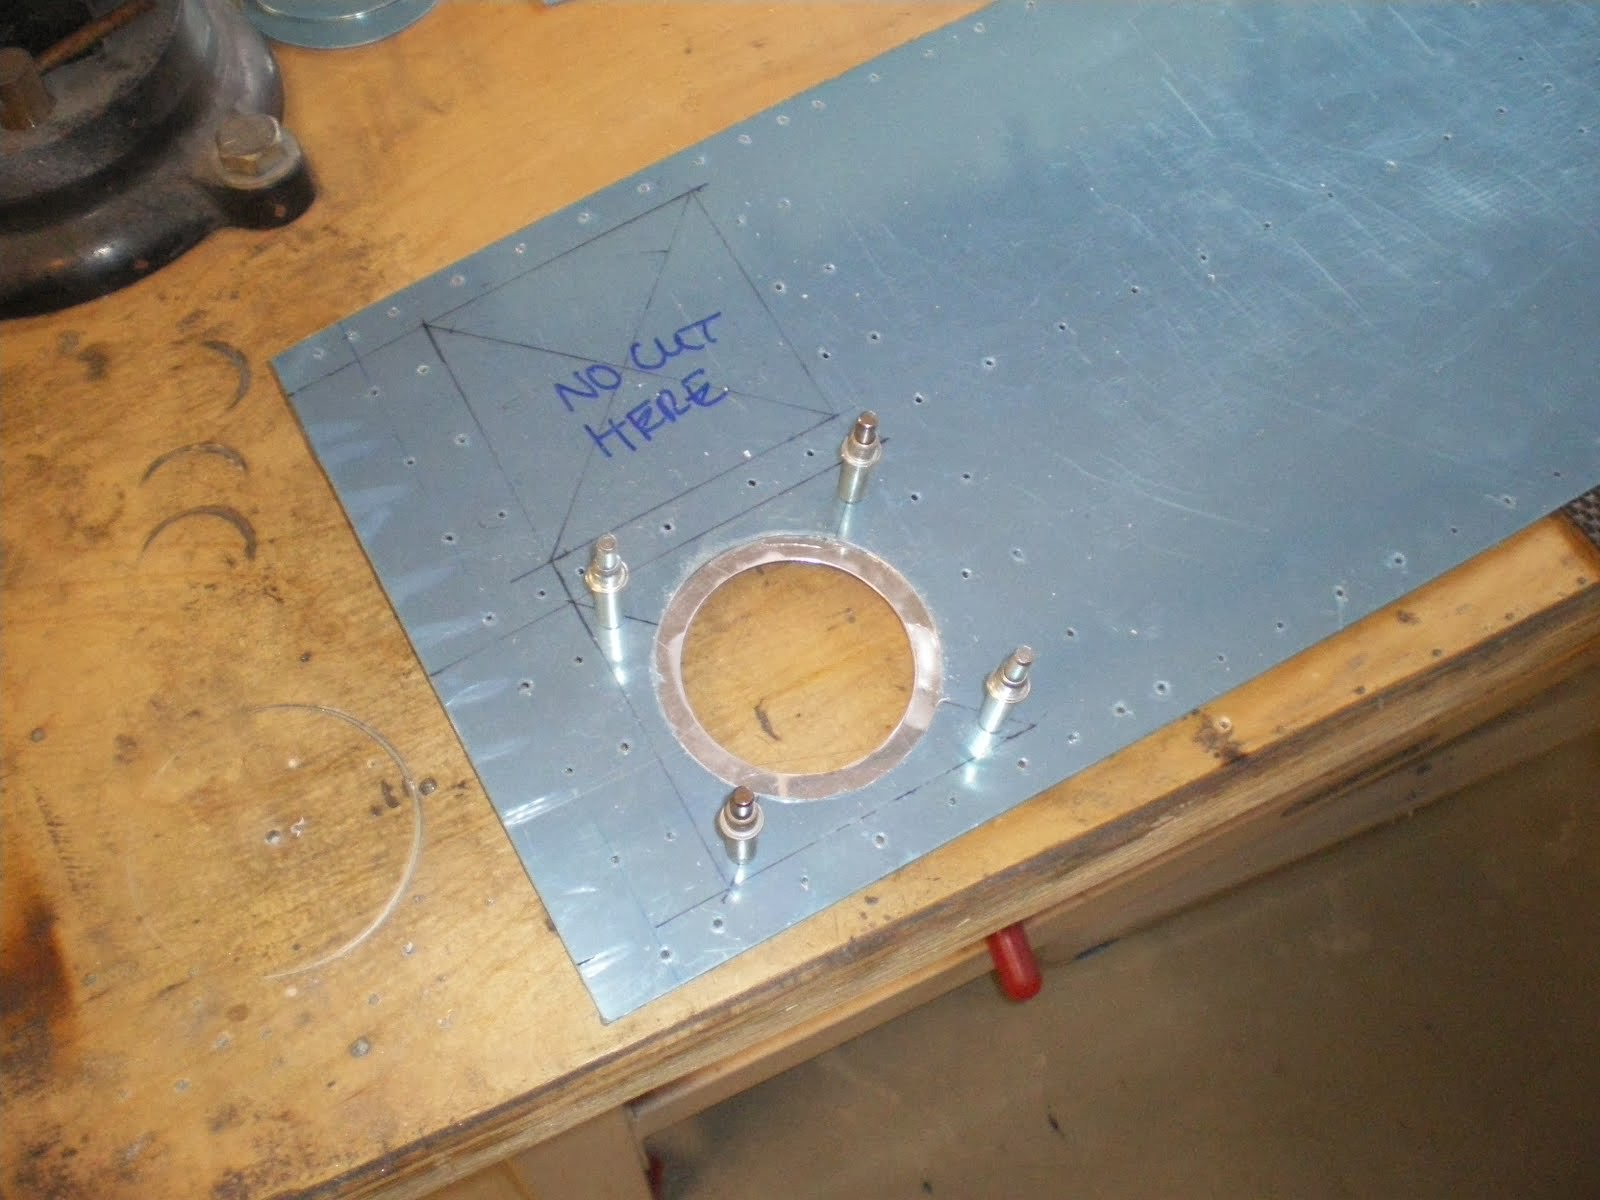
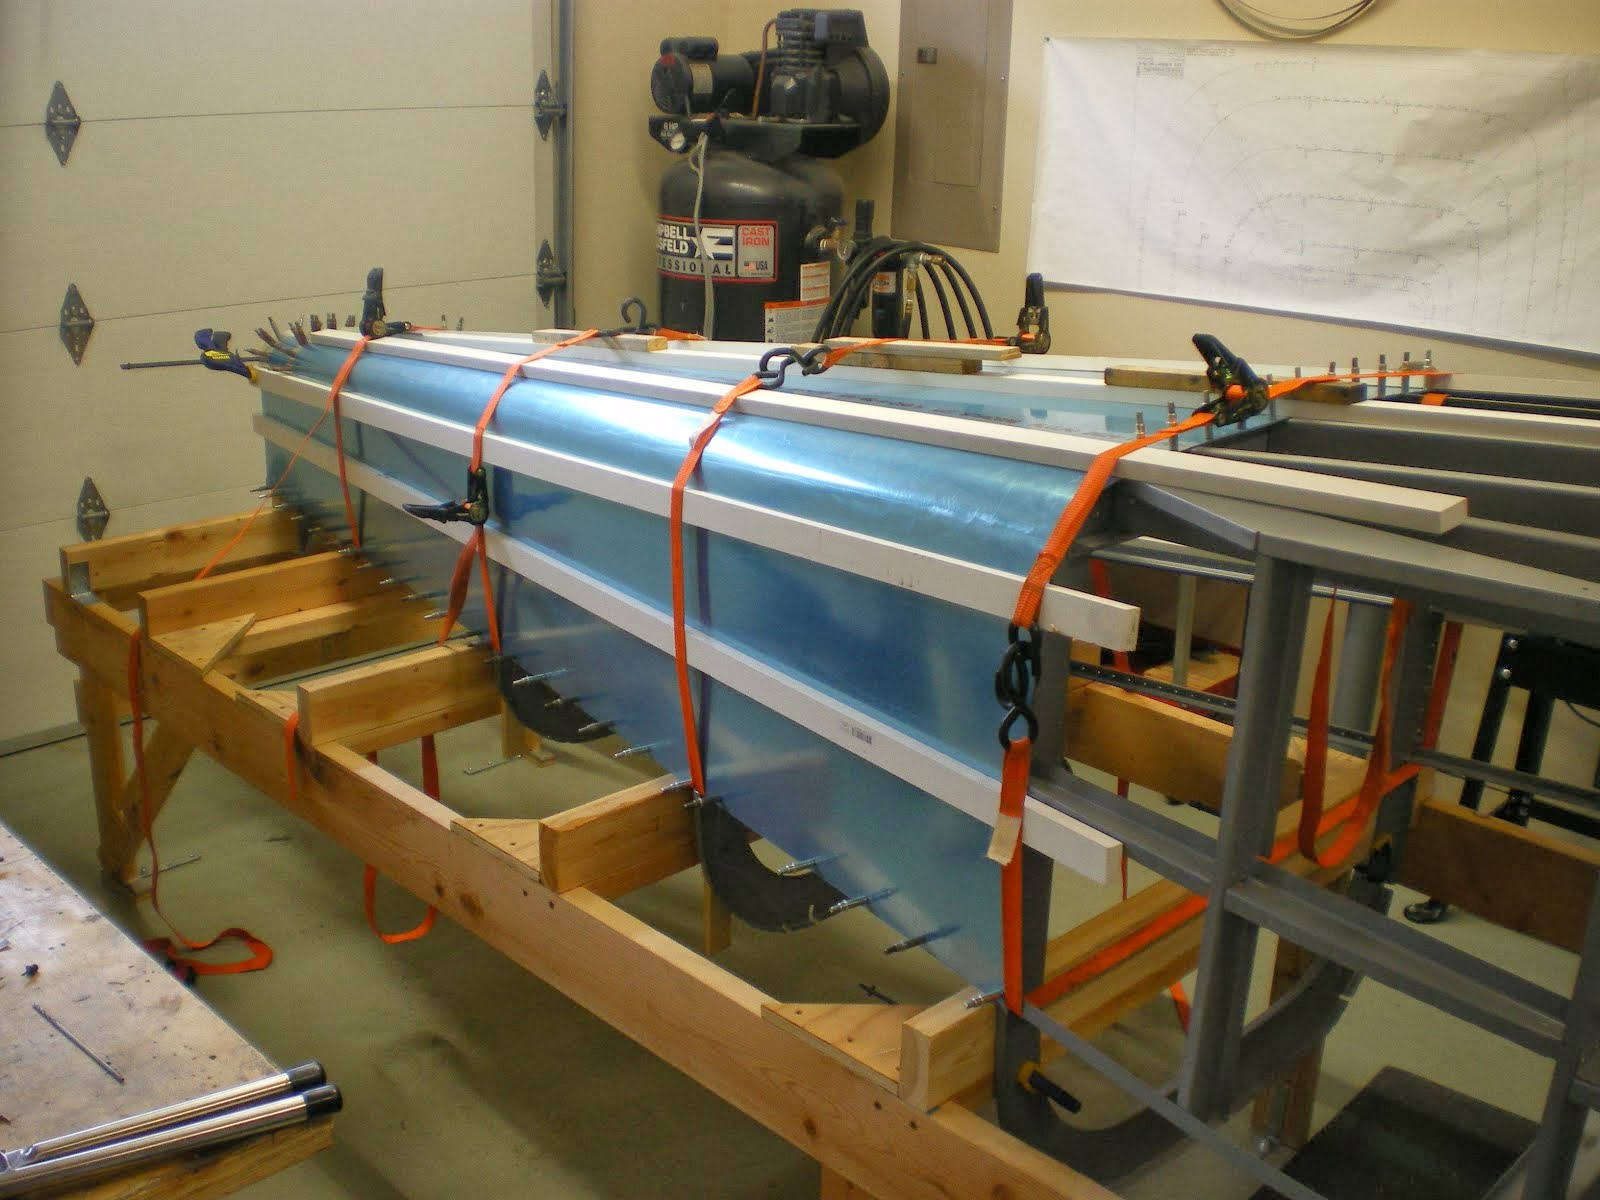
The past several days I have spent bending the main fuselage longerons. This is no easy task on the RV-6 as there is a nice curve to the side of the fuselage. There is a template on one of the plans that gives you the outline of the side of the aircraft. What I do is cut the template out and tape it down to my benchtop. I make sure I have plenty of room all the way around the benchtop, then I start clamping down the longeron over the top of the first station on the fuselage. I align the outside of the longeron with the outline of the template and keep clamping it down. When I start reaching the areas that have the curve, I start bending the longeron over the top of the benchtop. Now the longeron will want to twist as you bend it. I made a special tool that clamps down on the longeron and I can bend the longeron in the opposite direction of the twisting. Once I get the longeron to curve with the template, I clamp down the area with another C-clamp. I keep doing this until all of the longeron is bent and its laying relatively flat on the benchtop. It should follow the outline of the template without having to force it into place.
Once one longeron is bent, then you have to flip the template over and bend a mirror image of the first longeron.
It took me about 3 hours to just bend both longerons and get the proper twist in the first part to line up with the firewall mounts and for the rest of the longeron to lay flat on the jig. You want the longeron to have all of the proper curves, bend and alignment without having to force it in place.
Today, I have drilled one of the longerons to the firewall and also drilled the top gusset in place as well. I will do the other side tomorrow.
Wednesday, December 26, 2012
Thursday, December 20, 2012
Setting up the fuselage jig
I have been working on getting the fuselage jig set up. It takes a while to get the thing level, plumb and square. It can be quite frustrating so I would get a couple of measurements a day done and bolt the thing in place. I finally have completed that task and now I am starting to put the parts on the jig.
This too is no easy thing to do. Now I understand why people get the quick build kit. I guess I was just more enthusiastic about building when I built the first RV-6. Now it's just mundane but it has to be done. I have gotten the firewall mounted in the jig and it's probably the most complicated part to install since it has to be exact in height, plumb, square and center to the jig. If I get this thing on there crooked, then everything else, including the engine will be off.
You will see a machinist level is one of the pictures that is gnat's ass on the money. This was no easy task but that firewall is on there perfectly and I am happy with the setup. Next I will start with the centersection but I first have to bend the main longeron. This takes time and A LOT of clamps.
It took me several hours to find the layout of the longeron. My wife was asking me why I was digging around in the closet. It wasn't looking for hidden Chirstmas gifts I can tell you that......
I found it on the main layout of the fuselage and it even shows all the other dimensions too. Imagine that. Progress. Now off to the toolbox to get out every C-clamp I own so I can bend this damn longeron.
Tuesday, December 4, 2012
Building the fuselage jig
It's been over a month since I have purchased the wood for my jig. I let it acclimate to my garage temp/moisture so it did not warp after I purchased it. I stacked it up and let it sit. Over the weekend I started working on it, cutting all of the pieces for it. These past couple of days I have been assembling the jig and making sure it's all straight, plumb and square. While I was piecing together the ladder section, I had my wife help me level it up with a transit. I shot 6 points on the floor and made them all level so the side rails did not have any twist or crown in them when I screwed it all together. I used all wood/deck screws so this thing should not move at all once it's in place. Now I have to move it over to the other bay in my garage and relevel the jig, anchor it in place. Once its perfectly level and plumb, I will start putting some of the bulkheads in place.
Subscribe to:
Posts (Atom)


