It's been a couple of weeks now and I'm still installing parts into this damn fuselage. It seems there are twice as many parts on a RV-6 then a -4.
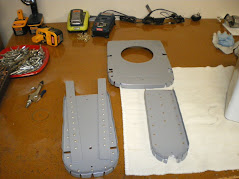
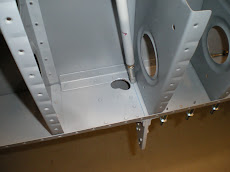
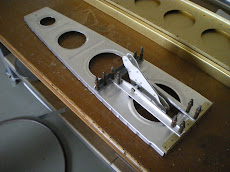
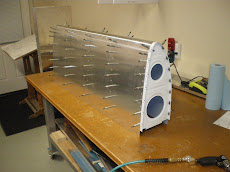
I have been working on the rear turtledeck stringers, canopy deck, rudder pedal mounts and strobe light mounting plate behind the baggage wall.
What really takes the time is getting all of this stuff to fit just right and look good. The canopy deck has to look good and it right out in front for everyone to see. If you make some mistakes in this area, someone will notice it.
I have etched, alodined and primed all the parts. I went through a primer escapade. I got some OMNI primer from PPG but I'm not really thinking it's all that great. If its a economy primer, it's cheap and not very good. I painted some of the parts with it and they turned out OK. You can scratch the stuff off easily and it doesn't like getting scraped at all. Dupont DTM is WAY better primer and it's a sealer too. Get any solvent around OMNI and it's coming off........
I got some Ful-poxy from Dupont and it's supposed to be very close to DTM but not quite the wallet slam when you go to pay for it. I don't like going cheap in the paint department, however, both PPG and Dupont are putting themselves out of business with their giant price increases every 6 months!!!!
Tuesday, February 3, 2015
Sunday, January 18, 2015
It's just one damn job after another.....part 2
Last couple days I have installed the fuel vents on the bottom of the fuselage. I bought ones from JD air parts and they are all CNC machined with a screen and a secondary vent hole. I put some pins in my to hold the tail end of them when you are torqueing down the vent with the AN fitting. I cut some drill bits off to be my pins and I drilled slightly undersized holes in the tail end of the vent. Then I pressed in the pins. I then drilled my vent hole and then aligned the vent body to be aligned with the centerline of the aircraft. Once I found my centers, I drilled the #40 hole in the spot for the pin. This will keep the body of the vent from turning and not being in trail with the air.
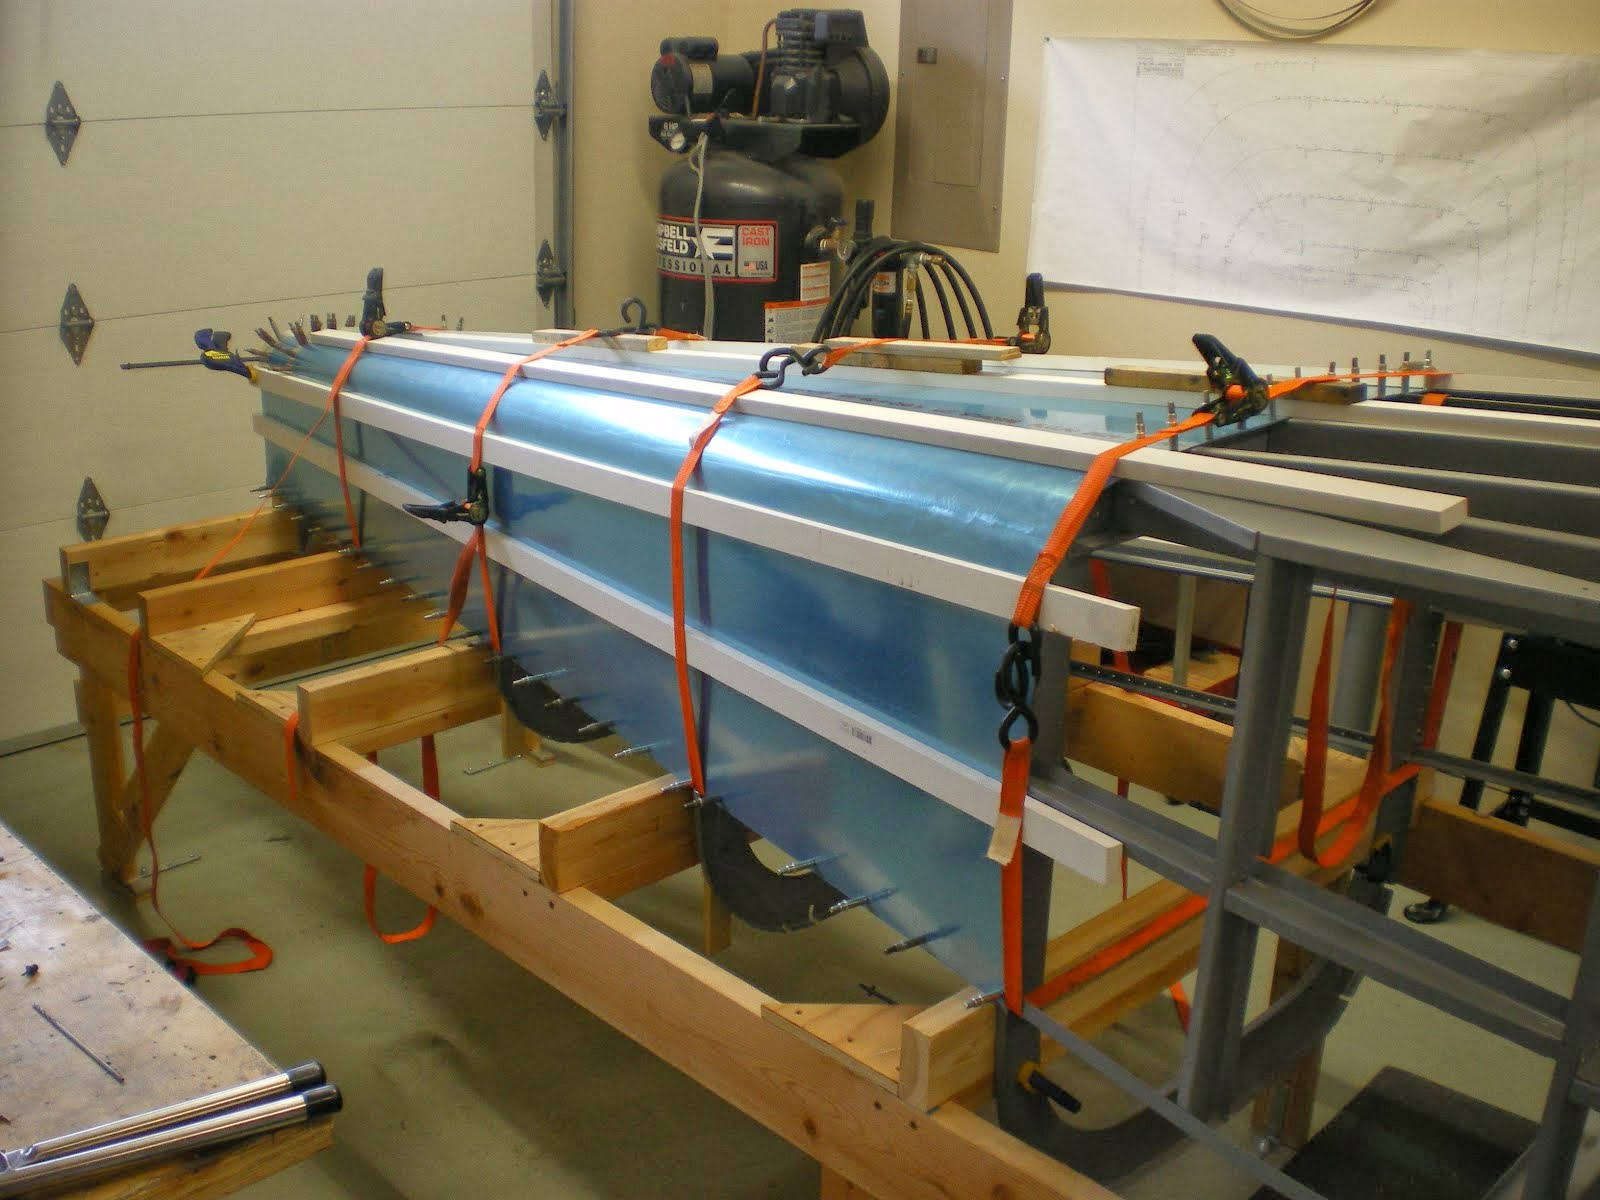
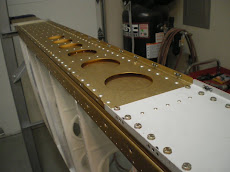
Today I worked on the top canopy deck for the right side. I had to cut the areas out to fit around the centersection and the rear area to fit around the seat bulkhead. Then you have to contour the edge of the deck to the side of fuselage skin so it does not overhang. This was a lot of filing.......to get it just right. I got that fitting real nicely so I fitted the front deck and I went back and counter sunk all of the holes in the top deck. It's ready to be etched and primed.
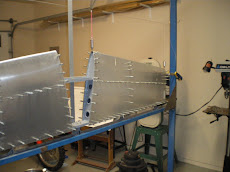
I also worked on the rear fuselage turtledeck stringers. Getting those lined up and drilled. I am using a piece of .063 angle on the top stringers instead of the J-strips. I don't like those things and I think they are cheesy. I will have to shim a lot more using the angle but I will get a nice smooth riveting job. I'll be glad when the top turtledeck is on and I can start mounting the tail.
Sunday, January 11, 2015
It's one damn job after another........
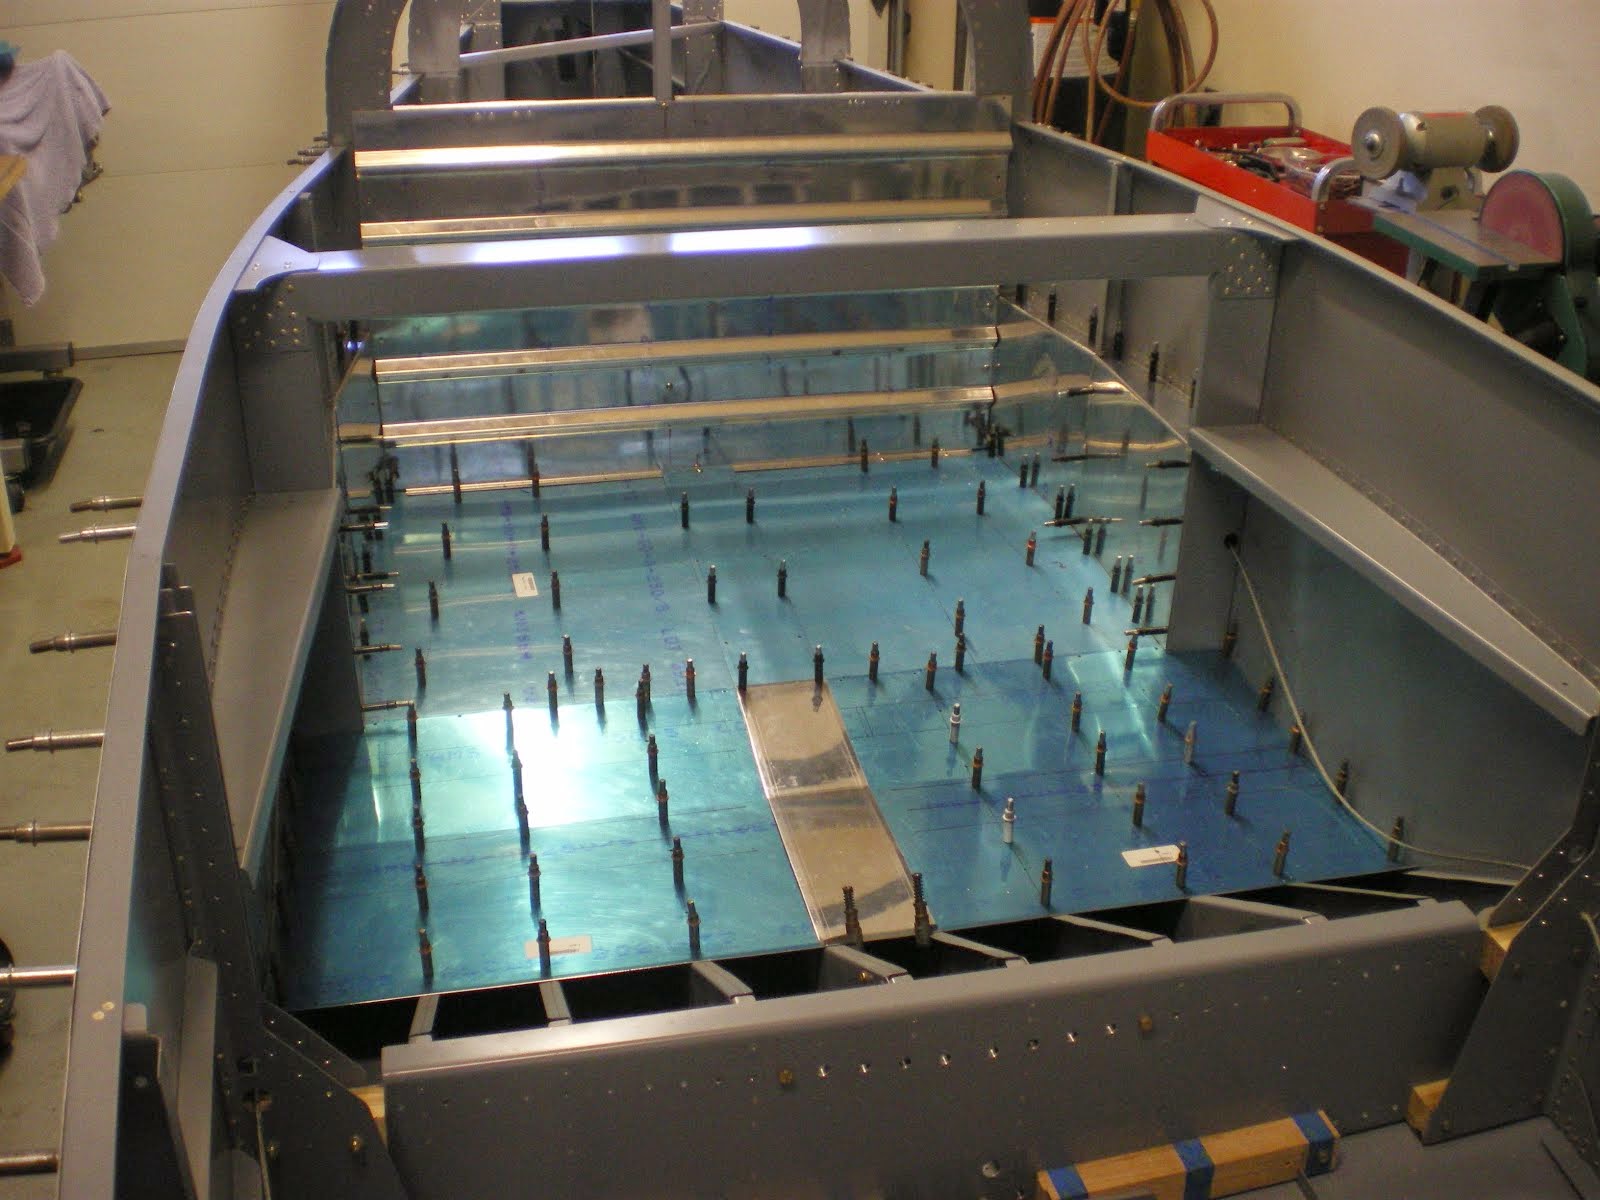
In the past few weeks I have been working on getting the cockpit floorboards installed in the plane.
There is quite a few nutplates to install in the cockpit with all the panels that need to be removed for inspections. I wanted to get the floorboards and side panels done before I went back to the tail and finished up the turtle. There is a lot of work in the baggage area and it's a lot easier to get in there without the turtledeck skins on.
On the last RV-6, I worked from the inside and was constantly climbing in and out of the plane. It was hard work kneeling down and trying to get at everything. Over the years I have learned to work smarted, not harder. This stems from experience.
With the fuselage open and set at the correct height, you can simple lean over the reach almost anything you need to get at.
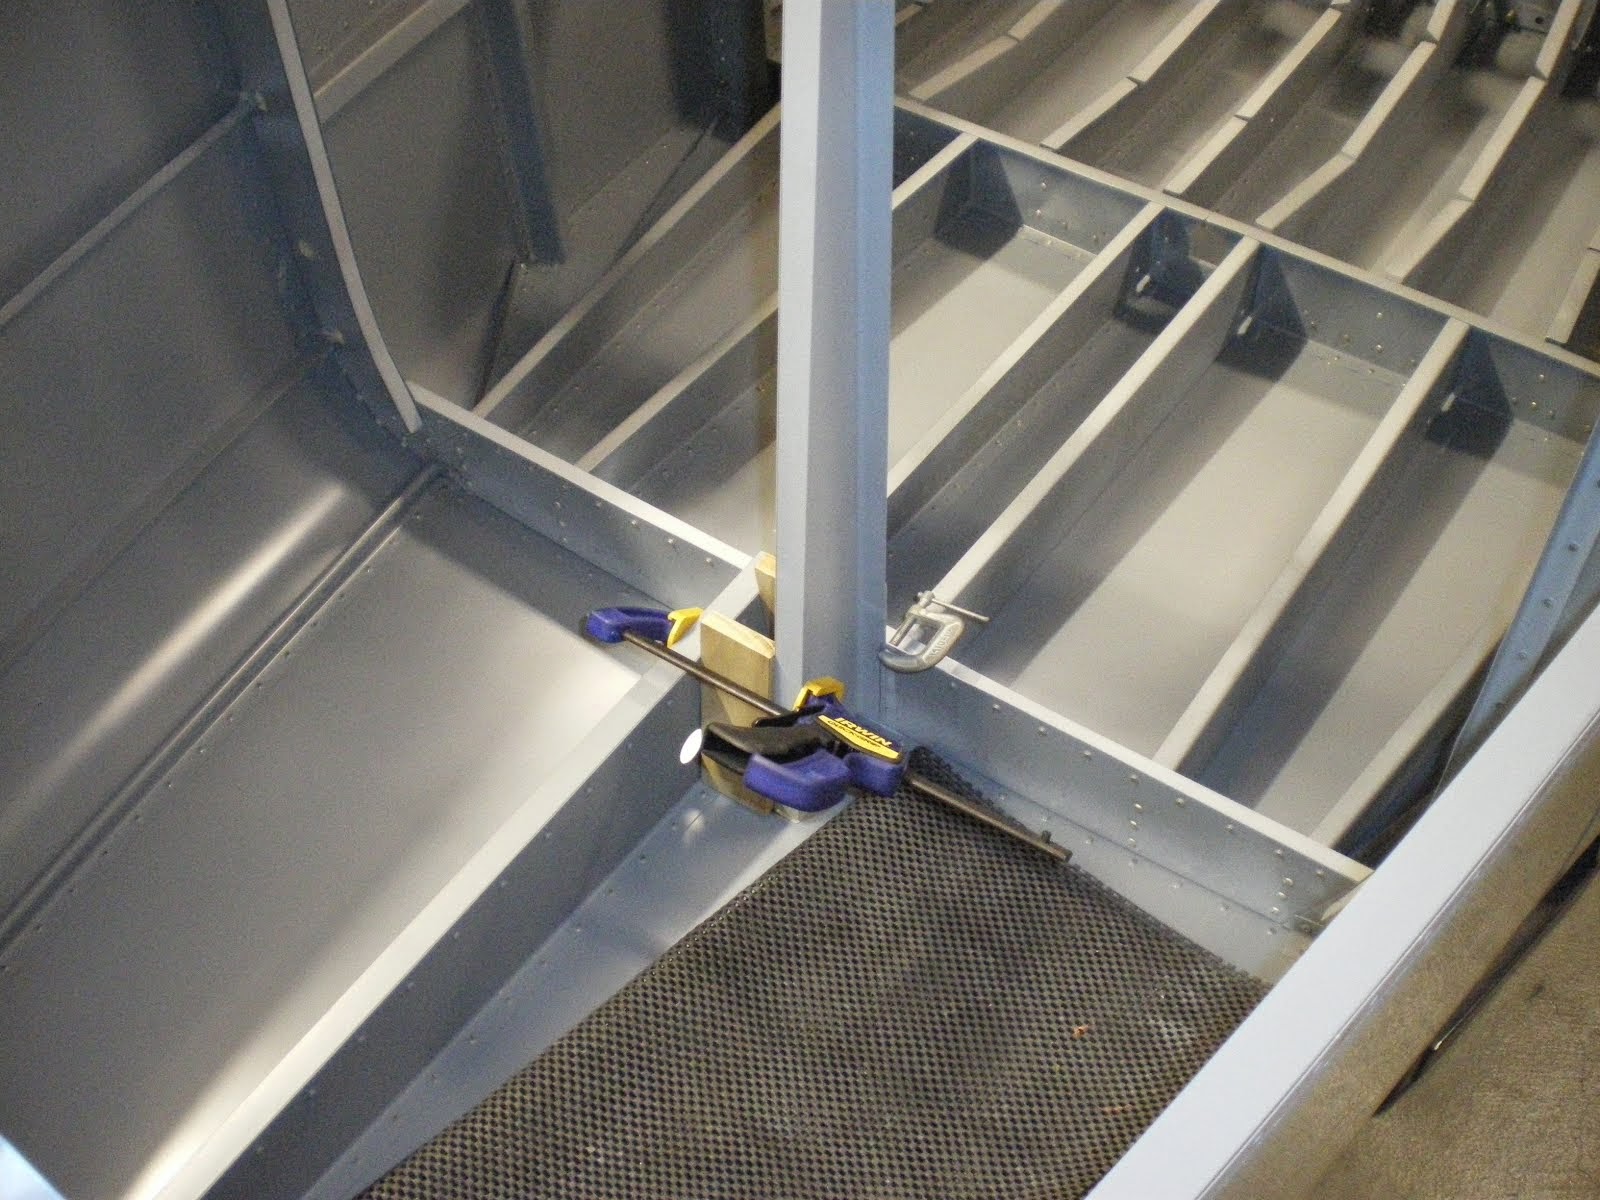
The baggage compartment panels were all fabricated by me. Vans does not provide the correct panels. I don't know what people do with the ones supplied in the kit but they just don't fit. I have to make them for the first RV-6. After I got those done, I made the baggage floor boards, then the seat pans and seat backs. Then the last part was to make the stick covers. These are tricky since they have to fit around the centersection. Getting a good fitment is critical because air will blow in from the wings and blow around your legs. In cold weather, you will find out where you did not get a good fit and the spaces will blow out ice cold air. On this plane, I got a excellent fit and I'm really happy.
I spent a better part of the week just putting in nutplates. Then I had to get paint since I ran out of primer. I am using OMNI primer and urethane paint. I went to get some PPG DCC single stage Concept paint and they wanted 232.00 a quart!!! Uh, no thanks.......
I had the paint store match the old color than was in the first RV-6. Northwest Orient Gray (33131) and then I add 30g of black toner to each quart. This gives me a nice light gray that hides lots of imperfection in the parts. I sprayed the seat belt brackets with the Urethane since they have to be bolted in before you pop rivet the floorboards in place.
I also installed the soundproofing in the bottom of the cockpit. This helps keep sound and vibration (from the exhaust) out of the cockpit. It also helps insulate the cockpit too. I bought some double sided soundproofing from JEGS. I cut the fabric to size for each bay and then I seal the edging of each piece with aluminum tape. This keeps the moisture from getting in the felting. It takes a while to get all of this done. I sprayed the bottom each bay again with primer to seal it off and cover the rivets with primer. I don't want any of the adhesive touching aluminum. I used 3M Super 77 spray to glue the pieces down to the bottom of the fuselage skin.
I spent about a week just etching, alodining and priming pieces...........
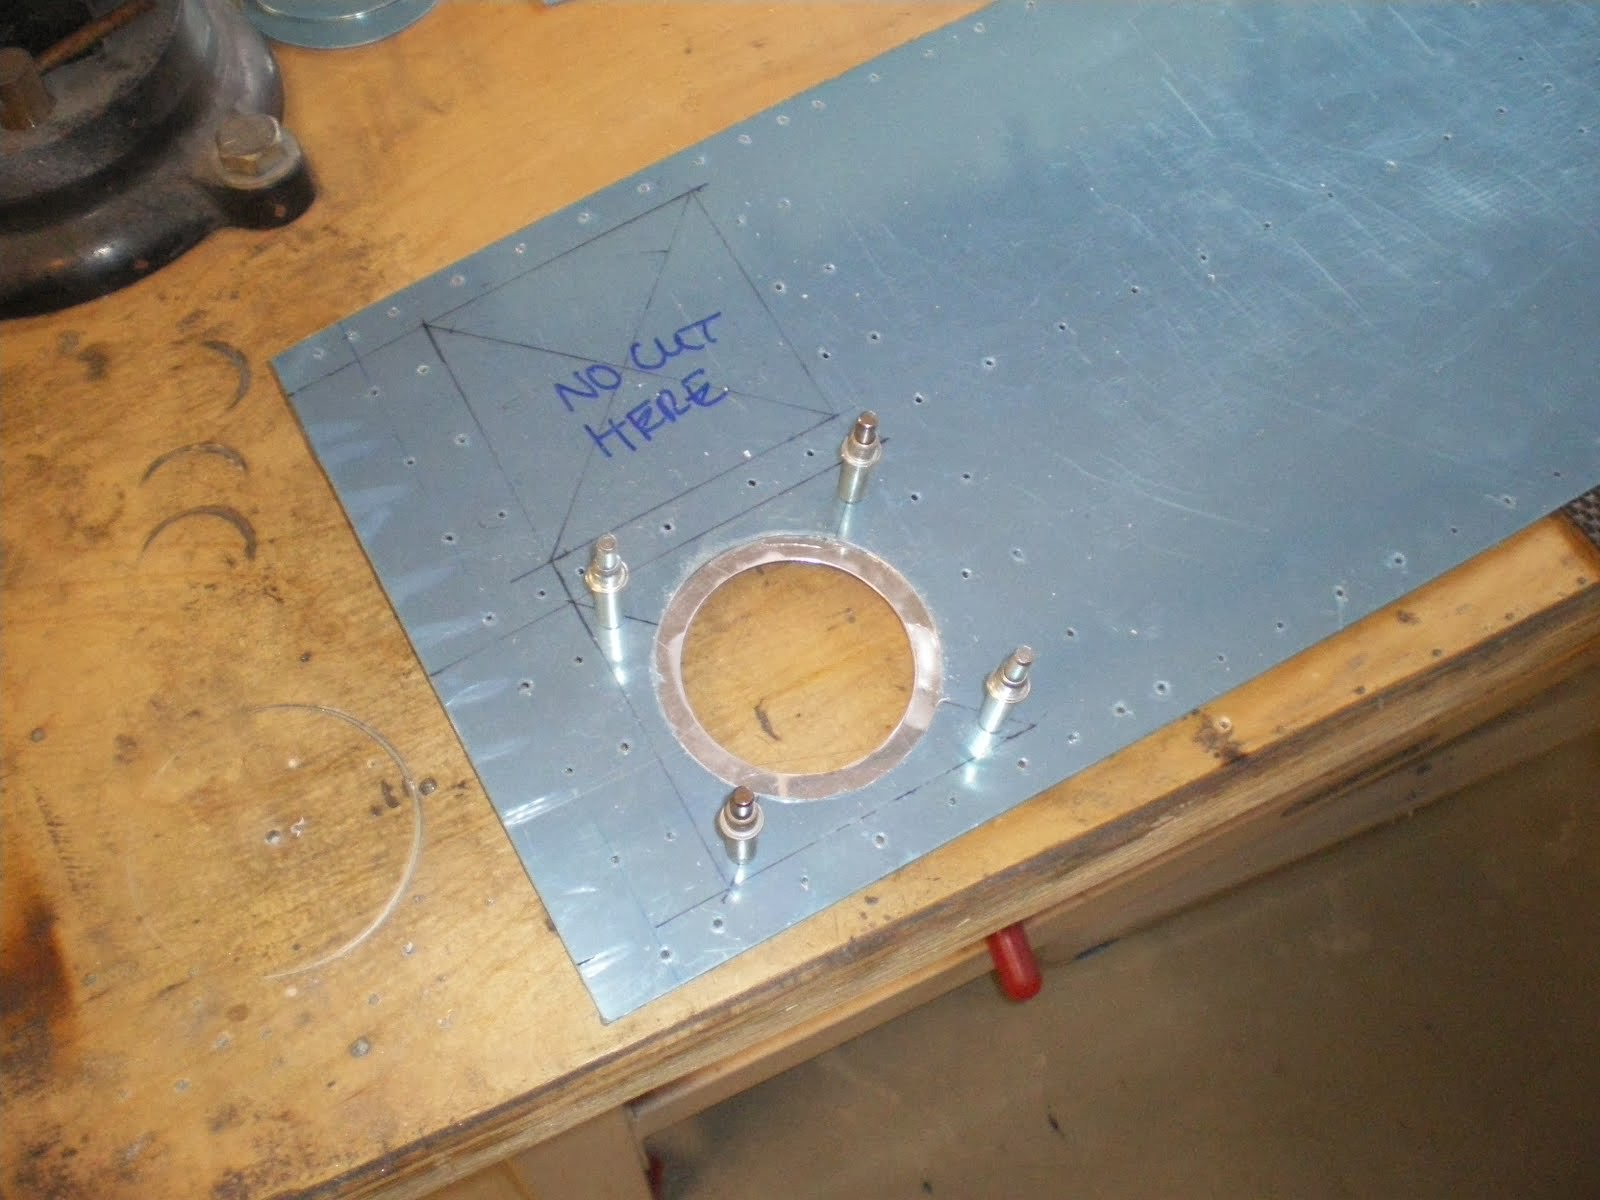
Now I am starting back in the tailcone again to finish the strobe light power pack mounting plate. It's the same as the ELT plate except it's for the right side.
Sunday, December 21, 2014
Painting and riveting
I have been working on the bird. Got a lot of the interior pieces etched, alodined and painted. I still have the floor boards to do. I have one last panel to fit up then cut the holes in the for the sticks and I will be done with floor boards.
Then I will etch, alodine and paint those. I have purchased the sound proofing that will go on the bottom skins to help eliminate exhaust noises and vibration. Remember, this is going to be a cross country machine so it has to be nice and smooth.
Once I get all of the floor panels sound proofed, then I can rivet the floor boards in place. I also have to paint the lower seat belt harness attachments. These actually get painted the gray interior color.
I will mask them off when I go to paint the interior. But they are buried under the floor boards and stick up through them so I have to get them done now.
When all of the floor boards are done, I will go back and install all of the nutplates that go in the baggage area and the stick covers. Then I will get back on the tail and fab up the strobe light mounting plate and rear fuselage turtledeck stringers.
Sunday, November 30, 2014
One more thing...
I forgot to mention that on the RV-6 there is a gillion nutplates in the baggage and floor boards. I will be spending a better part of the week just installing nutplates.
Fabbing up inner fuselage parts
Haven't posted in a while. That's because I have been busy getting a lot of the parts and pieces that go inside the fuselage fabbed up.
So far, I have gotten the seats, floorboards, baggage compartment panels, seat backs, center section stiffeners, ELT bracket and misc parts all fabbed up to the painting stage.
My next task is to etch, alodine and epoxy prime all these parts. I can then rivet them together and get them out of the way for now.
I still have the right front floor board to fit. This is the ramp under your legs and where the stick comes up through the floor. This panel must fit nicely against the fuselage side wall and around the center sections. If you don't take your time, and you have big ol' gaps around the edges, it will look like crap and air will blow up through them. On a cold day, you will figure out real fast where the air is leaking in on you. 30 degree air blowing on you is a wake up call when you are trying to warm up.
I am taking my time and getting everything to fit real nice. It looks good too and it will keep dirt and dust from getting down into the lower compartments.
I also ordered some sound proofing/ heat barrier. It dampens the exhaust noise and vibration way down. With noise cancelling headsets and the barriers, you can enjoy your flight without getting vibrated out of your seat. My last RV-6 had these as well and it really makes a difference in cockpit comfort. With my fancy seats and upholstery, it will be a very nice interior.
My next step after getting all of these parts primed will be to complete the work on the rear turtledeck and stringers. I will have to get all of the tail section down out of the shed and start mounting it on the tail. I want to get all of the push pull tubes completed before I rivet on the top deck. Once this is done, I will get the skins out and start to back drill all of those panels. There is going to be A LOT of shimming on this deck due to the previous posts about the bulkheads not being in the correct positions. I will make it work and look good. It is just a lot of work......
Sunday, October 26, 2014
Back in the saddle again!
I have been putting in some long days building on the airplane. I am back working on the rear fuselage area. I am putting all of the parts that can go in the baggage area and rear tail cone before I put the top turtledeck on. I want to minimize the crawling in and out of the tailcone as much as possible. Last airplane I was in and out a thousand times.
I discovered a pretty big error on the bulkhead station F-607 and F608. The top of the bulkhead does not line up with the baggage bulkhead or the rear bulkhead F-609. When I put a straight edge across the tops of the bulkheads, F-607/8 where about 1/4 inch lower than the other two. Usually you can move the bulkhead forward or backwards a little in the tailcone to get the fit you need. I had to cut the tops off and move them up! I made splice plates and new stiffener brackets so it all fits together again. When I had the bulkheads in the jig I moved these two forward from their "stations" according to plan to get them to fit. Now I created another problem but there is nothing I can do except just what I am doing. Bash to fit, paint to match.
I am almost finished with this job. Then I can run the two stringers on the top and start back drilling the top skins. I still am going to mount the ELT plate inside and fit the Horz stab/elevators so I can make the torque tube all having access with an open working area in the tail cone. Once this is done, I will rivet the top skins in place.
Subscribe to:
Comments (Atom)


