Saturday, November 28, 2009
Ready to skin
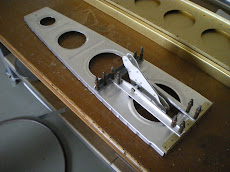
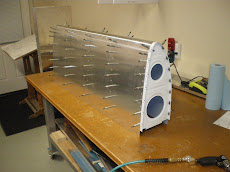
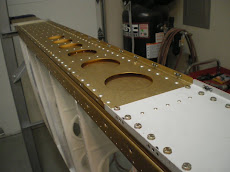
I am very close to being ready to skin the right wing. I have put the nose ribs on and have gotten them all straightened. I have to tie them all together with some thread-all so I can get my rib spacing correct when I start to drill on the leading edge skin. I won't be putting a landing light in the leading edge skin on this airplane. It will go in the wing tips. This will save some time as I won't have to cut a bunch of holes in the skin. After I get the skin drilled it will be time for deburring and dimpling skins. Then on to primer and bucking rivets. Once the leading edge skin is in place and riveted down, I will get the main top skin drilled on. This will lock it all into place when that skin is riveted down.
Monday, November 23, 2009
Wing Jig
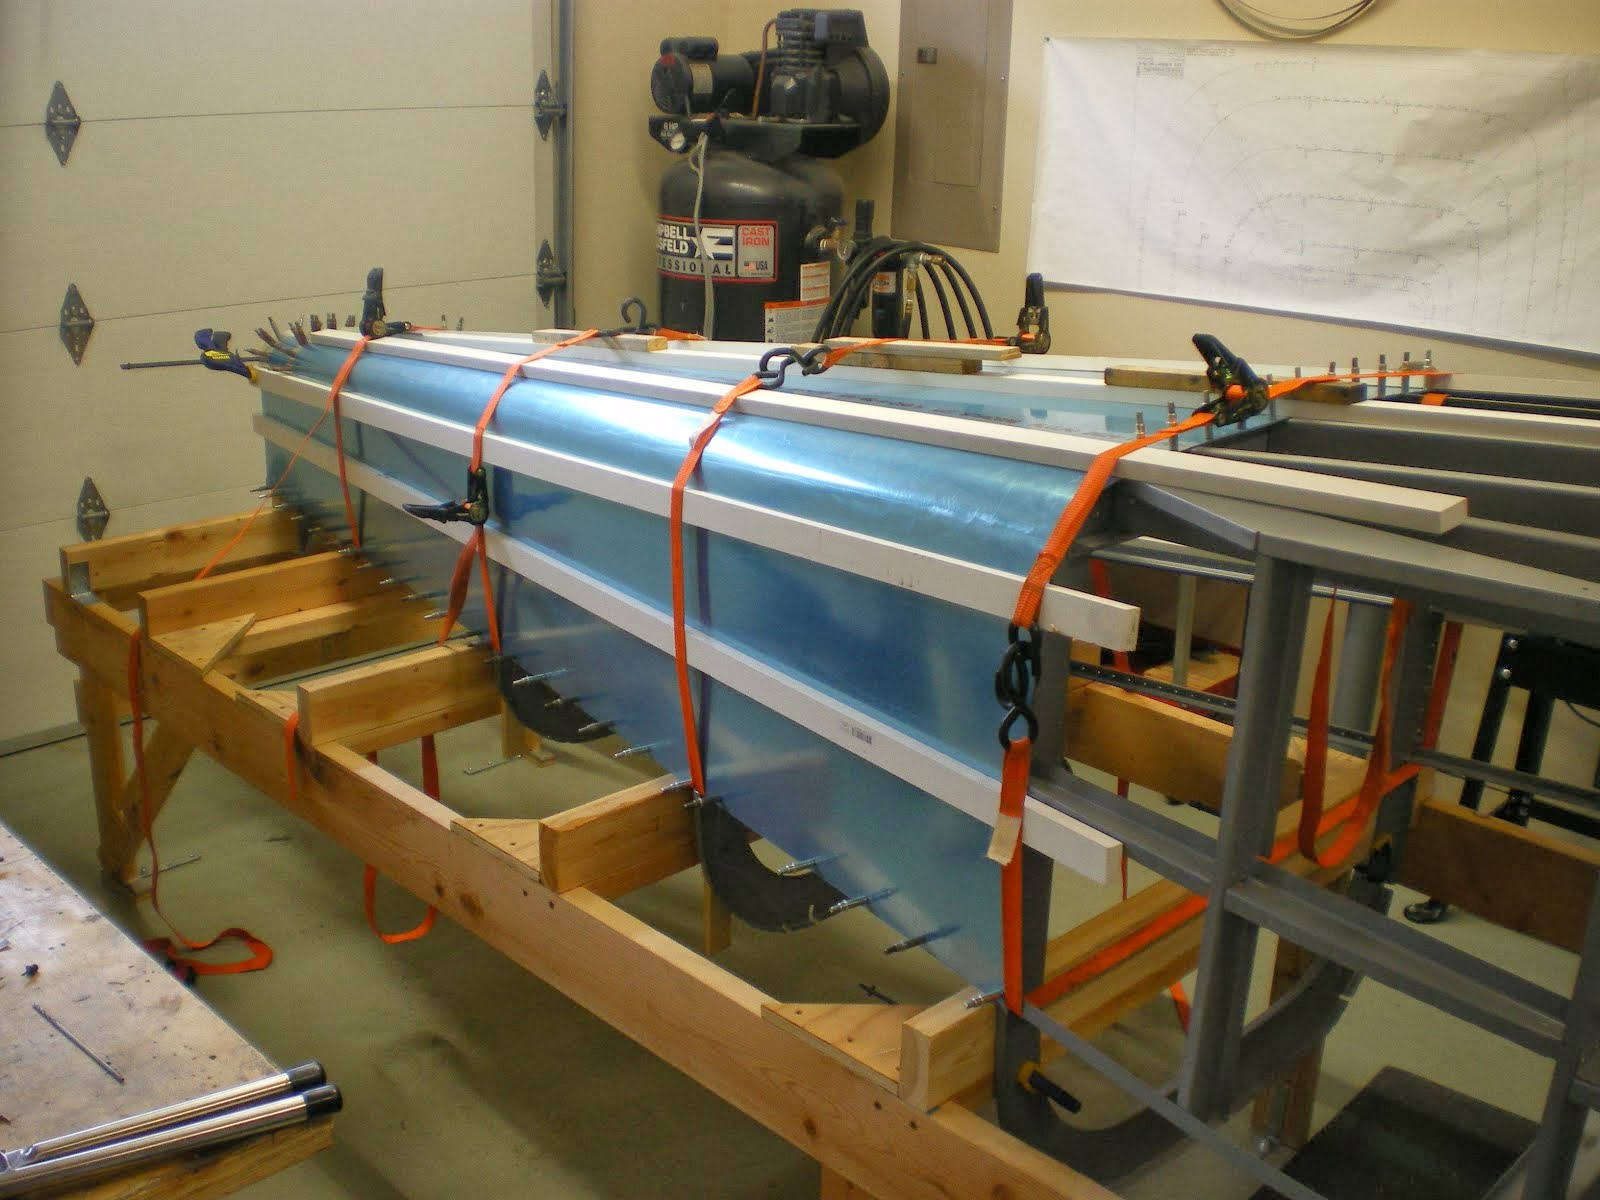
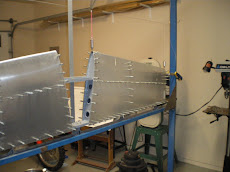
I am getting the wing jig close to being done. I have gotten the stantions mounted to the floor. I smoked three concrete drill bits to get the job done. I even have a roto-hammer and it still took three bits. My concrete must be really hard. Now that the stands are mounted I have put the wing in place so I can attach the lower arms to mount on the rear spar attach points. I didn't want to mount them when I was building the stands in fear I would get the demensions off and have to redo the mounts. This jig sits a little higher than most but I spend a majority of my time in the middle part of the wing. This will keep me from having to bend over all the time. Plus I can sit down on a chair and the work in at eye level.
Once I get the mounting complete I can start working on leveling the wing spars and getting the twist out of the wing. Then it will be time to start skinning this thing and getting some rivets bucked.
Once I get the mounting complete I can start working on leveling the wing spars and getting the twist out of the wing. Then it will be time to start skinning this thing and getting some rivets bucked.
Monday, November 16, 2009
Getting started on the wing jigs
It's been a long time since I have worked on the airplane kit. I have gotten the front yard in, wrecked my Red VFR you saw below and repaired it, wrecked my truck, and blown up the engine in my wife's Passat since I've written last. It's been a long and painful summer/fall. However, we are putting that all behind us and moving on. I am starting back up on the kit and have purchased some steel to make a wing jig. Most people use wood but I opted out of that since my garage ceilings are so tall. Wood also warps and twists when it dries out. It's also hard to find a straight piece of wood anymore at the lumber store. Steel is much better and won't warp. Since I work in a mill, I have found some scrap and bought it and will be pieceing it together. The jig will mount on the floor at each end of the spar with four concrete bolts. I will be able to adjust the plumb for each stand as well as the arms the spars lay on. Once it's set it will be rock solid and I will use my lasar plumb line to make sure there is no twist in the structure. I can also use the lasar to align the chord line of the ailerons with the chord line of the wings. It beats trying to measure and transfer this stuff. I had to move my ailerons on the last airplane because I did not get it right the first time and it flew crooked. Once I bought new brackets and redrilled them, it flew hands off. Leasons learned. Look for some pictures later of the jig building process. I might even build a steel jig for the fuselage when the time comes.
Subscribe to:
Posts (Atom)


