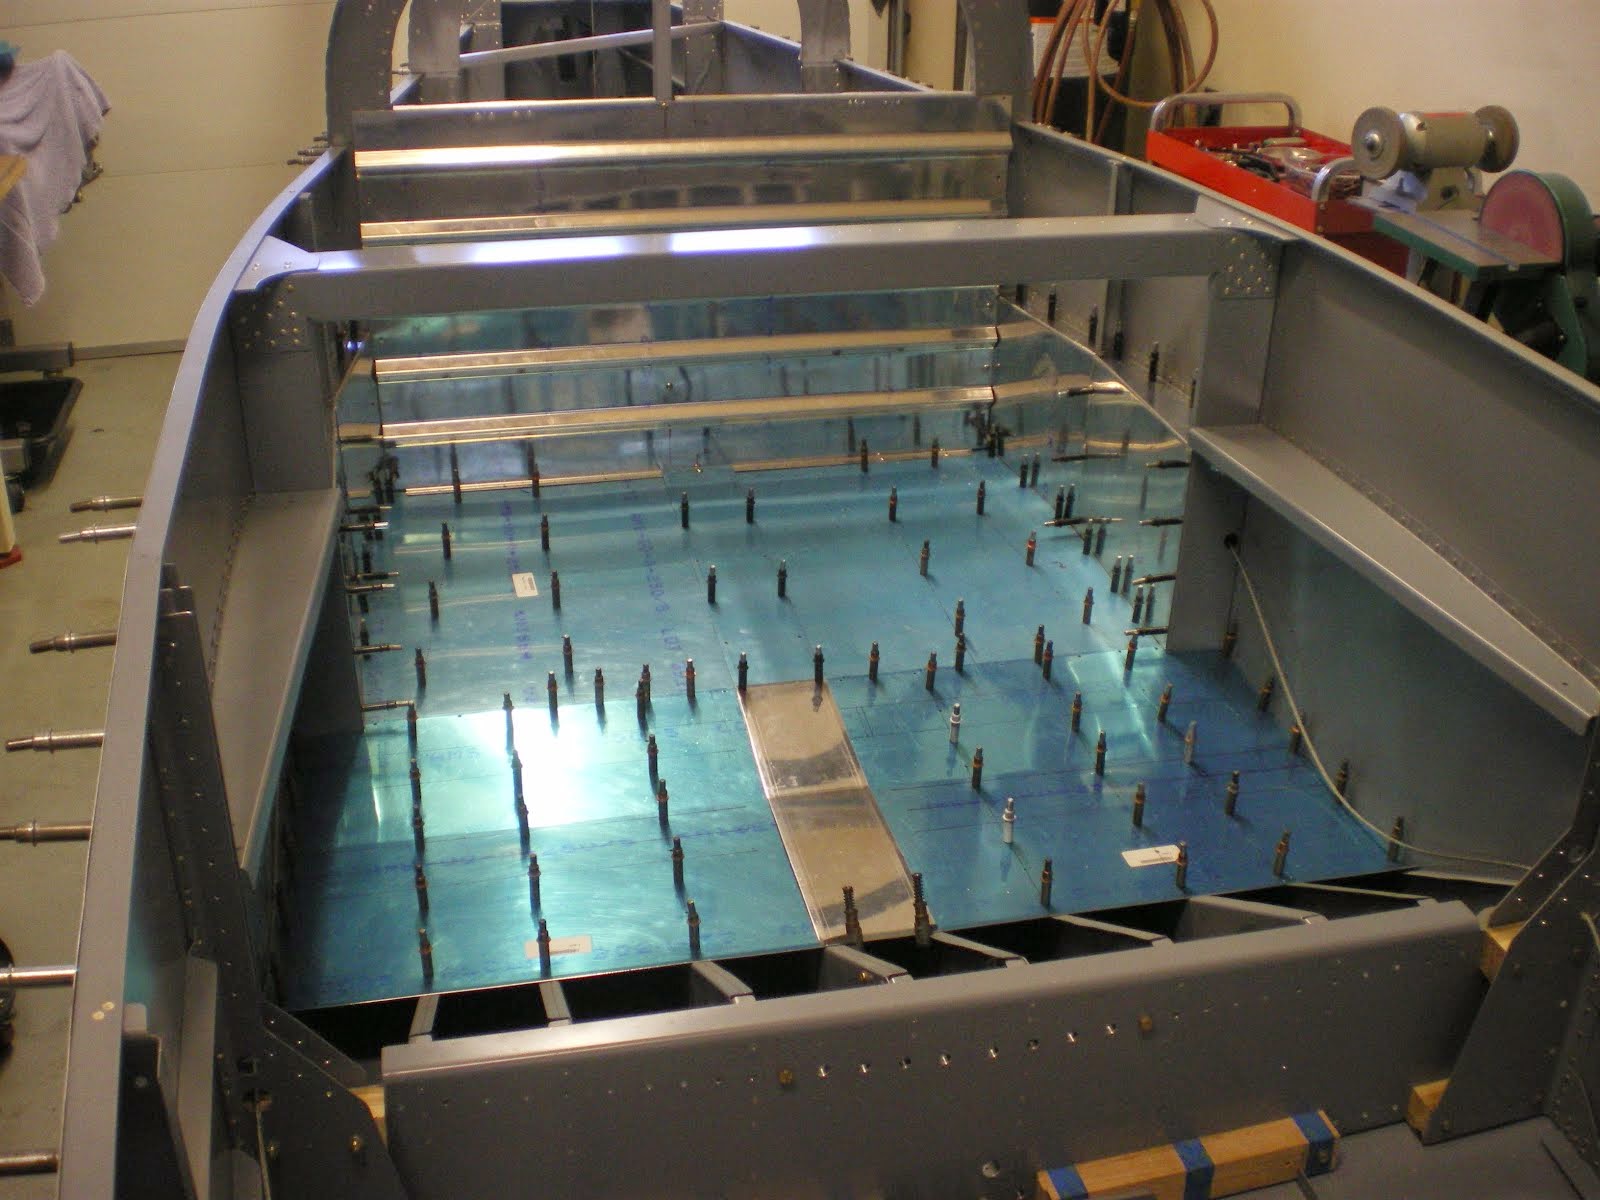
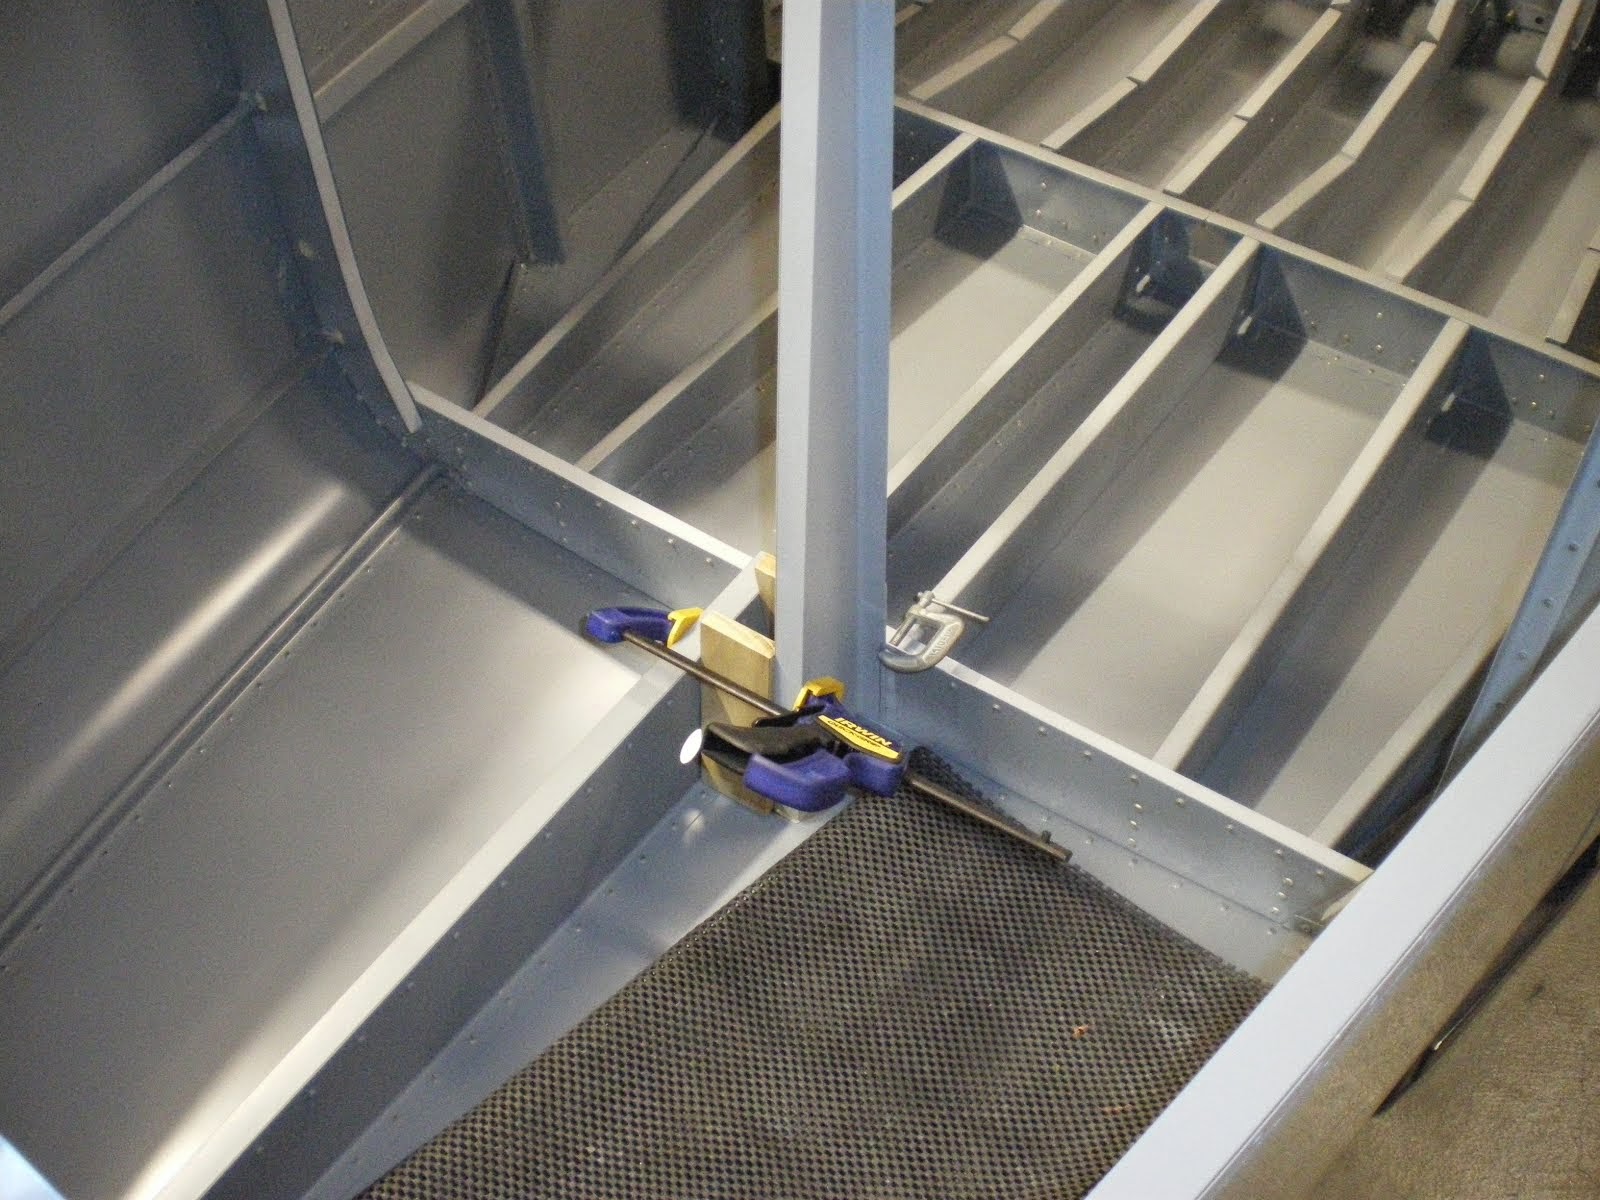
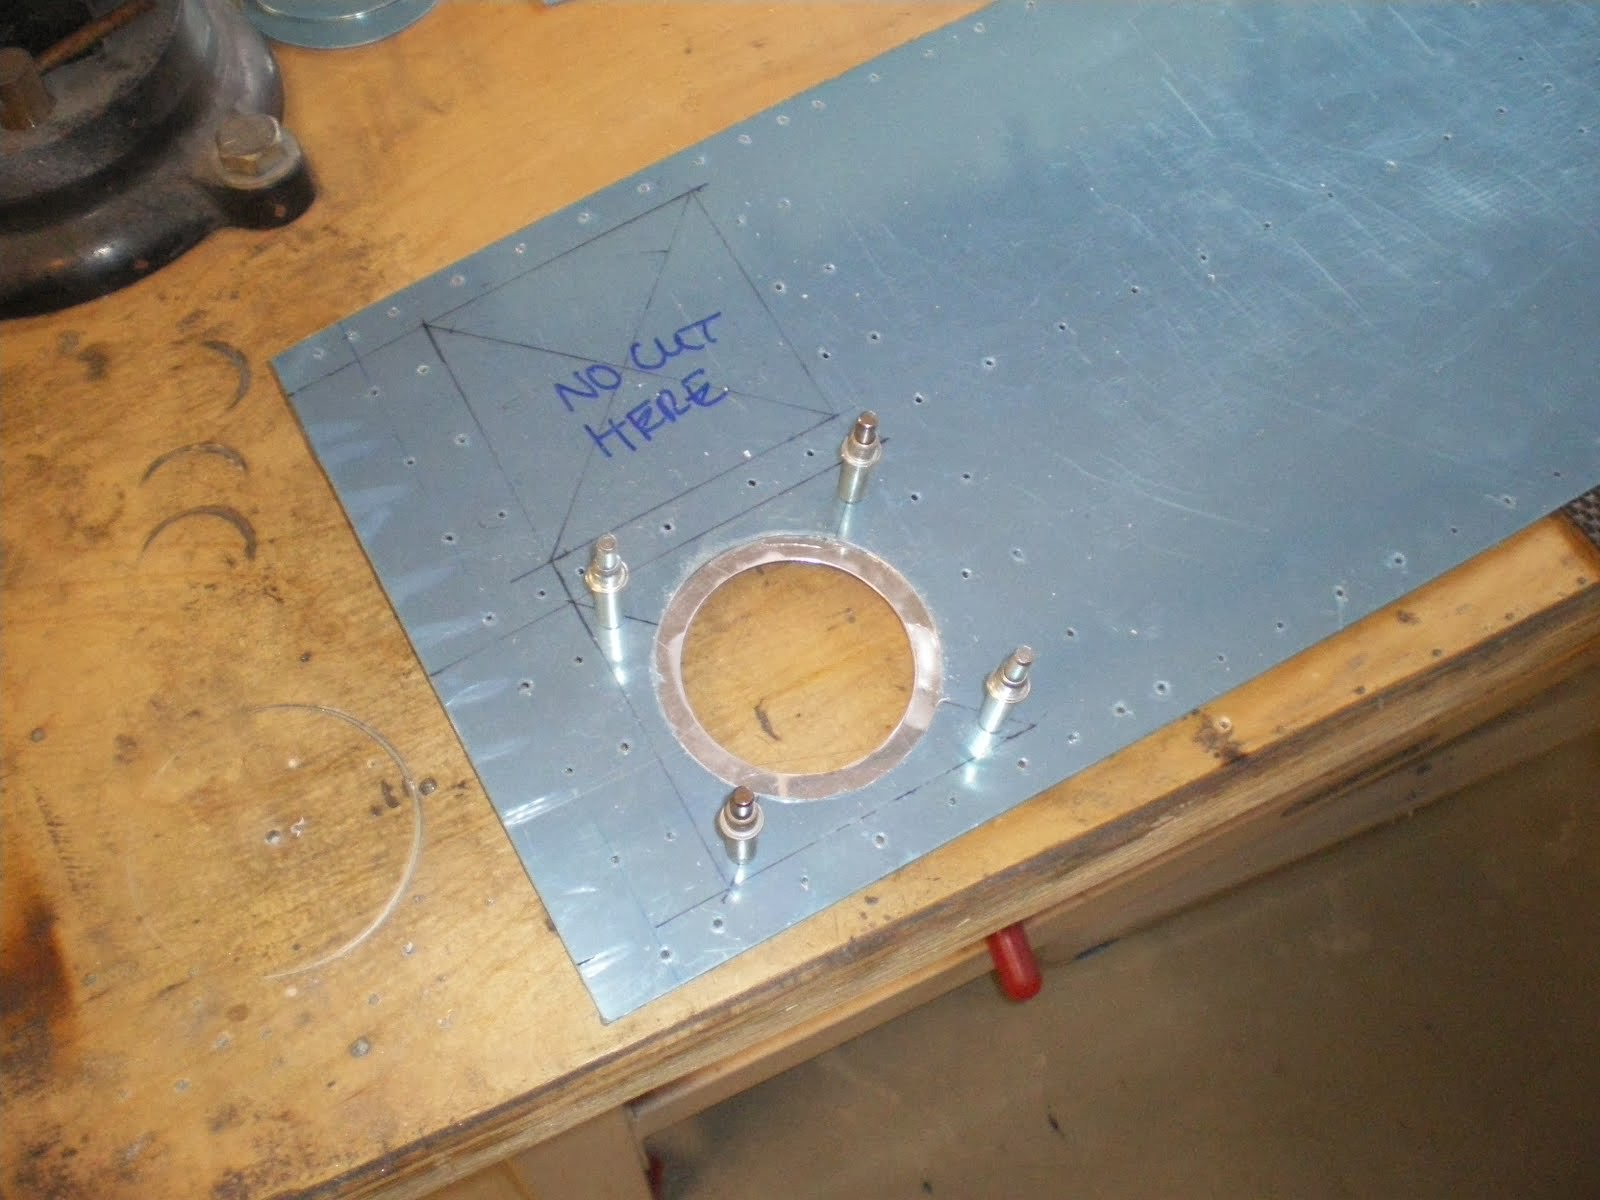
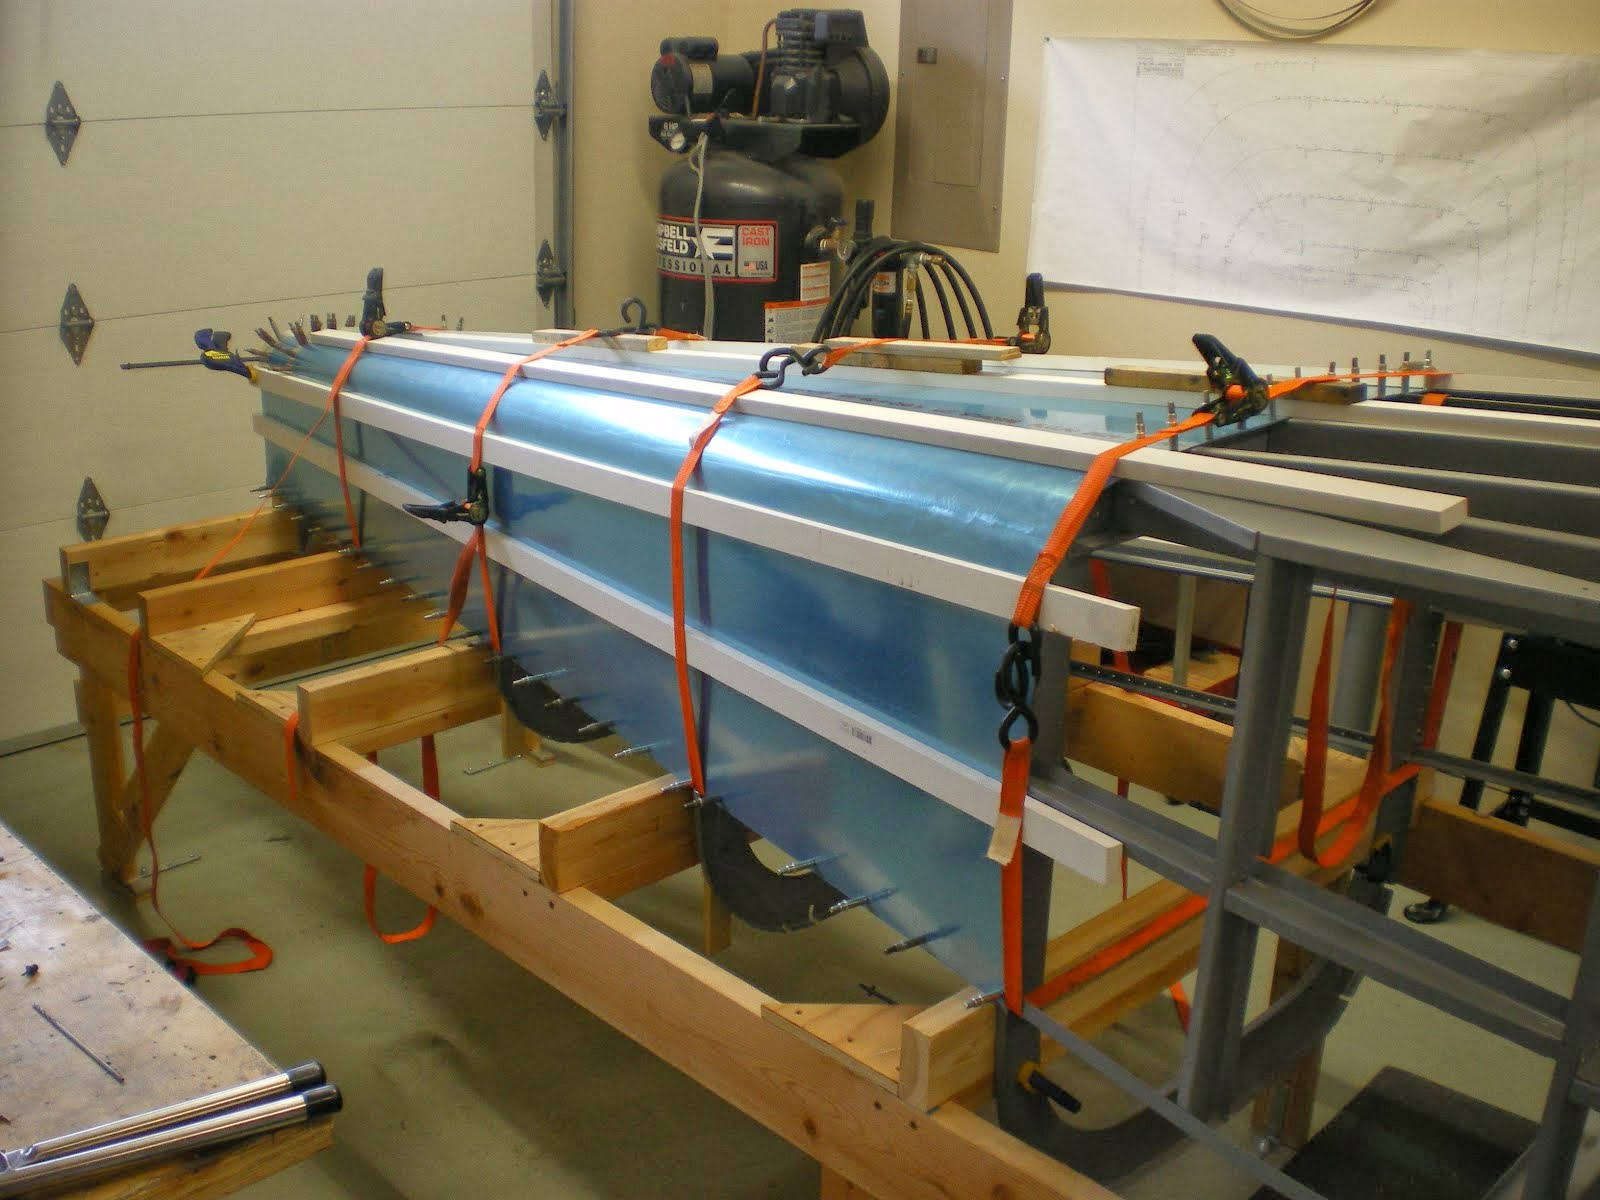
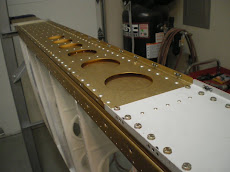
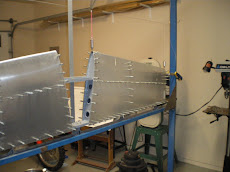
The past several days I have spent bending the main fuselage longerons. This is no easy task on the RV-6 as there is a nice curve to the side of the fuselage. There is a template on one of the plans that gives you the outline of the side of the aircraft. What I do is cut the template out and tape it down to my benchtop. I make sure I have plenty of room all the way around the benchtop, then I start clamping down the longeron over the top of the first station on the fuselage. I align the outside of the longeron with the outline of the template and keep clamping it down. When I start reaching the areas that have the curve, I start bending the longeron over the top of the benchtop. Now the longeron will want to twist as you bend it. I made a special tool that clamps down on the longeron and I can bend the longeron in the opposite direction of the twisting. Once I get the longeron to curve with the template, I clamp down the area with another C-clamp. I keep doing this until all of the longeron is bent and its laying relatively flat on the benchtop. It should follow the outline of the template without having to force it into place.
Once one longeron is bent, then you have to flip the template over and bend a mirror image of the first longeron.
It took me about 3 hours to just bend both longerons and get the proper twist in the first part to line up with the firewall mounts and for the rest of the longeron to lay flat on the jig. You want the longeron to have all of the proper curves, bend and alignment without having to force it in place.
Today, I have drilled one of the longerons to the firewall and also drilled the top gusset in place as well. I will do the other side tomorrow.
Wednesday, December 26, 2012
Thursday, December 20, 2012
Setting up the fuselage jig
I have been working on getting the fuselage jig set up. It takes a while to get the thing level, plumb and square. It can be quite frustrating so I would get a couple of measurements a day done and bolt the thing in place. I finally have completed that task and now I am starting to put the parts on the jig.
This too is no easy thing to do. Now I understand why people get the quick build kit. I guess I was just more enthusiastic about building when I built the first RV-6. Now it's just mundane but it has to be done. I have gotten the firewall mounted in the jig and it's probably the most complicated part to install since it has to be exact in height, plumb, square and center to the jig. If I get this thing on there crooked, then everything else, including the engine will be off.
You will see a machinist level is one of the pictures that is gnat's ass on the money. This was no easy task but that firewall is on there perfectly and I am happy with the setup. Next I will start with the centersection but I first have to bend the main longeron. This takes time and A LOT of clamps.
It took me several hours to find the layout of the longeron. My wife was asking me why I was digging around in the closet. It wasn't looking for hidden Chirstmas gifts I can tell you that......
I found it on the main layout of the fuselage and it even shows all the other dimensions too. Imagine that. Progress. Now off to the toolbox to get out every C-clamp I own so I can bend this damn longeron.
Tuesday, December 4, 2012
Building the fuselage jig
It's been over a month since I have purchased the wood for my jig. I let it acclimate to my garage temp/moisture so it did not warp after I purchased it. I stacked it up and let it sit. Over the weekend I started working on it, cutting all of the pieces for it. These past couple of days I have been assembling the jig and making sure it's all straight, plumb and square. While I was piecing together the ladder section, I had my wife help me level it up with a transit. I shot 6 points on the floor and made them all level so the side rails did not have any twist or crown in them when I screwed it all together. I used all wood/deck screws so this thing should not move at all once it's in place. Now I have to move it over to the other bay in my garage and relevel the jig, anchor it in place. Once its perfectly level and plumb, I will start putting some of the bulkheads in place.
Sunday, September 30, 2012
Priming the centersection
I was a bad boy about 4 years ago when I put together the centersection in haste. I did not use very good primer and it was already flaking off after 2 years in storage in my shed!!!!
I have drilled it all apart and have stripped the paint, re-etched and Alodined the pieces. Today, I am epoxy priming the centersection and I will reassemble it in a couple of days.
I am using the good DTM (Direct To Metal) Dupont Primer in VS4. I still have about a gallon left over from painting the 1st RV-6. I have replaced the activator a new batch and I have had very good luck with this paint. The only thing that drives me crazy about it is that it is very graining and it's hard to get a good coat and have it turn out smooth. Some of it has to do with the gun I am using and the 1.4mm tip. I should go to a 1.6mm and see how that paint lays out. I prime with a small gun and also have a Husky (Home Depot) bigger gun for larger panels. It's a decent gun for priming parts. And since this will either be covered in a top coat on the interior, or inside the airplane, it does not matter that much how it turns out as long as it is sealed up.
Wednesday, September 26, 2012
Summer is over and it's airplane building time
I have worked around the house most of the summer. Pouring concrete, working in the yard, painting, planting, cleaning and mowing grass. My house looks good, however, my airplane looks unfinished. I need to get moving on building a jig.
I have asked around I cannot find a jig in the area. So I am going to build another one. I have a neighbor who is a professional builder. He recommended a lumber stock over by Port Townsend that carries "select" grades of lumber. I will go over there to hand pick my wood for my jig. You want tight grained Douglas Fir with no knots or wanes. Select grade is more expensive of course, but you are building an airplane in this jig and you need to be picky. Home Depot lumber is not going to cut it. That is Hem Fir and it's mostly wide grain heart wood. It will warp and twist on you. You must also get kiln dried wood so it does not dry out after you get the jig together.
On my last airplane, we also lightly "planed" the lumber to make sure it was nice and straight with sharp corners. Having a small portable power planer works real nice in this case.
I have to go on a business trip to Japan next week, after that, however, will be jig building time.
Fabricating bulkheads and priming
I have been working the past several months on the fuselage bulkheads. I have started with the firewall and then worked my way back to the tail bulkheads. I have assembled each station and then moved on the to the next. This way, when it comes time to start putting them in the jig, I can just drop each one in and go. I will not be waiting to build one and then move on to the next one. I have also been priming all of the seat ribs and baggage ribs so that I can also just "drop" them in place and move on. I have completed most of the priming.
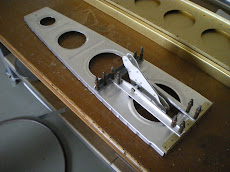
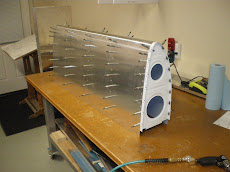
My centersection was put together a long time ago. I pulled it down out of the rafters in my shed and started to get it ready to install in the jig. I found several areas where the paint had flaked off. NOT GOOD! I removed some of the paint and found that I did not Alodine these parts!!!!! I ended up drilling out all of the rivets that assemble the bulkhead and I have since stripped all the paint off of them. I used SEM self etching primer and it will come right off with Acetone. I am going to clean and Alodine these parts, then prime with epoxy primer and reassemble. I cannot afford to have any corrosion in the centersection.
I would not recommend any SEM products. I have found them to be very inferior to other paints and primers. I have used some "filler" primer on some fiberglass parts and them top coat with U-POL primers and they have seemed to last. However, any self etching single stage primer has not worked for me on aluminium.
Tuesday, April 10, 2012
Bulkheads
I have started working on the rear bulkheads. I am drilling all the parts and getting them ready for paint. I will do three and then paint. Then do three more and paint. After I get to rear bulkhead and get that done, I will work on all the seat ribs and rear baggage ribs. Once I get those all painted, then I have to look at building a jig and start mouting things.
Friday, March 30, 2012
Firewall
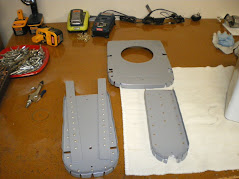
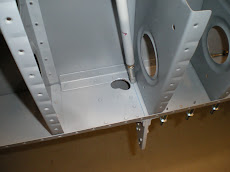
I have the firewall all riveted together. It has taken a long time to get to this point since there is so many things that are mounted on the firewall. The batter box, starter/master solenoids, brake fluid resevoir, heat box, ground strap, all cable penetrations and sending unit block. The list goes on and on. All of these items has to be located, drilled and mounted so they all fit. After that is done, then you have to fit the engine mount to the firewall and drill all six holes. I have started drilling the engine mount as I need these holes in the firewall so I can mount it in the jig. The engine mount will also help me locate more items like the fuel line penetration and a few other things. I still have to seal around the prop governor box and then paint the angles grey for the interior color. This way I will not have to do it later which is a real pain to mask off when it's in the plane. I still have about two or three days more work to go this thing before I can set it aside and work on another bulkhead.
Sunday, March 11, 2012
Fabbing the firewall
I have finished the wings for the most part. My next project to tackle before I can start building the fuselage is getting all of the bulkheads fabbed up. The center section was completed several years ago because it came with the wing kit. Now I am working on the firewall.
The firewall is a lot of work due to the amount of small parts that make it up to complete the structure that holds all of the longeron brackets. These are steel weldments that will attach the firewall to the longerons. It's the main structure that transfers the load of the airplane to the fuselage. There is also a ton of other things that attach to the firewall as well.
The battery box, master solenoid, starter solenoid, heat box, brake resevoir, brake line reinforcements, cable pass throughs, sending unit block.....ect.
So each one of those items has to be carefully laid out and drilled.
Drilling Stainless is not easy. Cutting holes in it is not easy either. Small uni-bits work ok but holes saws have to used for larger holes.
Then after all this is done, you have to add nutplates so you can attach all this stuff. Nutplates work well so you don't have to crawl inside the airplane and lay on your back to get at nuts while someone on the outside holes the bolts. With the nutplate you can just pull out the bolts and take off the piece you're working on and replace it (like a starter solenoid).
I am going off of the RV-7 plans side that is what they sent me for a firewall. The firewall is a little different in that it is NOT as beefy as the RV-6 firewall. The 6 has an X bracing across both sides of the back on each side of the governor cutout. The 7 only has one angle that goes from the bottom corner up to the top of the governor cutout. I guess that Van's re-engineered the RV-7 firewall and found out that they did not need the extra angles for strength.
I am now taking everything back apart and the process of deburring, countersinking, dimpling, etching, alodining, and then priming will take place before I can paint them. I think that I am going to paint them the interior gray color so I can just mask the whole firewall off when I spray for interior paint.
Monday, February 13, 2012
WINGS ARE DONE!!!!
I haven't written much because building the second wing is kind of boring. It's a repeat of the first wing, mirror image. The last couple of months I have been riveting wing skins on, building flaps and ailerons, mouting said flaps and ailerons, installing the pitot tube, wiring, fitting the push/pull tubes and getting last little details attended to before putting the left wing out in the shed.
Now I am fabricating the left wing tip/landing light/stobes. I have the Vans light in the tips and they are not any easier to build then the leading edge light. Lot's of little parts and pieces that don't like to fit.
I have the lense all fabbed up and now I am just starting the process of filling around the edge of the lense so it butts up against the cutout perfectly.
I have also been busy ordering parts like the prop, seat cushions, autopilot and getting my radio firmware updated. Don't sound like much, but there is a lot of time hunting and gathering parts to get the airplane in one spot (in my garage).
I would venture to guess that about a third of the build time is spent actually amassing parts together so you can acutally put them together to resemble an airplane.
Subscribe to:
Posts (Atom)


