Sunday, December 19, 2010
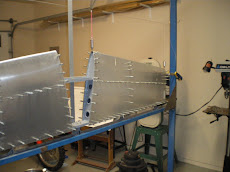
Left wing is in the jig
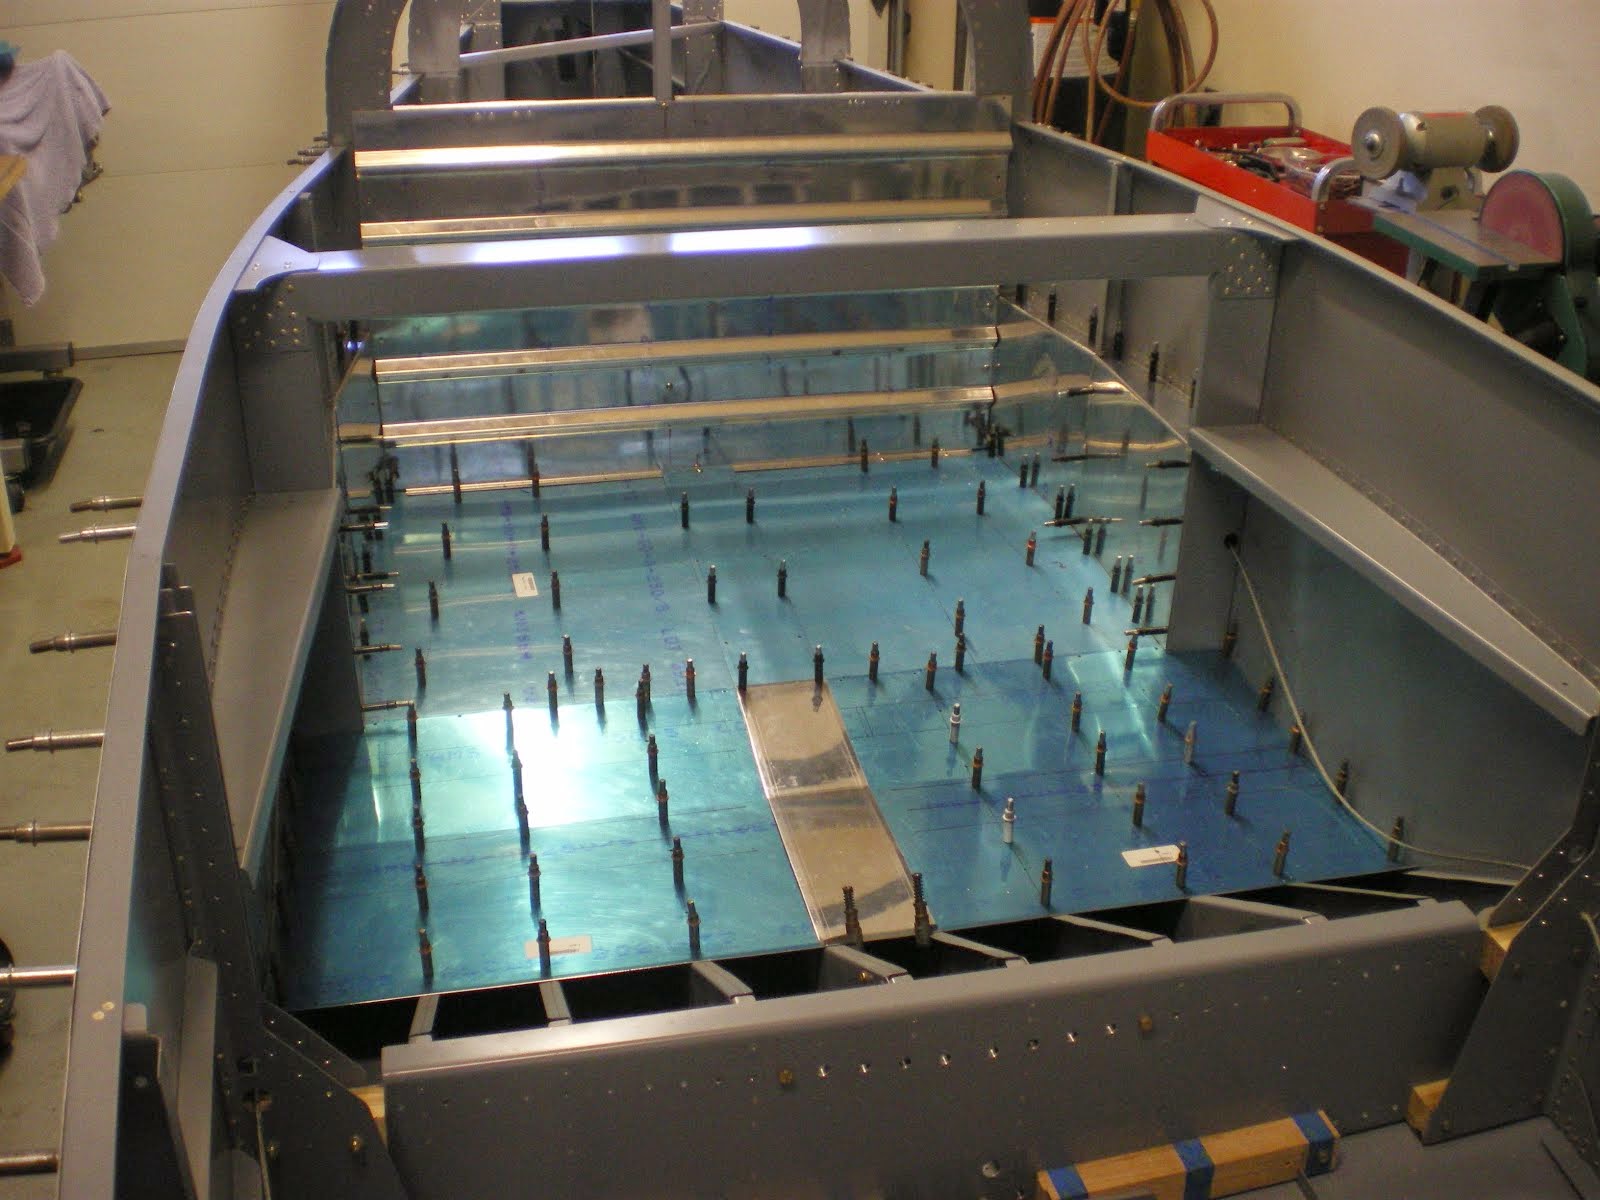
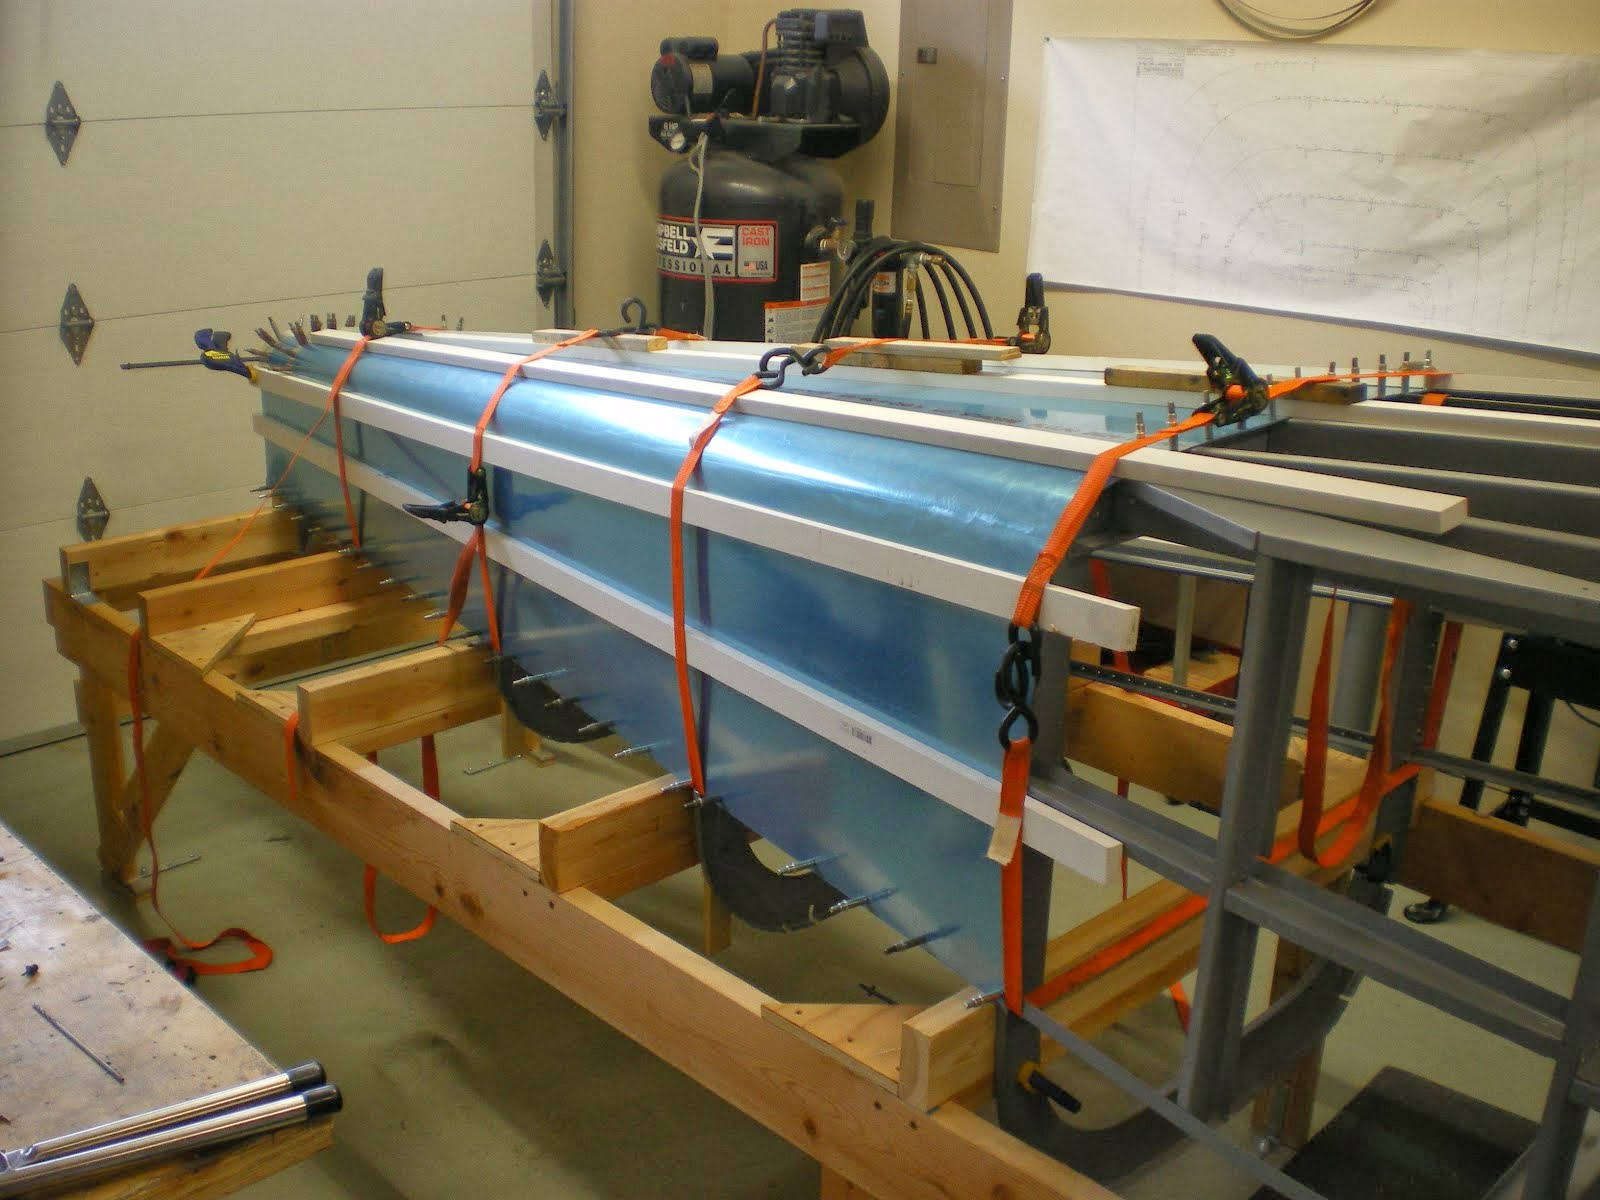
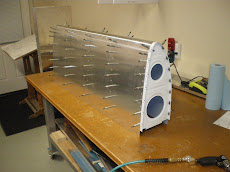
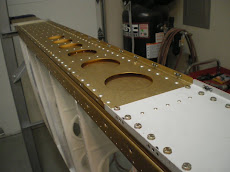
I have mounted the left wing skeleton in the jig. I have it all square/ plumb abd have now started to drill the main wing skin onto the ribs. Mike Mason was over to help me get started and I reviewed how to start drill the skin across the top, then down the center rib and from there working your way out to the corners. We got about a 1/4 of the way down and the weather let up so we went flying to Port Townsend. It was real windy over there and I got my first dose of a cross wind landing in a while. A little sketchy but I made it. I will get back to drilling the skin on today and then start working on the leading edge skin.
Thursday, November 11, 2010
Fabbing up the left wing
I have been getting all the ribs drilled to the spars on the left wing. I have all the main wing ribs done and now I have to drill on the nose ribs. There is a lot of brackets to make and drill to the ribs. Once all the ribs are drilled it will be time to etch, alodine and prime all the parts. Then I can rivet the ribs back to spar and put it in the jig.
I have also been getting some more instruction from my friend who has a Citabria. I am getting used to flying with my right hand but I still need more practice to get to that natural feel like I had when flying my RV-6. It just takes time. I tried some wheel landings and I got some work to do there. I need to get about 5-6 more hours in the plane and then I think I am ready for some Rocket action.
I have also been getting some more instruction from my friend who has a Citabria. I am getting used to flying with my right hand but I still need more practice to get to that natural feel like I had when flying my RV-6. It just takes time. I tried some wheel landings and I got some work to do there. I need to get about 5-6 more hours in the plane and then I think I am ready for some Rocket action.
Wednesday, October 27, 2010
Getting back into the air.
I have met a guy from my daughter's soccer team. I have two girls and so does he that play on the team. Come to find out he is a commercial pilot and has several airplanes. He alos happens to be an instructor to boot. Real nice guy and is very down to earth. He invited me out to go flying and we took his Citabria up for a spin the other day. He let me fly from the front and I attempted a couple of landings. I have never flown a tandem seat airplane before but I need to since my Dad has the Rocket. One of these days I need to fly that thing and get proficient in it. Anyways, I didn't crash it but I wasn't that great either. I'll need to get the coordination down flying with the right hand/throttle with the left. It will come with more time. I need to get with Mike (the instructor) and build some time in his airplane and then get with Dad and go for spin in the Rocket. Mike wants a Rocket ride real bad as well!
Getting wing ready for the jig
I have been working on the spars and aileron bellcrank rib. The main spar is now all done, with the tank extension plate all bolted down along with the wing tie down installed. I have constructed the rear spar with the aileron reinforcing plates and rear attach point flange strips. The last thing I have completed is the fabrication of the aileron bellcrank rib and all the spacers/angles..ect. I now have to pull everything apart, debur and get it ready for priming. Once all the parts are primed, I will start attaching ribs to each station. I haved pulled the main top skin out and marked the centerline of all the ribs onto the spars. This way I will align the ribs to the skins that are already drilled instead of using dimension from the plans. On the last RV-6 I used the plans and got burned and have to redo some of the rib attach brackets to line everything correctly.
Sunday, October 17, 2010
Left wing
Work on the left wing has begun. I have deburred all of the wing ribs. I have also fluted and straightened all of the ribs. A process that is very boring but it has to be done. It takes about two days to do it all. Smashing your thumb with a hammer is more exciting than deburring ribs. I have also started work on the main spar. I had to drill some 3/16 rivets so I can mount the plate extension for the gas tank. That has been done and all the little brackets and pieces have been fabbed up. The wing tie down bracket has been moved to the outboard section of the wing where the spar flange strips end. I used the new AEX tie down from Vans which is all one piece. All of the parts have been acid etched and alodined. I will paint them today once I go and get some paint filters. The primer is DTM (direct to metal) Dupont. It's great stuff but it's epoxy and is nasty stuff to be around. It seals up the metal great and it very durable. It's kind of an overkill to have alcad, etching, alodining and then epoxy primer on top of it all. I could spray it will my Mar-hyde stuff and it would last a 100 years. But I have the primer left over and I need to use it up. I have been epoxy priming all of the structual parts that cannot be replaced if corrosion sets in. Other parts that are outside the airframe like ailerons/flaps- I just use rattle can primer on them. I still etch and alodine the parts to provide extra protection. Hopefully, this plane will live longer than me.
Next I have to rivet the spar pieces on and start making the left rear spar. Then I can start fabbing up ribs and all the little pieces that go along with it all.
Next I have to rivet the spar pieces on and start making the left rear spar. Then I can start fabbing up ribs and all the little pieces that go along with it all.
Sunday, October 10, 2010
Working on the left wing
I have started work on the left wing. Yeah! I forgot how much work it is to get all of the ribs deburred, fluted and straight. I have gotten all of the deburring done and now I have to get the marking pen out and start marking the flutes on the ribs to get them straight. I will have two whole days just in that. I have taken the left spar down out of the garage rafters and I will start attaching ribs shortly. Then it will be time to get the right wing out of the jig and set up for the left wing. I will be glad when the wing is done and I can start on the fuselage. I have put my beloved engine up for sale. It's just sitting there collecting dust. I rotate it every so often to make sure the oil gets sloshed around. I won't be able to use it for at least two more years. So why not sell it and put the money in the bank to make some interest on it? I can alway buy another one and put it together. I like doing that anyways. Building engines is fun and there are so many ways trick them out nowdays. People always ask me if I am scared that I built my own engine. I always answer no. Not that the guys at Aerosport don't know what they are doing, but I know everything I did to that engine. It actually makes me feel safer knowing I put it together. My other two engines I have put together are running smoothly and don't burn any oil. My buddy called me up the other day to tell me he just annualed his RV-6 (the one you see in the pics) and told me I did a good job building his engine. Compression was 79/80 in all cylinders and it doesn't burn a drop of oil in between changes. It also runs like a turbine since I had all of the parts dynamically balanced by ECI. Feels good when you get calls like that!
Friday, October 8, 2010
Working on the tip
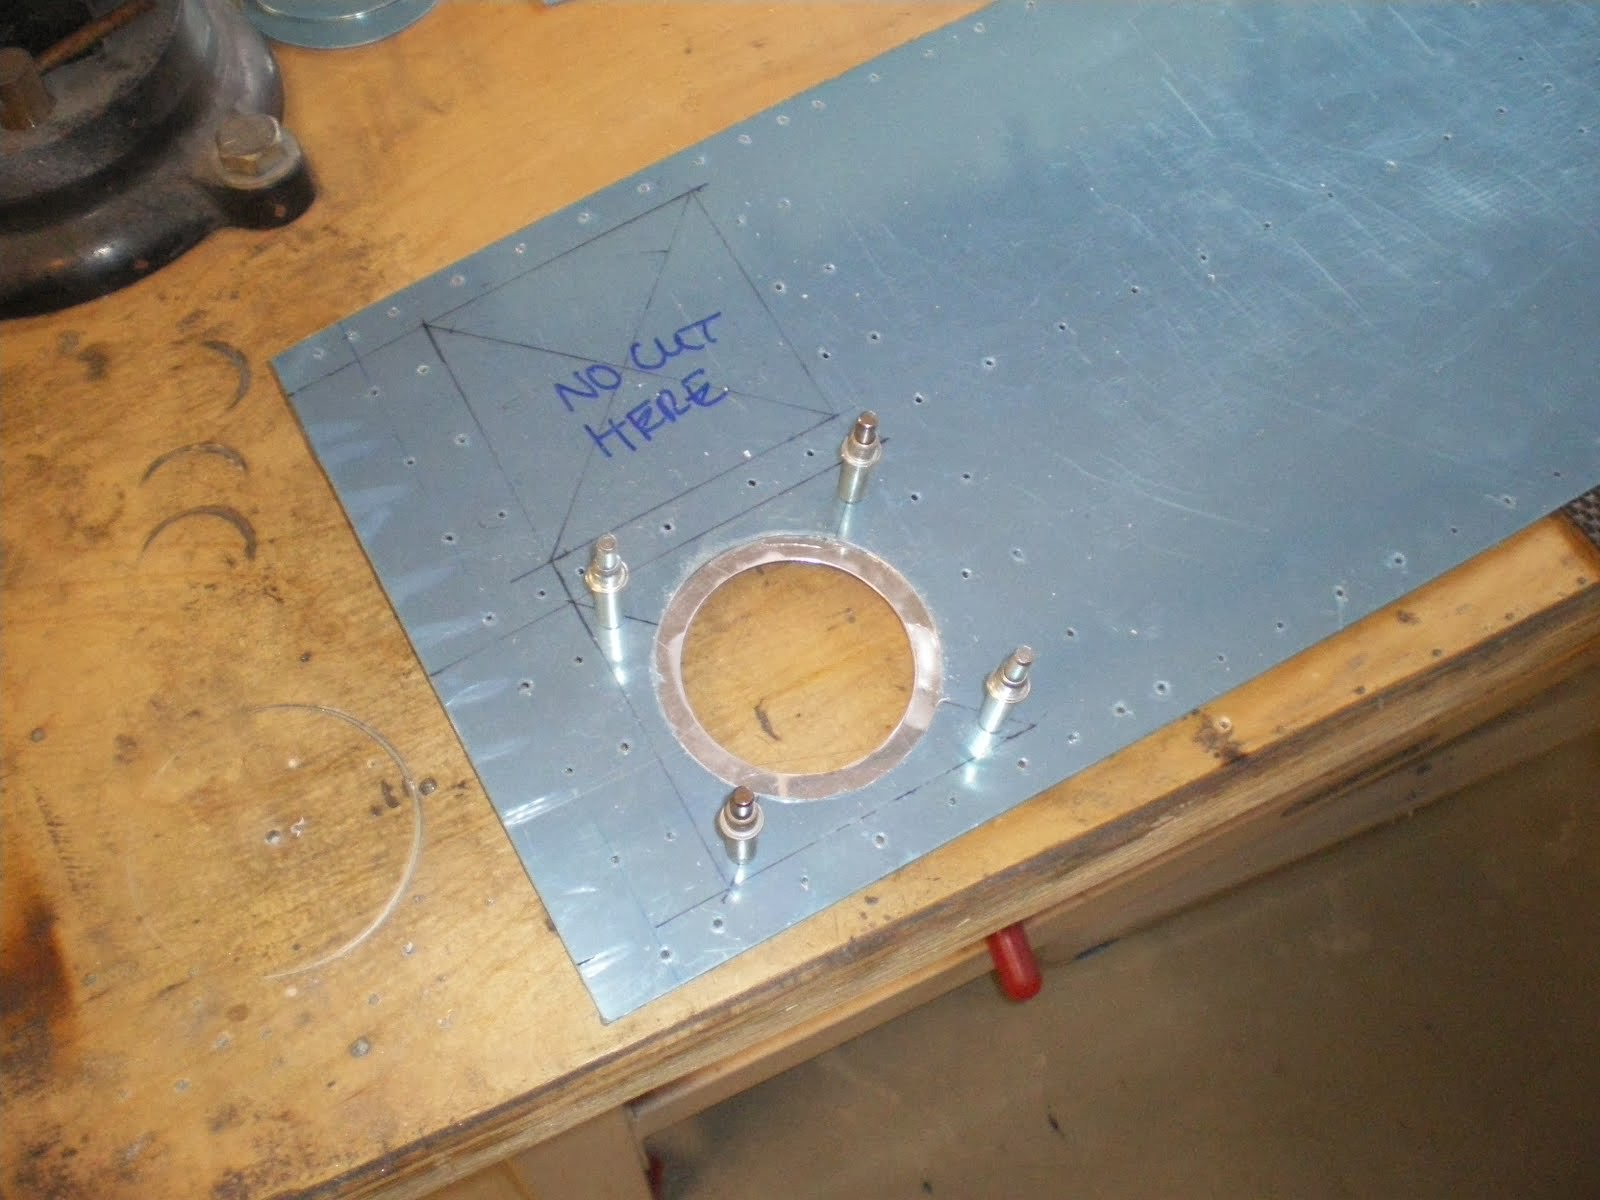
I have been working on the wing tip for the past several days. The landing lights/nav/strobe lights are all in the tip. The landing light setup is pretty cool but has lot's of little pieces to make up. Trying to get all the springs, nuts, bolts....ect in place is a chore. I am using small LED nav lights. They are real cool to see at night and it also has a rear position light on the setup as well. The strobe light is integrated into the whole thing and it makes a small tight package. Beats the old style Whelen lights which get real hot and melt you lense cover. The landing lights are two small self contained lights with a adjustable mount. I will have 2 on each wingtip so landing at night will be a hoot. The lense cover is all fitted and I am filling in around the lense so it blends into the tip perfectly. I start out with a coat of JB weld and then I will sand that down a bit. Then I will use bondo to fill up the rest so the lense thickness is evenly matched all the way around the tip so there is no lip. It will look real smooth all painted up. Details, details.
Right wing done
I have gotten all of the bottom skins riveted in place. It was a real pain but I did it mostly by myself. My wife helped in one bay on the outer panel. The tank is back in place after I pulled it off to access the ribs on the inboard side. Since I have 4 ribs that point inward, I did not final rivet them into place. The ribs are about 5 inces apart so you have to rivet one at a time, then install the next one and so on. I learned this the hard way about 10 years ago. The riveting turned out nice except for some oil canning around the inspection cover. I had to add a stiffener to it to get it to not oil can with the cover on.
Tuesday, September 14, 2010
Inboard bottom skin riveted on
I have completed riveting of the inboard bottom skin. I am now attaching the outboard bottom skin. The outboard is a little harder to rivet on due to it's size. I will have my wife Gretta help me out with this task. I can get at most of the top rivets, it's the ones on the bottom that are hard to reach. You have to reach through the second lightening hole in the ribs to get the bottom rivets on the rear spar. I have bruises on my arm from reaching in. For some reason the riveting really like to bruise muscle. I don't know if the impacting is causing it or not. However, I have been hit harder riding dirt bikes and not gotten bruised. Oh well. Blood, sweet and tears!
Saturday, September 11, 2010
Back in the saddle again!
I have started working on the project again. I have gotten the flap brace all aligned with the flap in trail with the wing. I pulled all the wiring through the wing and it is ready to start installing the bottom skins. I forget how much work it is to get the bottom skins on. Lot's of contorting into positions to buck rivets.
Wednesday, June 9, 2010
Aileron gap seal installed
I have installed the aileron bellcrank, cut the hole through the rear spar and rigged it all up. I had to re-do the hole in the rear spar as I cut it too big going off of Van's plans. I drilled off the reinforcing plate and installed new one. I also added a angle across the top of the rear spar the whole span of the rib bay to add some strength back to the spar. This was probably an overkill on my part but I don't like having big holes cut in my 200mph airplane. I will move the starting of the hole over 1/2 inch inboard on the other wing so I can keep the hole smaller. I am still going to install an extra angle over the hole however. My extended tanks end in the same location on the main spar and the joint for the bottom skin in on the next bay over. If you remember the lesson Van's learned back in the early RV-8 day is don't have all of the joints in the same area on the wing. It tends to be a weak spot. I have also installed the aileron gap seal. Now I have to put on the flap and and align it to the aileron and then install the flap brace. Once this is done I can start running electrical wiring and close up the wing skins. Yeah! And then it's onto the next one :(
Thursday, May 20, 2010
I'm back!
I have finally gotten back into working on airplanes. I have been rebuilding my motorcycle engine, making car repairs, working on the house, working a lot and helping a work friend coach baseball. Since I have gotten over some of those hurdles, I am now going to focus the majority of my time working on my airplane. I have started back on the right flap and have riveted that all together. I have made airfoil jigs so I can align the aileron to the wing. The aileron brackets have been installed on the rear spar and I can now work on getting the aileron bellcrank and linkage all hooked up and working. Once this is done, I will get the flap lined up to the aileron and rivet all that bracing to the rear spar. Then the wing can be wired and closed up. I can then start on the next one. Ugh! It's a lot of work to get the wings all done. At least the fuselage I only have to do once!
Saturday, March 6, 2010
Waiting, waiting, waiting...
I have been waiting for parts to show up via UPS. I need some -3 nutplates so I can rivet together the aileron. Since I can't button the dang thing up, I have been working on constructing the flap. I have most of the brackets built and the spars lightening holes cut out. I will start drilling the spars to the skins and getting the thing fabbed up. I will bet that the nutplates will not show up until Monday. I have also cut the aileron push/pull tube and ground off the powder coating on the ends so I can have them welded to the inserts for rod-eyes. Once the aileron is done I can start the alignment process to the wing and drill/rivet the hinge brackets to the rear spar. Once this is done you get the gap seal in place, mount the flap brace, cut out the push/pull tube hole in the rear spar, run all the electrical wiring, then rivet the bottom skins on. After that is some minor work here and there and the wing tip. In all reality, I could have the right wing done in a couple of weeks if I pushed hard on it. We will see.
Saturday, February 27, 2010
Fabbing the right aileron
I have been working on the right aileron for the past several days. I have gotten the gas tank done and have counter-sunk the screw heads. I had to pull the tank back off since I did not like the fit of the tank skin to the top skin. There were several spots that stuck up a little. I have since massaged those areas and will be fitting the tank back onto the wing, hopefully, for the last time. I have also riveted the stiffeners to the aileron skin and have to make a jig before I can drill the skeleton to the skin. I hope to have all this done here in the next day or two and then I can start the process of mounting it to the wing with the hinge brackets. After that I can fit all of the gap seals and brackets and then mount the flap. I can't wait until I am done making all of the control surfaces.
Saturday, February 20, 2010
Gas Tank Finished!!!!
I have finally completed all the pro-seal needed to complete the gas tank. I have to mount it back on the wing and counter-sink the upper row of screws. I am sure glad that is all done and now I can get moving again with the build process. I have been working on the right aileron. The stiffeners have all been drilled to the skin and now I need to etch, alodine and prime tomorrow. Then I will rivet the stiffeners to the skin and get going on drilling the skeleton to the skin. I have modified these ailerons by switching the end ribs around. I mounted them flush, so the flanges point toward the inside of the ailerons. I will have to use pop-rivets to rivet the end but that is ok. I want the edges flush for looks and maybe to gain a little more speed.
Monday, February 15, 2010
Tank baffle is installed
I have gotten the tank back baffle plate installed over the last few days. I got all the ribs installed last week. I have to wait a week or so to let the pro-seal set up before I can install the rest of the components in the gas tank like the sending unit, back access covers and drain. I will then put it back on the wing so I can countersink the front line of screws and final fit it to the wing. It fit real nice in the jigging process but things tend to move a bit in aseembly stage, especially with pro-seal. Parts can slide a little when you squeeze the rivets. I have started on the right aileron for now and will get that assembled so I can mount it on the wing and close up the bottom skins.
Sunday, February 7, 2010
Sealing tank ribs
I have been working on riveting and sealing in gas tank ribs. It's a long process to get the rib gooped up them stuck in position (without getting sealant everywhere). Then I buck each rivet twice, cleaning off the bar and gun each time. Once all the rivets are bucked I squeeze a little out on each rivet head and swirl it around to seal in the rivet from the inside. Hopefully this way I will have double sealing. After all the heads are sealed, I then seal along the rib and skin making a nice fillet with my finger. Each rib takes about two hours from start to clean up. Can't wait until this sealing is done.
Wednesday, January 27, 2010
Sealing the tank
I remember how much I hate pro-seal. I have started riveting pieces on the gas tank skin. The filler neck has seemed to give me the most trouble so far. It's curved to the tank skin and it was really hard to get the rivets to set flush. I am not happy at all with the Avery tank dimple dies. I think they are too deep. All of my rivets are sticking up a bit just enough not to pass the fingernail test. I know you need a little bit of extra room so you have some area in the dimple for sealant but it's too much. I will go back to using regular dimple dies from Cleaveland. I also have riveted on most of the bottom stiffeners. I have a couple left as I ran out of pro-seal around 9:00 last night I and did not want to make another batch. I have also tried something new this time. Instead of using my fingers so wipe the pro-seal around with, I have put the pro-seal into a syringe. It's messy getting it in the syringe but once you clean it up, you have a handy little dispenser. It's clean and easy to use and not really expensive. The syringe tube is only about .25 cents for a large one. I have enough to do one tank for now. Off to work now, I'll post some pics tonight with all of the stiffeners on the skin.
Monday, January 25, 2010
Prepping gas tank
I have been getting all of the parts to the gas tank ready for riveting/sealing. I have etched all the parts and cleaned them. I then give them a scour with the Scotch brite pad for mechanical adhesion. I have also fabbed up the nose pieces that reinforce the nose of the two outside ribs. I will start riveting the tank together in the next couple of days. I do small batches of pro-seal and just rivet together a couple of pieces at a time. That way I am not wasting pro-seal and I don't get it everywhere. I will post some pics when I get going on it. I also have to make a jig to rivet this all together in as well. I will use some 3/4" plywood and get it all lined up so there is no twist in the tank when your rivet is together.
Wednesday, January 20, 2010
Top skin riveted on!
My friend Roger from work came over the other night and helped me backrivet the top wing skin on. I had everything ready to go for him. Roger is an electrician at work and most electricians are very detailed oriented. For never having bucked a rivet in his life, Roger was very good at being able to tell the difference of a good rivet or one that is slightly flawed. Out of several hundered rivets, we only had to change out a couple. I was glad that he was able to help me get over this impass and I will see if he can help me on the other backriveting projects.
The quality of the riveting was top notch and I am happy with the results. I dimpled my skin on my C-frame. The frame is braced underneath with a steel bar that goes all the way down to the floor. So when I impacted the dies, there is no give to the frame at all. The other thing I do when I get the skin clecoed in place is to slighty shave out the dimple with my deburring tool. This helps the rivet lay in there flat so the edges don't stick up. If I can't snag the edge of the rivet head with my fingernail, then it's in there good. This way when I go to paint the skins, the paint won't build up and ring around the head. You can see this on some airplanes that are painted in darker colors. The paint will bridge and ring so it does not go all the way down into the dimple. Since I will most likely paint my wings blue/white, I wanted them to be perfect. Now I set the bar so high, I will have to keep it there.
Thanks for the help Roger.
Sunday, January 17, 2010
Debur, Dimple and Prime.......
I have been working hard the last few days getting all of the skins deburred, dimpled and primed. ALL of the skins are done and I have started to rivet some skins on. I riveted the leading edge skin onto the ribs today and attached it to the wing. The .032 skins rivet a lot nicer than the old .025 skins. They come out smoother. I have clecoed the top wing skin in place and I am ready to rivet it on. I just need someone to help me out with that job. I back rivet the top skin and I have some very special backriveting bucking bars for the job. I had an old friend who used to be a machinist and he turned me out a bar out of some stainless round stock. Then I got the face polished so its very smooth. It leaves a very nicely bucked rivet head smooth with the surface of the skin. I just need a good rivet bucker to get me past this hurdle.
Tuesday, January 12, 2010
Tying up loose ends
The last couple of days I have been working on little bits and pieces all over the wing. I have installed all of the nutplates and dimpled all of the back screw holes in the gas tank. Some of the screws you can't use a normal dimple die so you have to use a male die and a screw. I put grease on the screw and run it in so when it starts to dimple I don't mar the spar flange with the die. I also grease all of the threads so they don't gall. Cad plated screw will stick in the nutplates after some time and I have a heck of a time on other peoples airplanes getting screws out. I grease mine so I never encounter this issue in the future. I have also riveted the stub rib to the rear spar, made up all the spacers for the aileron bellcrank and installed in for now. I will take it out when I rivet the skins on so it's not in the way. I have also riveted in the bellcrank rib braces. Now I have to start acid etching the skins and prime them. Then I can start riveting the skins on. I will start with the leading edge skin. You rivet that together in a cradle then put it on the wing spar and complete the riveting and bolt the ribs into place. Then will come the top skin. Once that is completed I will work on the gas tank. That will take several weeks to get it all together and sealed.
Saturday, January 9, 2010
Lot's of nutplates
I have been working on installing the nutplates for the gas tank. There is about a hundered of them that hold that tank onto the wing. When I made the larger gas tank I used the small tank skin as template for the holes and then just shifted it to the outer edge and used the holes to complete the pattern for the screws. What I didn't factor in is that some of the nutplates landed right where a rib is. On the normal tank the screws all miss the ribs. It's not the end of the world but I have to mount the nutplates on the rib flanges. It will all work, but I should have payed a little more attention to the layout, factoring this in. The left wing will have that all worked out. I guess no matter how many airplanes you build, you're never done making mistakes.
Saturday, January 2, 2010
Fuel Tank drilled
I have completed the drilling of the fuel tank. I moved the tank over a 1/32 by sanding the edges with a level that had sandpaper on the side of it to take up the gap that was at the leading edge. I had not drilled the screw holes to #19 yet just for that reason. I always leave the holes undersized until I am satisfied with the fitment against the other skin joints. I then drilled the holes to #19. I removed the tank and then pulled it all apart, marking the rib locations on the skin. I then fabbed up the bottom stiffeners for each bay. I drilled the stiffeners to the skin and finally completing the drilling portion. Next is to drill all of the nutplates for the tank attachment. I will then begin the long process of pulling everything apart to debur, dimple and prime for riveting.
Subscribe to:
Posts (Atom)


