Sunday, May 31, 2009
Wing Assembly
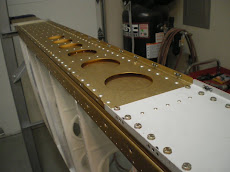
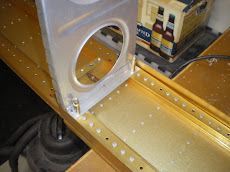
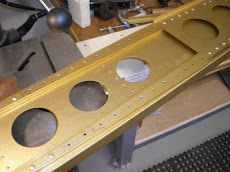
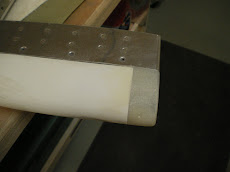
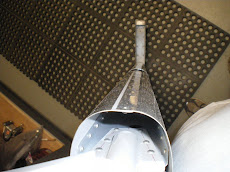
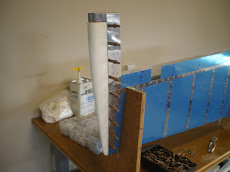
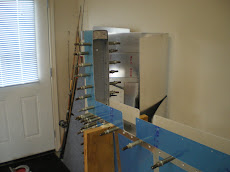
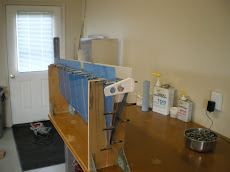
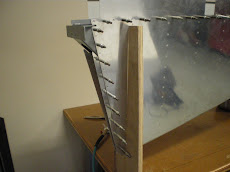
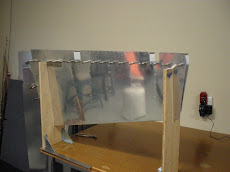
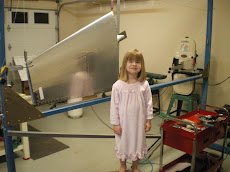
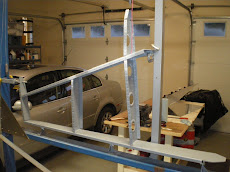
I have finally gotten all of the ribs drilled onto the spar. I now have to drill the ribs to the rear spar. After this is completed I will then go through all of the parts and etch/alodine/primer them. Once that is complete, I will rivet all the pieces together and then rivet the ribs to the spars. I can then mount the wing into the jig and start rigging it up to drill skins on.


Wednesday, May 20, 2009
I won an award
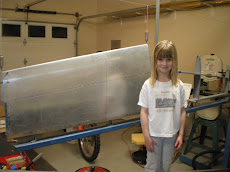
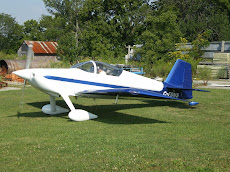
The airplane pictured on this site is my first RV-6 I built. I completed it back in 2004. The guy flying it now is my good friend Doug Eves and he lives in Canada. Doug took her down to Sun-n-Fun this year and had here judged. WE won a outstanding workmanship award for homebuilt aircraft. Not to bad for Doug and I. Although Doug did not build this airplane, he takes care or her extremely well. I don't know of too many other airplanes that win awards 5 years after they are completed. She STILL looks like the day I brought her out of the paint shop. Nice job Doug!
Working on the main spar
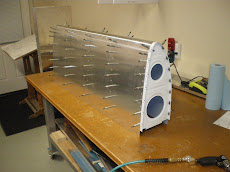
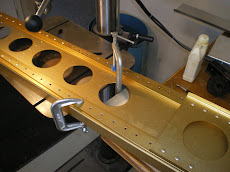
I have been hard at it, working on getting the main ribs drilled and attached to the front spar. There are 14 wing ribs and 7 nose ribs to drill onto the spar. There is also lots of angles to fab and drill to the ribs. Several have to step over the flange strips to attach to spar web. The angles get bolted to the strips and then riveted to the ribs. They also act as stiffeners to keep the spar from twisting. It's no wonder the wings are rated for 9 G's-they are hell for stout. I have also been thinking on how to attach the nose ribs since I moved the gas tank outboard one rib bay. I'll get it but you have to sit there and stare at it for while to get it all worked out in your head. Once this is done, the rest will be easy.
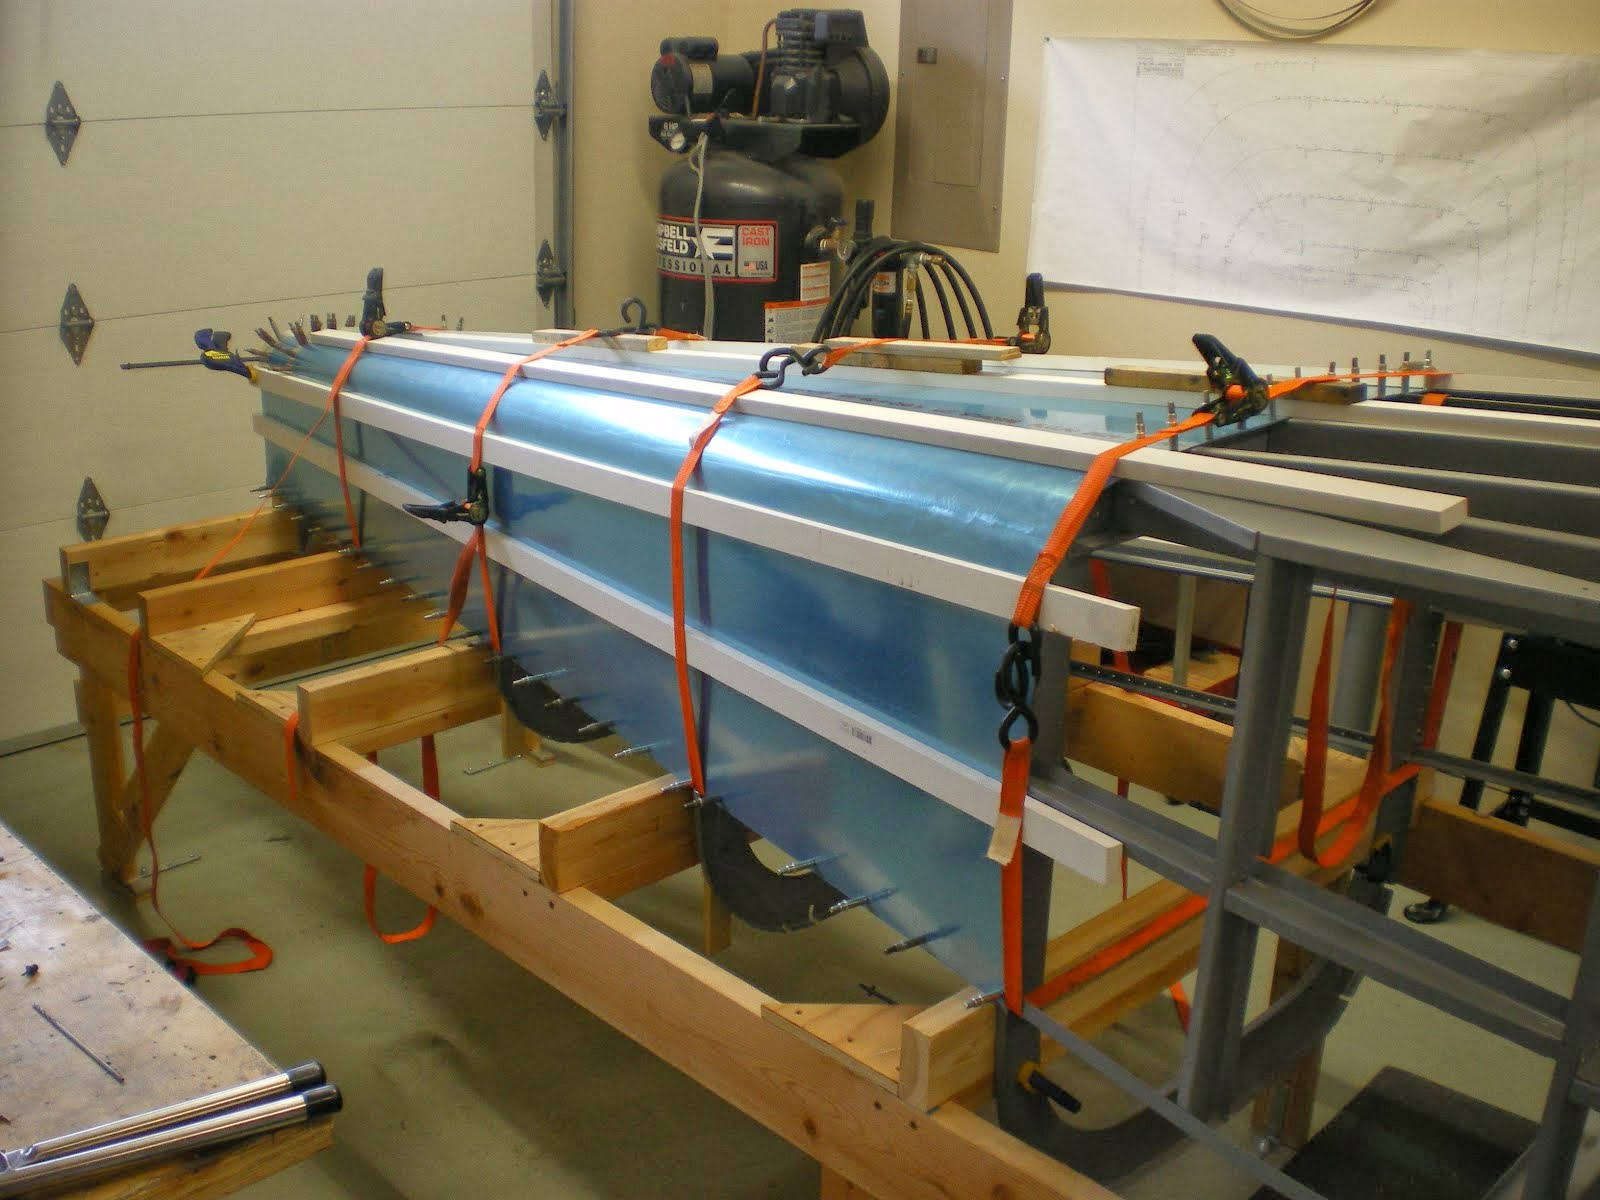
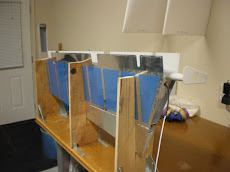
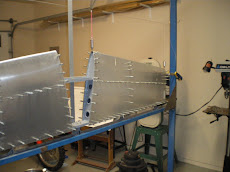
I have been doing this all on my bench instead of trying to set it up in the jig and do one rib at a time. This is way easier. Once all the ribs are drilled, I will prime them, rivet on the all the angles to the ribs, then bolt them to the wings. I will then take the skeleton and mount it in the jig and get it all plumbed up.
I have been doing this all on my bench instead of trying to set it up in the jig and do one rib at a time. This is way easier. Once all the ribs are drilled, I will prime them, rivet on the all the angles to the ribs, then bolt them to the wings. I will then take the skeleton and mount it in the jig and get it all plumbed up.
Saturday, May 9, 2009
Fabbing more wing parts
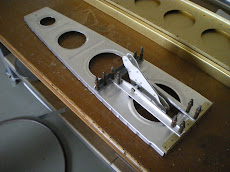
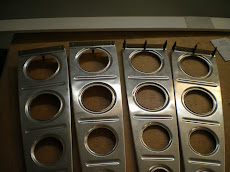
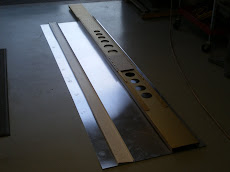
I have been working on the rib that attaches to the gas tank. It's undersized and then you rivet and piece of 1.5"x36"x.032 strip to it that gives a flange for the gas tank to attach to. I have also been working on making the aileron bellcrank rib with all the angles that have to attach to it. I have cut the rib out and an fitting all of the parts to it. I have a bandsaw and disc sander that sure make it easier to fit all of these parts. I had to it all by hand with a file and hacksaw on the first RV-6. Once I get these parts knocked out, I will prep/paint them and assemble. Then I can get to fitting the ribs to the wing spars on the bench. That will be a big task making all of the ribs fit to the wing and getting all of the attach angles fitted/drilled to each rib. I am getting smarter on this plane and I WILL NOT BE GOING OFF THE PLANS for dimensions. The pre-punched skin rib locations are not in the same place as the plan dimensions. So what you do it lay the rib locations out off the skin. Then you rib lands in the center of each rib location. You only have to make the angles that attach to the spar fit and sometimes that means going to a 1" wide angle to edge distance when you back drill through the spar rib location. EVERYTHING on these airplanes is bash to fit, paint to match.
Tuesday, May 5, 2009
Riveting the rear spar&misc pieces
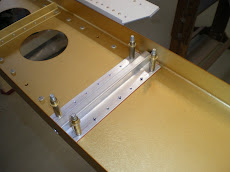
I riveted the rear spar pieces together yesterday. Didn't take too long to complete that job. I then started working on all the misc items in the wing. I fabricated the wing tie down. The old way was with a piece of 1/2" alum. stock and then you bolted it to a piece of angle that was riveted to the spar web. Two bolts went through the spar flange strips as well. It was located in the middle of the wing. The problem with that location is that the pitot tube is also located slightly outboard of the tie down. RV's have short wings compared to most other airplanes so when you pulled up to a tie down at an airport and tied your plane down, the ropes went out a extreme angles to reach the ground. These ropes would run right across your pitot tube so in a wind storm with all the rocking the airplane does it would bend your pitot tube all up. I learned this lesson on the first plane. Since then I have moved the tie down to the outboard section of the wings. I still mount them to the spar flanges but I used the RV-7 style and they have a larger area to clamp to the spar and the web. This will work great and should get my tie downs close to being over the top of most airport anchor spots.
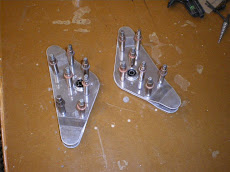
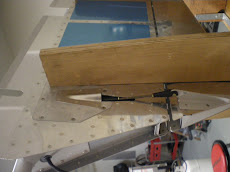
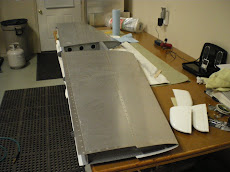
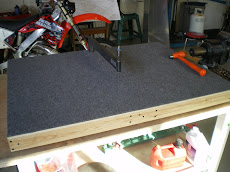
The other items I fabbed up was the bellcranks. I had this great idea to use RV-7/8 style bellcranks but it would not work on my RV-6. I extended the gas tanks where the brackets mounts is right under the tank extension. This part is riveted to the spar and there would be no way to service the bellcranks. SOOOO I punted on this and just starting making the old ones. The RV-6 uses bearings in their bellcranks instead of bushings so you get a smoother feel. It's more parts and more work to install them over a -7 kit but in the end, your control harmony is better. I return the -7 parts next time I go to Van's. I am also working on getting the ribs for the bellcrank assembled and the .032 tank rib with the nutplate strip in it. I want to get all of these parts fabbed and painted so I can start assembling the skeleton of the wing. I will do this on the bench and then mount it in the jig. You can flip this thing over to get better drilling access than you can hard mounted in the jig.
The other items I fabbed up was the bellcranks. I had this great idea to use RV-7/8 style bellcranks but it would not work on my RV-6. I extended the gas tanks where the brackets mounts is right under the tank extension. This part is riveted to the spar and there would be no way to service the bellcranks. SOOOO I punted on this and just starting making the old ones. The RV-6 uses bearings in their bellcranks instead of bushings so you get a smoother feel. It's more parts and more work to install them over a -7 kit but in the end, your control harmony is better. I return the -7 parts next time I go to Van's. I am also working on getting the ribs for the bellcrank assembled and the .032 tank rib with the nutplate strip in it. I want to get all of these parts fabbed and painted so I can start assembling the skeleton of the wing. I will do this on the bench and then mount it in the jig. You can flip this thing over to get better drilling access than you can hard mounted in the jig.
Thursday, April 30, 2009
Drilling the rear spar flange strips
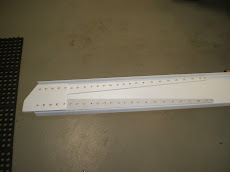
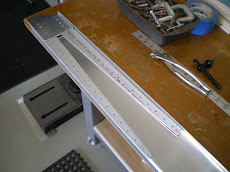
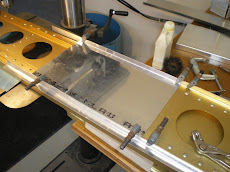
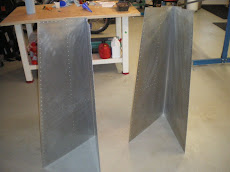
I have have been working on the rear spar, getting the flange strips cut and drilled and making the rear spar attach doubler. I fabricated the aileron bracket doublers and have etched, alodined and painted all these pieces. I have to paint the rear spar with some epoxy paint which I will this weekend. Once this is done and dried, I will rivet on all the pieces. I can then move on to the ribs and start deburring all the edges and lighting holes then flute the ribs to get them straight. I will then start attaching the ribs to the spars on the bench before I mount the whole thing in the jig and prepare for drilling on wing skins. One thing to note about the rear spar is that it's has a Z bend in it. However there are two different angles on the bend. One goes on the top and the other on the bottom. You reverse them to make a right hand/left hand spar. You have to stop and think about that before you make two left hand spars. Van's gets calls all the time about guys making two of the same part. Airplanes are symetrical so you have left and right parts.
Starting on the wings!
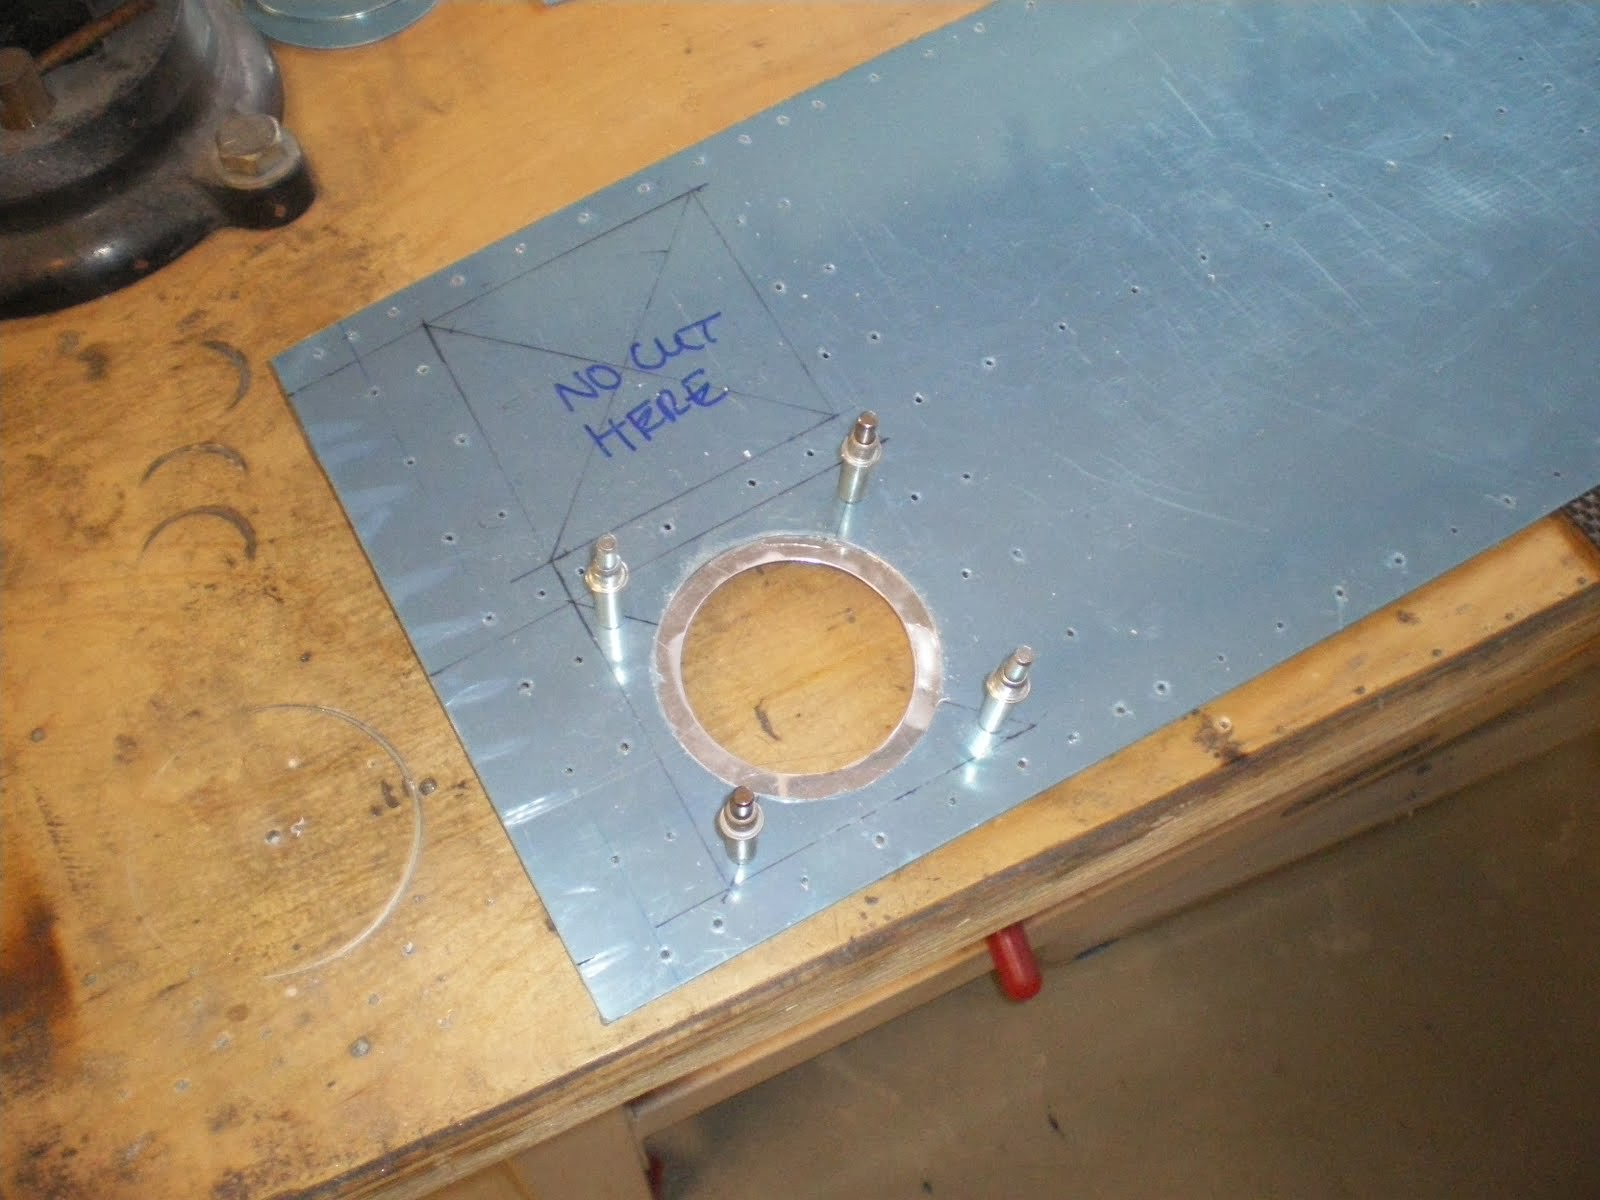
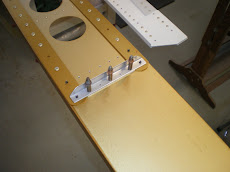
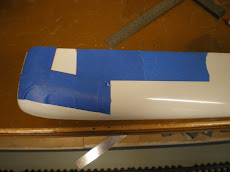
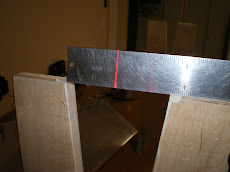
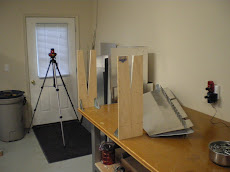
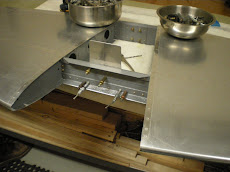
I have started on the right wing. I am modifying the spar a bit to extend the gas tank attach plate. I had to drill out the 3/16" rivets 13" past the standard RV-6 attach plate. The new gas tanks with be about 13" longer which should hold about 10 more gallons total or 5 gallons per side. I purchased Harmon Rocket III gas tank skins, baffles and leading edge skins from Harmon. Having the extra gas will be helpful when traveling long distances and give me peace of mind knowing I have an extra hour of gas to get down safely. I thought about using aftermarket aux tanks, but they are expensive, complex to pipe in and hard to mount. It's just easier to make the tank longer. I have to move some leading edge ribs around to fit up next to the tank ribs but it's not that tough. I set up the spar on my drill press and leveled it all up with a machinist level. Once I got things right on I would drill out the rivet with small 1/8" drills working up to #25 drill bit. I then punched the rest of the rivet out taking care not to auger the holes out. I then cut the attach plate and lined it up with the top of the standard attach plate using aluminum angle as a straight edge. I want the top of the wing (what you see all the time) to line up well and the bottom will be where it is. Once the plate was all lined up, I backed drilled through the spar holes. I also added some stiffeners under the plate with some bar stock and some angles on the back side of the spar. This will help with the extra load the gas tank will put on the spar/wing and also stiffen the spar, keeping it from twisting. I etched the plate and then dipped it alodine. I am dipping everything on the wing in alodine to help with corrosion resistance. I painted the plate and then bolted it back down to the spar. Using bolts it a little of an overkilled in this area but it's easier then trying to get set up to drive some 3/16" rivets. The ther reason I am using bolts is so I can remove this plate if ever need be.
Subscribe to:
Posts (Atom)























.JPG)