I have not posted in almost 6 months!
Life has taken me is too many other directions. I have had a promotion at work which occupies my time about 50-60 hrs a week.
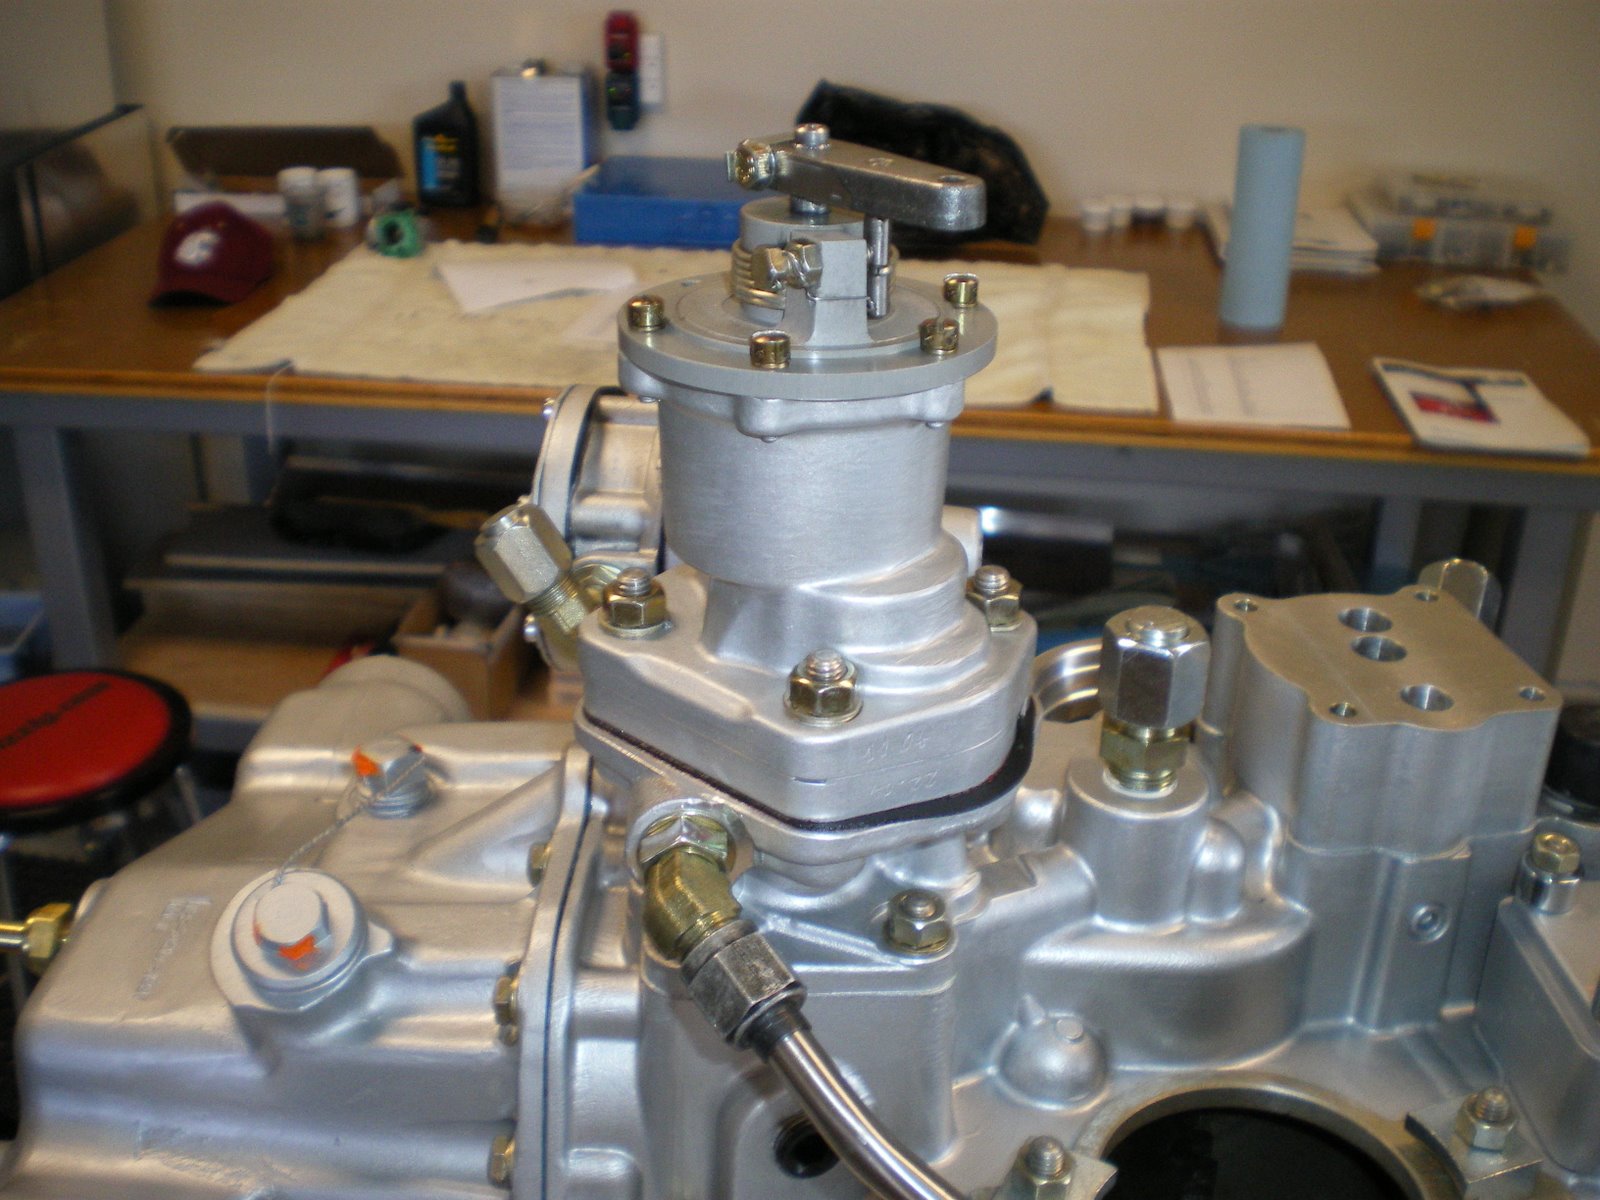
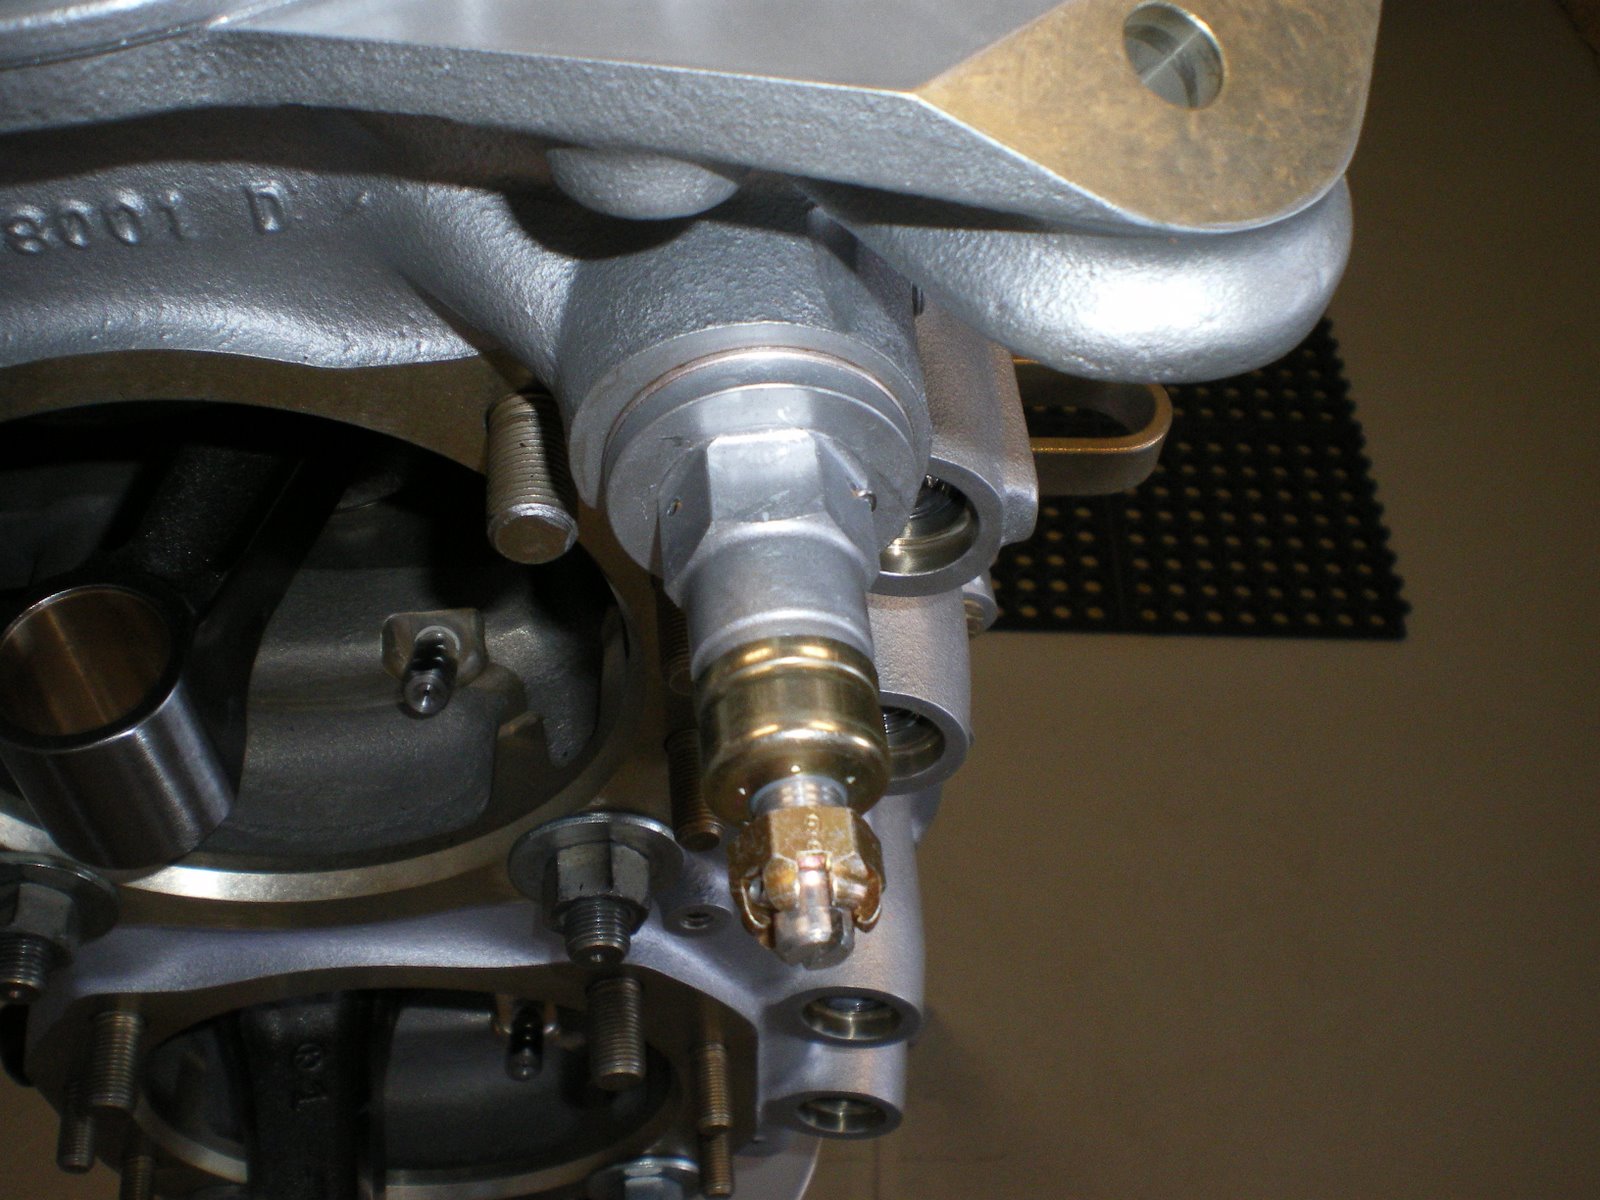
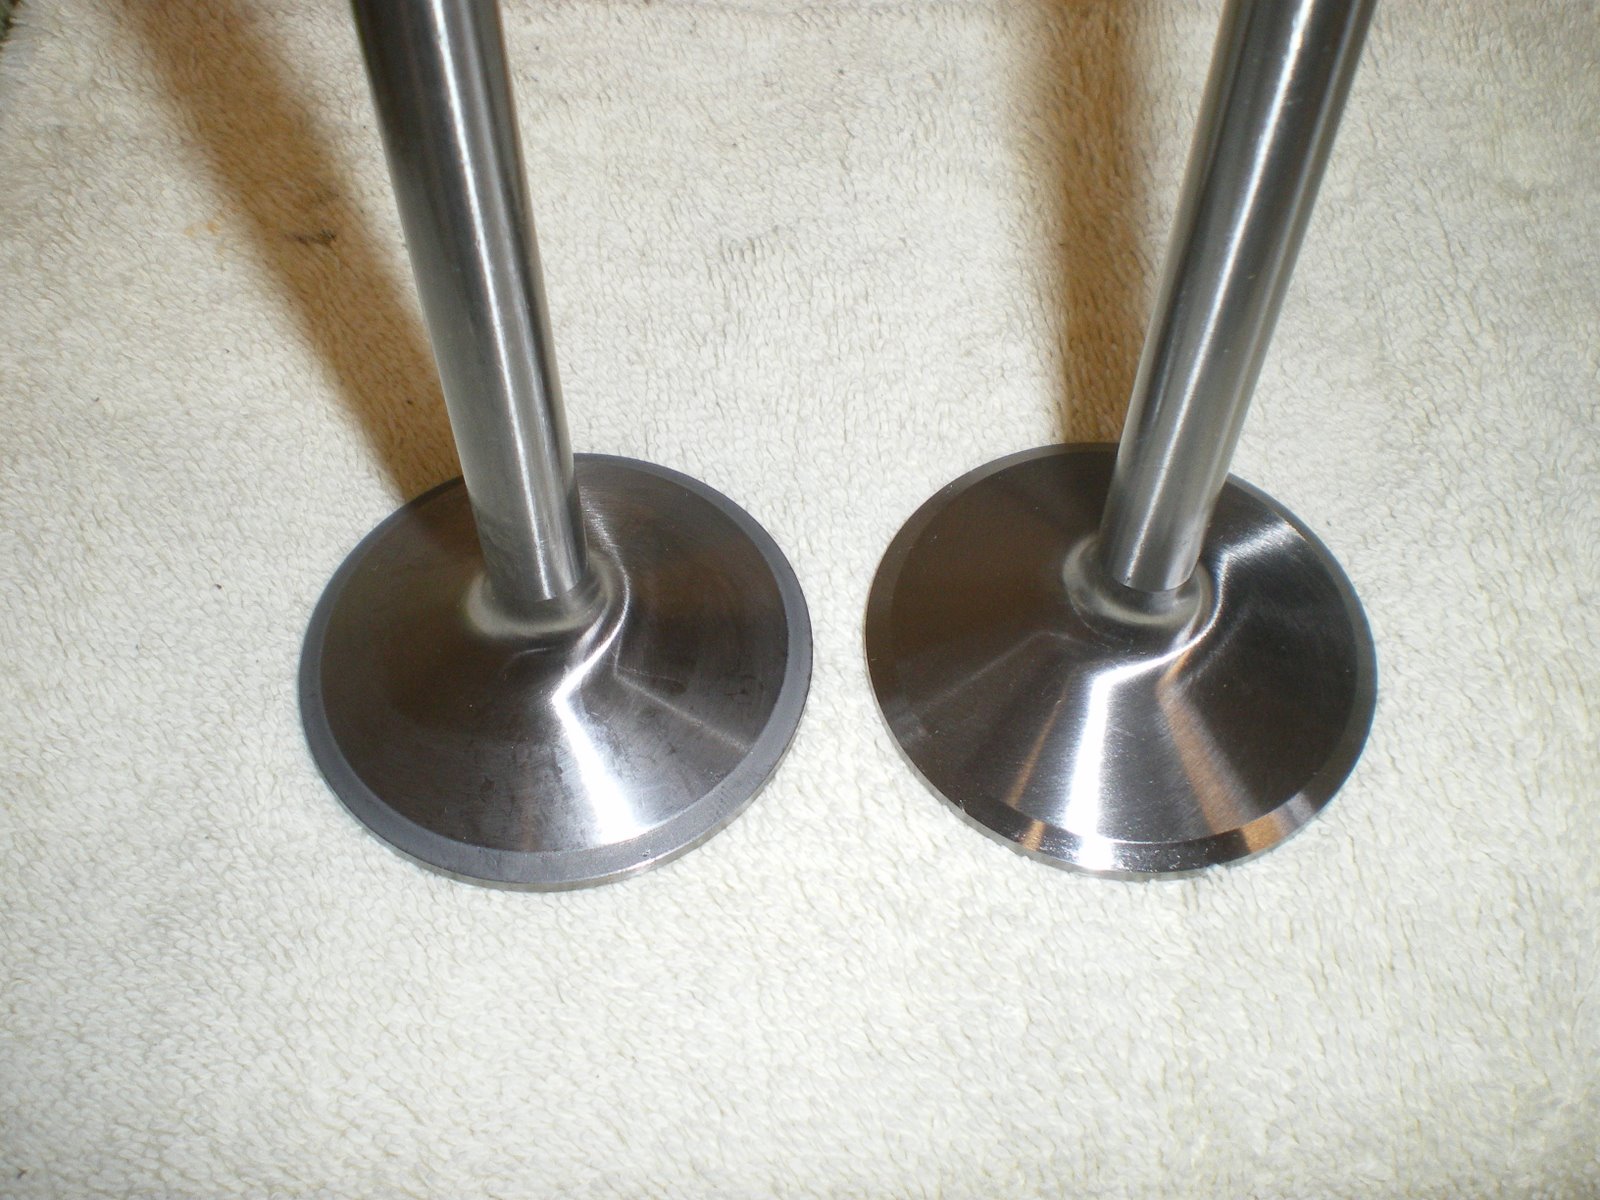
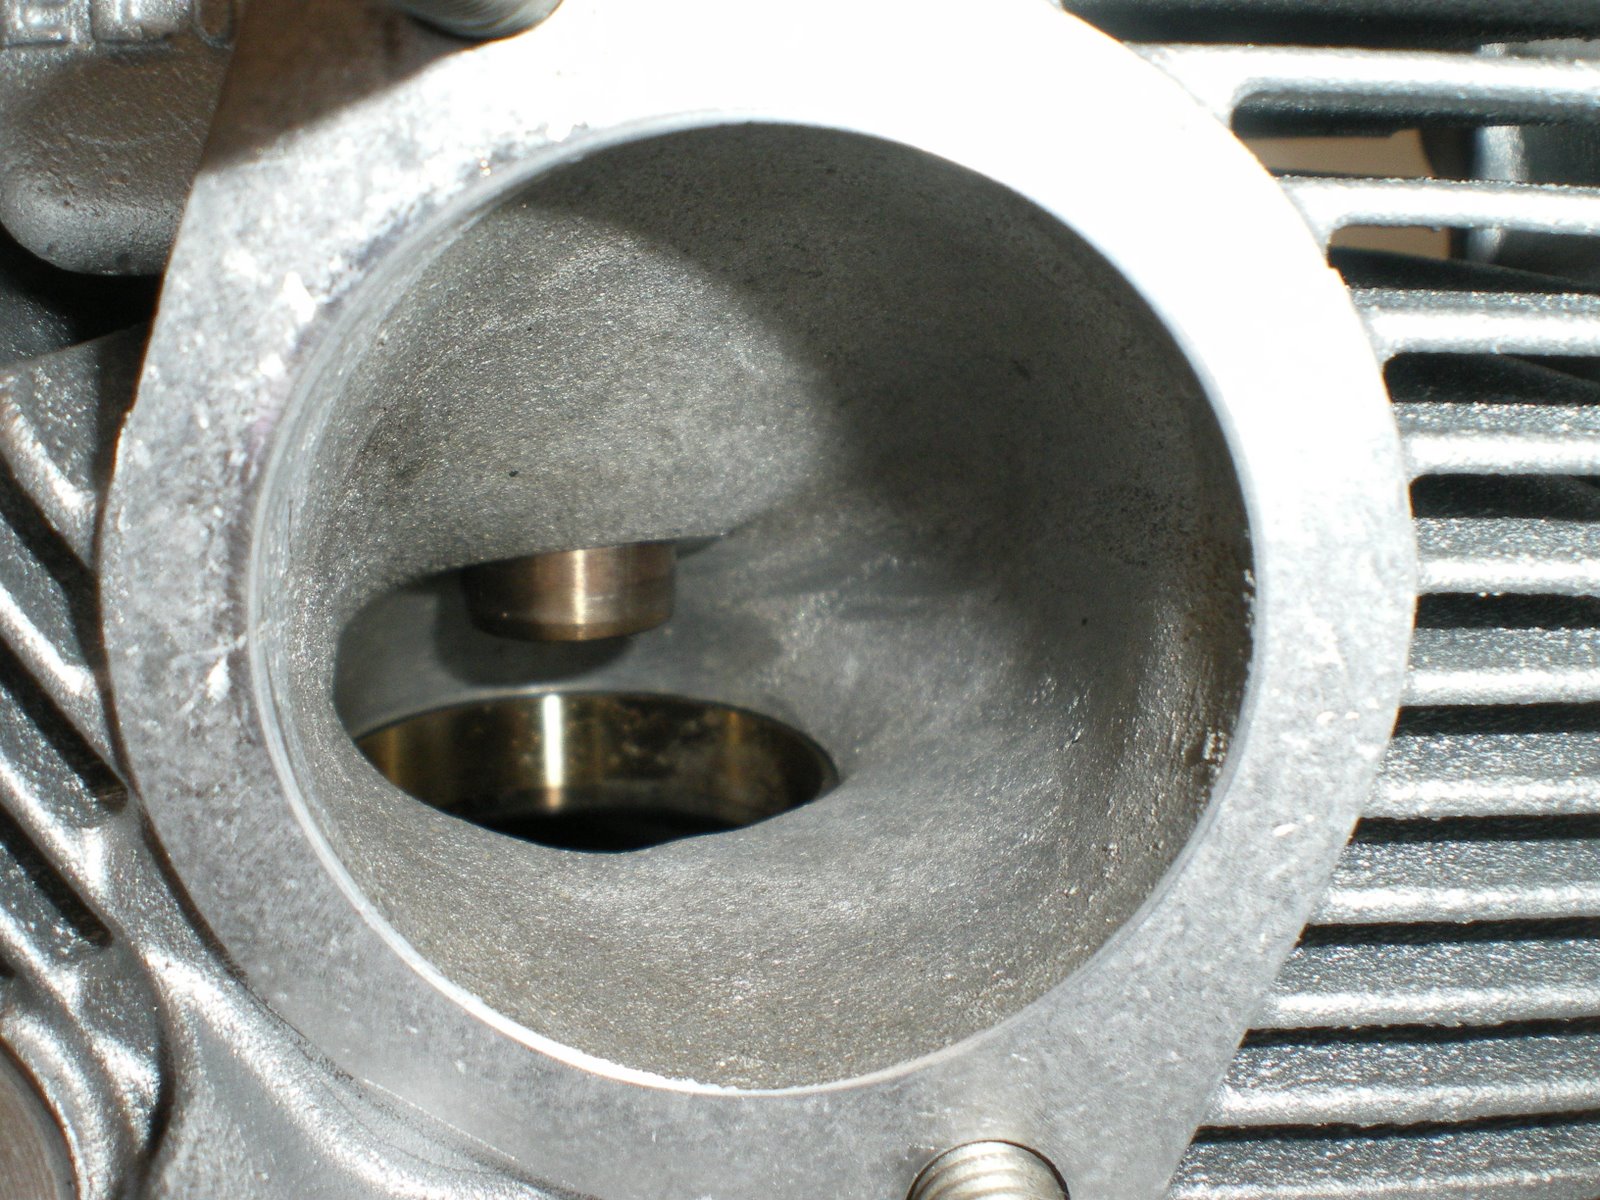
I took on my Dad's 180hp Pacer for the summer and flew it around while completing all the final detail work on it that he didn't finish during the restoration.
I have been working around the homestead as well, pouring concrete, building a perimeter fence and making repairs as needed.
The airplane project is getting fired up again now the weather has started to turn. Fall is here and the rain is starting to come. When the grass quits growing, it will be nice.
The next week or so I have to pick the pieces where I left off. I need to order a rivet squeezer yoke for the pneumatic squeezer. I am going to start on the rear baggage compartment bulkhead and work my way back before I close up the rear turtledeck. This will include installing the tail and push/pull tube. I learned on the last one that crawling in and out millions of times is not worth it. Plus its easier to assemble parts standing up then laying on your back........
Wednesday, September 24, 2014


Monday, April 14, 2014
Doing a lot of small jobs
It's been a month since the last post. Now that the fuse is out of the jig, I have been getting a lot of clean up jobs done before I can tackle the next big job which is mount the horz stab.
I have squeezed all the rivets on the longeron that I could not get at when the fuse was in the jig.
The front floor board attachments are all done and riveted up.
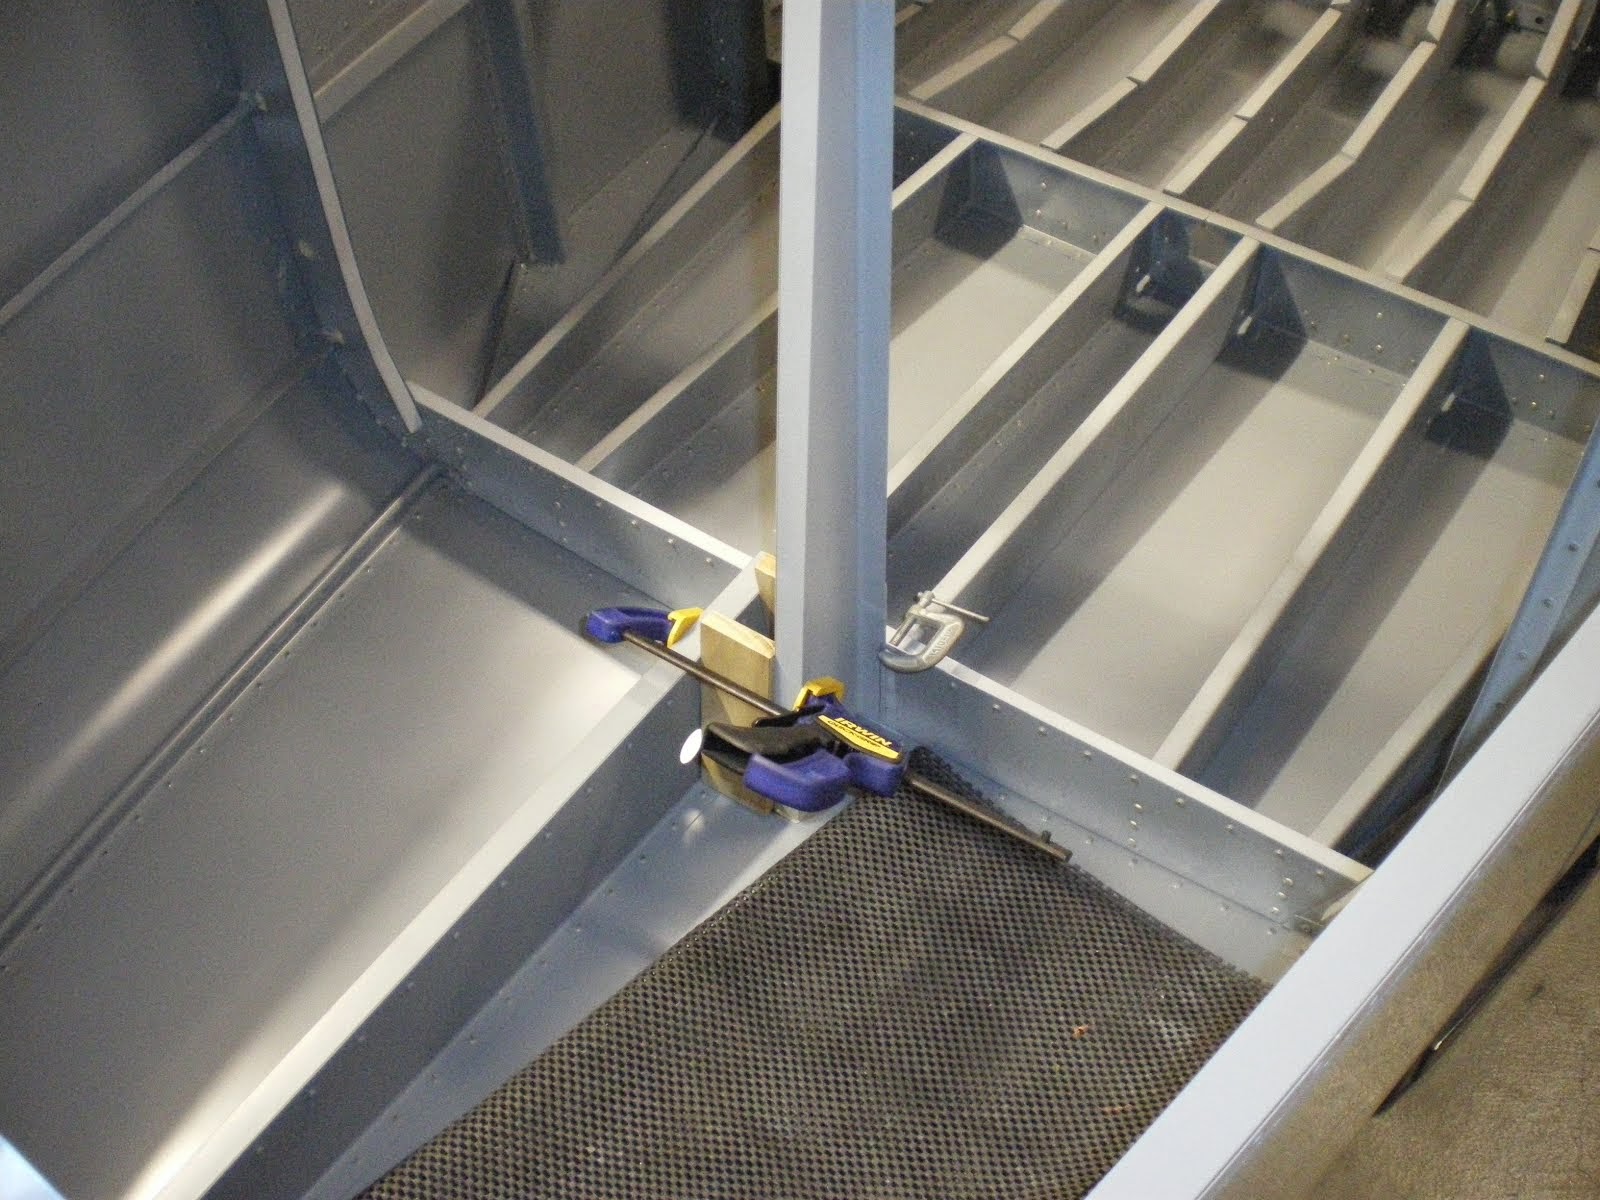
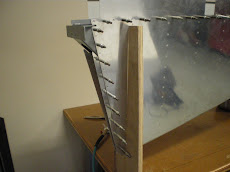
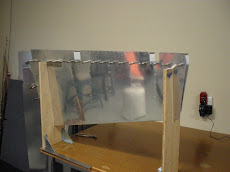
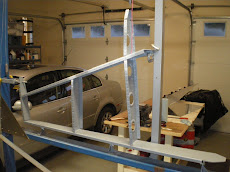
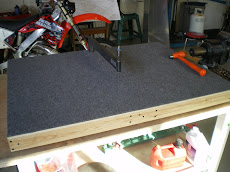
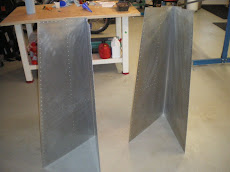
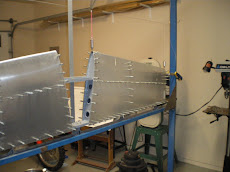
I then constructed a rear tail fixture to hold the tail up level and keep the plane from tipping over while I'm working on it.
I installed the static ports in the side fuselage. They are Cleaveland's and are nice units to Pro-Seal in place.
I Pro-sealed all along the bottom wing/fuselage to keep water from seeping in under the seat pan ribs.
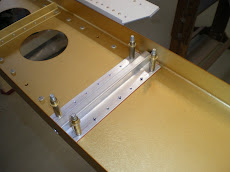
The elevator bellcrank is complete along with the spacers. I have drilled the 1/4 bolt through the rib and bulkhead.
I have installed the Tru-Trak servo mount for the elevator and put together the pushrods.
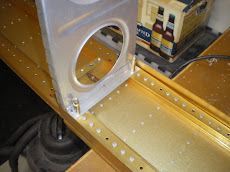
I also have been working on the rear baggage bulk head and all the little parts that rivet up to the bellcrank mount.
My next area is the rear tail. I have to get the rear deck mounted up but there is a lot of work with small angles and brackets to attach the horz stab. It will take several long days to get that all installed.
Then I can mount the small bulkhead in front of the horz stab and work my way forward in constructing the top deck.
I want to get as much done before I put the deck on so I don't have to crawl back into the rear fuselage.
I have squeezed all the rivets on the longeron that I could not get at when the fuse was in the jig.
The front floor board attachments are all done and riveted up.
I then constructed a rear tail fixture to hold the tail up level and keep the plane from tipping over while I'm working on it.
I installed the static ports in the side fuselage. They are Cleaveland's and are nice units to Pro-Seal in place.
I Pro-sealed all along the bottom wing/fuselage to keep water from seeping in under the seat pan ribs.
The elevator bellcrank is complete along with the spacers. I have drilled the 1/4 bolt through the rib and bulkhead.
I have installed the Tru-Trak servo mount for the elevator and put together the pushrods.
I also have been working on the rear baggage bulk head and all the little parts that rivet up to the bellcrank mount.
My next area is the rear tail. I have to get the rear deck mounted up but there is a lot of work with small angles and brackets to attach the horz stab. It will take several long days to get that all installed.
Then I can mount the small bulkhead in front of the horz stab and work my way forward in constructing the top deck.
I want to get as much done before I put the deck on so I don't have to crawl back into the rear fuselage.
Friday, March 7, 2014
She's out of the jig
Well, after two days of marathon riveting with the Old Man, we have gotten the airplane out of the jig. She looks pretty good, although, I don't think I got as good as job as the last RV-6 you seen in the blog. I used some dimple dies that were made from Cleaveland tool and there are actually a little too big. The dimple or male part of the die is made too big and thus the rivet is set farther down in the hole. I got a set a while back after breaking my old pair of dies. They sent me out another set and it was noticeably bigger. I called them and they sent out another set that "looked OK". I made the mistake of using it on several skins before really setting any rivets from that die. The second set is still bigger than the set I got from Avery. Cleaveland tool has already has good products so I don't know what happened to their dies but I am not getting the smoothest set of bucked rivets on my bird as the last one. I am going to order another set from Avery for the top skins and boot cowl. I am not going to use the Cleaveland dies anymore.
Another thing that we had problems with is the hole size. Since the dies were too big, when you dimpled the skin, it made the hole too big. Then the rivet did not fill the hole up. If you did not get a perfect set on the rivets, the head would be offset in the dimple slightly.
I have ordered some more tools and 3/32 drill bits to start in on the top skins. Most of this stuff is being overly picky. My work is a good or better then the quick build kits, so it will look good when it's all painted. But.......
The other part I did not like was using the J-stringers. I used .063 angles on the last airplane and they make the skin lay down a little smoother and straighter than the stringers. It's more weight and shimming, but it looks good when it's all done.
I will use the heavier stringers on the top of the fuselage. For now, I have to start adding all of the parts to the back of the tail section........It's amazing how many parts are still left to install.
One damn job after another....
Another thing that we had problems with is the hole size. Since the dies were too big, when you dimpled the skin, it made the hole too big. Then the rivet did not fill the hole up. If you did not get a perfect set on the rivets, the head would be offset in the dimple slightly.
I have ordered some more tools and 3/32 drill bits to start in on the top skins. Most of this stuff is being overly picky. My work is a good or better then the quick build kits, so it will look good when it's all painted. But.......
The other part I did not like was using the J-stringers. I used .063 angles on the last airplane and they make the skin lay down a little smoother and straighter than the stringers. It's more weight and shimming, but it looks good when it's all done.
I will use the heavier stringers on the top of the fuselage. For now, I have to start adding all of the parts to the back of the tail section........It's amazing how many parts are still left to install.
One damn job after another....
Saturday, February 22, 2014
Getting ready for the big rivet!
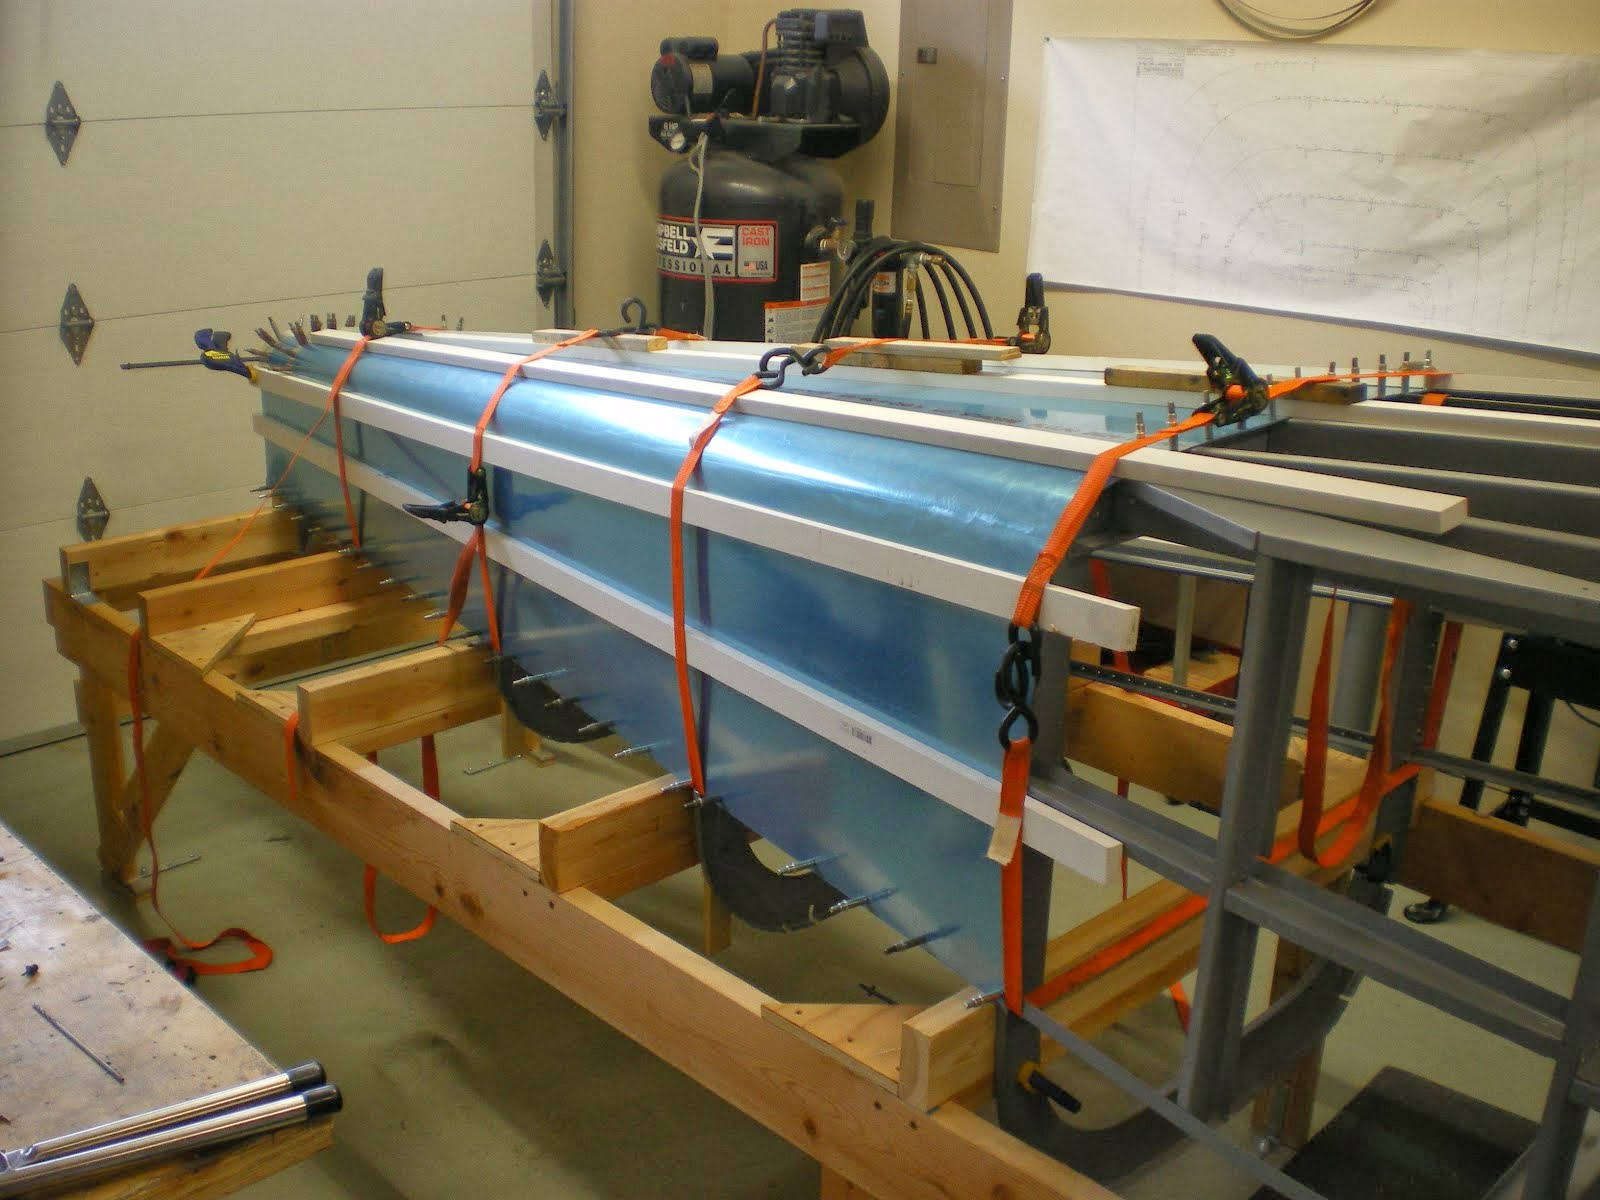
The last several weeks have been preparing all of the fuselage skins for riveting.
Anyone that has built or is building an airplane the is made of metal, knows this process.
It's long, boring and sometimes mind numbing. However, it has to be done.
I have been deburring holes until I can't see straight. Then you have to make sure all the skin edges are shaved so there are no burs on the edge. Any part of the skin that is overlapping another skin has to be rolled slightly so it does not pucker when it's riveted.
Then you have to dimple all the skins. Same goes for the fuselage frame but any part that is too thick to be dimpled has to be countersunk. It has to be over countersunk because the dimple in the skin is bigger than the actual rivet. So this means you have to make a dimple in a test strip of metal and use it as a gauge. I countersink all the parts and check the hole with my gauge to make sure the dimpled skins will lay flat up against the framework.
I had to have my minion help me with the dimpling of the skins since they are so long and flexible. They last about two minutes and start the whining process.........which I can remember from my days of being a minion when my Dad was building RV-3/4's. "Are we done yet?"
Next comes priming all the parts and pieces. I still have some old DTM epoxy primer from the last RV-6. It's OK but I can't get rid of these small specs in the primer. I cleaned everything, etched, alodined and then tack rag off all the parts. But when they get sprayed, there is small "dust" looking particles in the paint. If I rattle can the parts, they look great. So I know it's in the primer, not my technique.
However, since all of this is going to be covered up, it does not really matter.
I then have to rivet some of the parts onto the skins prior to riveting them to the fuselage. The floorboard stiffeners had to be back riveted on.
Now I can start riveting from the back tail skin forward. This was done and now the rear side skins are next. I had to shim the side skins back near the tail since your bottom tail skin is .040 thick. Everywhere around this skin is shimmed to the overlapping side skins lay down flat and don't have big puckers everywhere. It would look really bad to smash all this down as I have seen on some jobs.
Once I get myself riveted out of the two back bays, I can start back riveting the skins and make some quick process.
My Dad is coming up and HE is going to be MY minion for two days while we rivet this thing together and birth it out of the jig!!!!!!!! Yeah! How times change things around.......
Anyone that has built or is building an airplane the is made of metal, knows this process.
It's long, boring and sometimes mind numbing. However, it has to be done.
I have been deburring holes until I can't see straight. Then you have to make sure all the skin edges are shaved so there are no burs on the edge. Any part of the skin that is overlapping another skin has to be rolled slightly so it does not pucker when it's riveted.
Then you have to dimple all the skins. Same goes for the fuselage frame but any part that is too thick to be dimpled has to be countersunk. It has to be over countersunk because the dimple in the skin is bigger than the actual rivet. So this means you have to make a dimple in a test strip of metal and use it as a gauge. I countersink all the parts and check the hole with my gauge to make sure the dimpled skins will lay flat up against the framework.
I had to have my minion help me with the dimpling of the skins since they are so long and flexible. They last about two minutes and start the whining process.........which I can remember from my days of being a minion when my Dad was building RV-3/4's. "Are we done yet?"
Next comes priming all the parts and pieces. I still have some old DTM epoxy primer from the last RV-6. It's OK but I can't get rid of these small specs in the primer. I cleaned everything, etched, alodined and then tack rag off all the parts. But when they get sprayed, there is small "dust" looking particles in the paint. If I rattle can the parts, they look great. So I know it's in the primer, not my technique.
However, since all of this is going to be covered up, it does not really matter.
I then have to rivet some of the parts onto the skins prior to riveting them to the fuselage. The floorboard stiffeners had to be back riveted on.
Now I can start riveting from the back tail skin forward. This was done and now the rear side skins are next. I had to shim the side skins back near the tail since your bottom tail skin is .040 thick. Everywhere around this skin is shimmed to the overlapping side skins lay down flat and don't have big puckers everywhere. It would look really bad to smash all this down as I have seen on some jobs.
Once I get myself riveted out of the two back bays, I can start back riveting the skins and make some quick process.
My Dad is coming up and HE is going to be MY minion for two days while we rivet this thing together and birth it out of the jig!!!!!!!! Yeah! How times change things around.......
Thursday, February 6, 2014
Still working away...
I have been working on getting all the skins prepped for riveting. This takes a lot of time to debur, dimple and then prime all the skins. I have been at it for about three weeks off and on to get the job done. All but two skins are done and they only need to be primed. After that is done, I will start making some shims for riveting. Even with all the care that is taken to make the skeleton parts fit properly, you need shims to make the skins come out some when they are overlapping another part.
The tail is the worst place as you have a .040 tail cone skin that has to mate up to the side skins. Almost all of the back tail area is shimmed out to have a smooth skin appearance. If you just riveted it all together, it would look really bad. I have seen some jobs where the skins are all puckered. I am not having that on my bird......
A lot of the front fuselage is countersunk for the dimples in the skin due to the thickness of the bulkheads and stringers. I countersunk thousands of holes and had to recharge my drill batteries multiple times. Shavings everywhere......
I will get some pics posted of the progress for priming, then its finally off to some actual progress of putting parts on for good. Once all the skins are on, that fuselage can come out of the jig......yeah!
The tail is the worst place as you have a .040 tail cone skin that has to mate up to the side skins. Almost all of the back tail area is shimmed out to have a smooth skin appearance. If you just riveted it all together, it would look really bad. I have seen some jobs where the skins are all puckered. I am not having that on my bird......
A lot of the front fuselage is countersunk for the dimples in the skin due to the thickness of the bulkheads and stringers. I countersunk thousands of holes and had to recharge my drill batteries multiple times. Shavings everywhere......
I will get some pics posted of the progress for priming, then its finally off to some actual progress of putting parts on for good. Once all the skins are on, that fuselage can come out of the jig......yeah!
Saturday, December 28, 2013
Left Side Skin F-670
I have been working on the front left side skin. F-670 is a piece of .032 and is about 28 inches high and 82 inches long. I had the skin all back drilled and was working on the fit near the back where it has to curve around the bottom of the tail cone. I trimmed off the excess on the side but by the time I had rolled the skin over to the bottom, it was too short by about 3/4"! Whoops!.
I had to get another skin ($120) and use the first skin as a drill template. The second skin turned out a lot nicer than the first and I got a real nice fit around the bottom of the fuselage where the tail cone meets up the fuselage sides. You would think after all these airplanes the mistakes would come to zero but that is not the case. Anytime you have to make something, there is potential for errors. I will use the other skin for smaller pieces in the baffling area and brackets.....
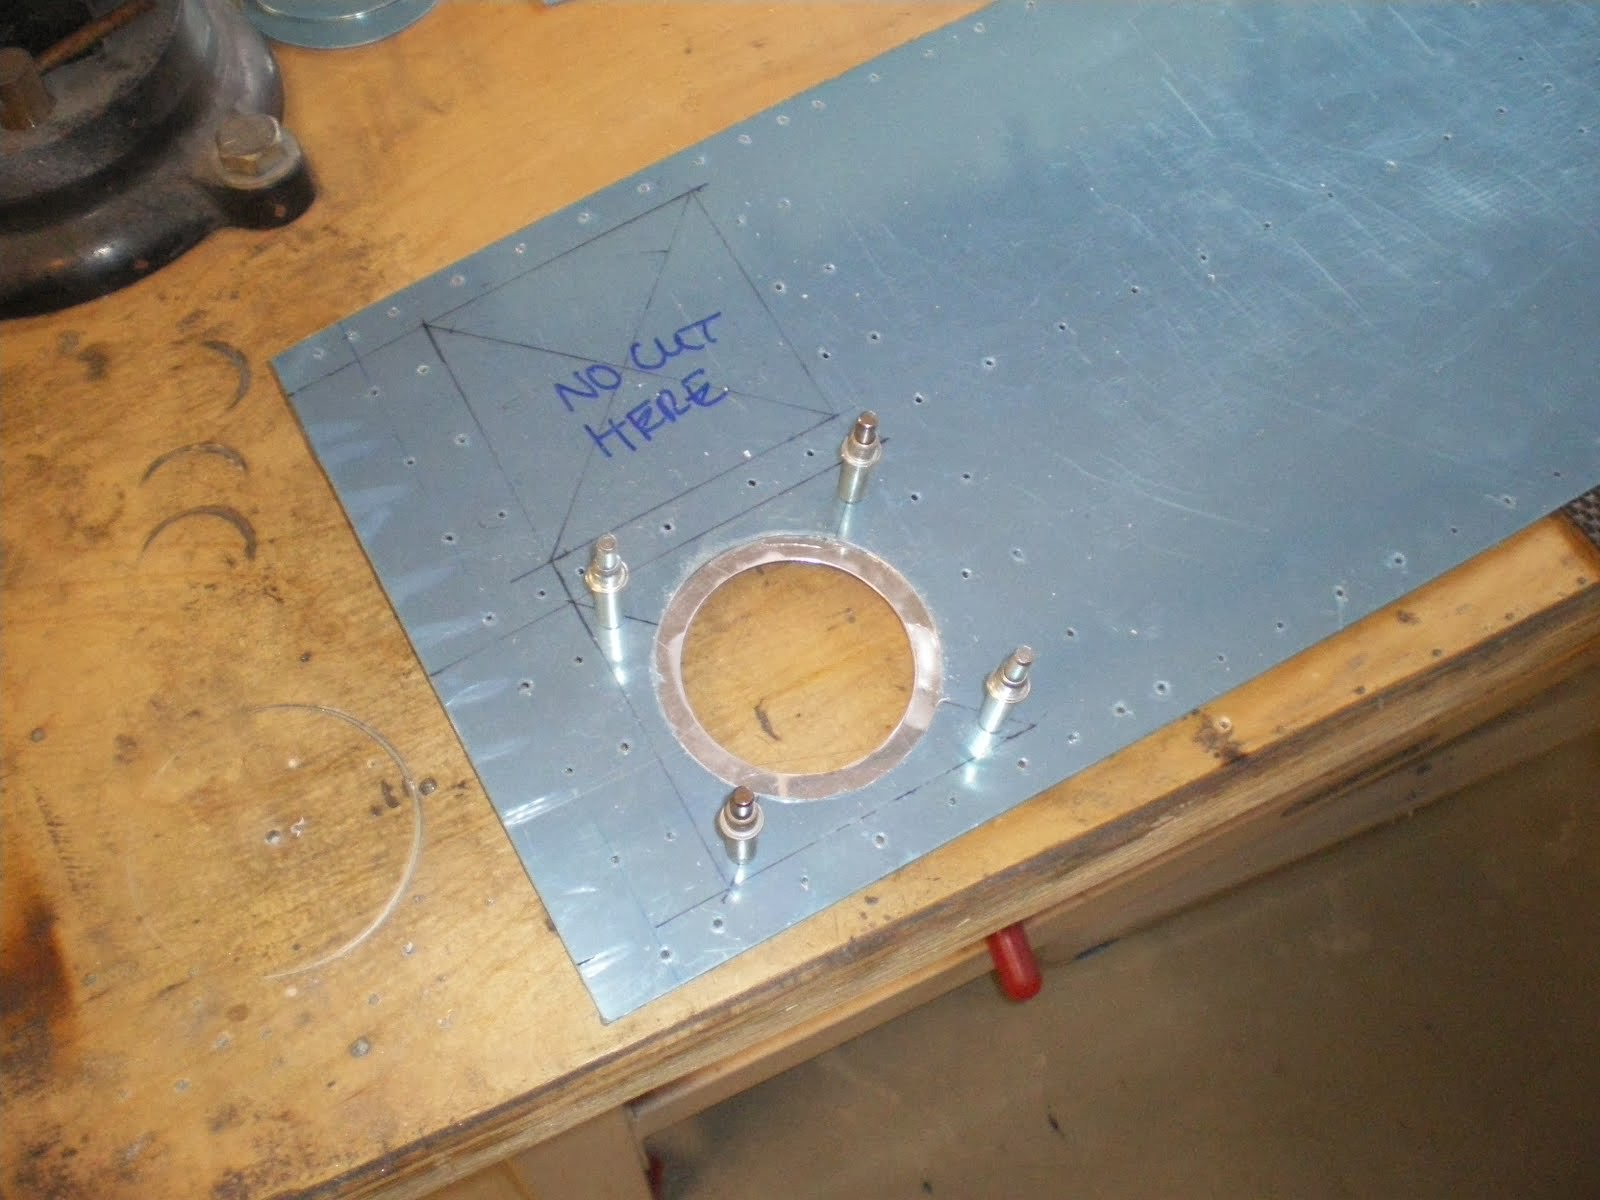
After the side skin was all drilled on and cut, I have been working on the access plate for the elevator horn in the very back of the tail. I have one on the left side and I put another one on the right. This will make it easier to get the elevator horn/pushrod connection. I only had one on the last RV-6 and it was a real PITA anytime you had to work in there. I ended up making all kinds of special little tools to get in there......not this time.
I have the right side skin to do next and will take my time fitting this thing up. I don't want to be buying another one. After that is all drilled then I can take it all apart and start the long process of getting all the holes deburred, dimpled or countersunk. Then I can prime the skins and start riveting!!!!
I had to get another skin ($120) and use the first skin as a drill template. The second skin turned out a lot nicer than the first and I got a real nice fit around the bottom of the fuselage where the tail cone meets up the fuselage sides. You would think after all these airplanes the mistakes would come to zero but that is not the case. Anytime you have to make something, there is potential for errors. I will use the other skin for smaller pieces in the baffling area and brackets.....
After the side skin was all drilled on and cut, I have been working on the access plate for the elevator horn in the very back of the tail. I have one on the left side and I put another one on the right. This will make it easier to get the elevator horn/pushrod connection. I only had one on the last RV-6 and it was a real PITA anytime you had to work in there. I ended up making all kinds of special little tools to get in there......not this time.
I have the right side skin to do next and will take my time fitting this thing up. I don't want to be buying another one. After that is all drilled then I can take it all apart and start the long process of getting all the holes deburred, dimpled or countersunk. Then I can prime the skins and start riveting!!!!
Friday, December 13, 2013
Skinning the forward fuselage
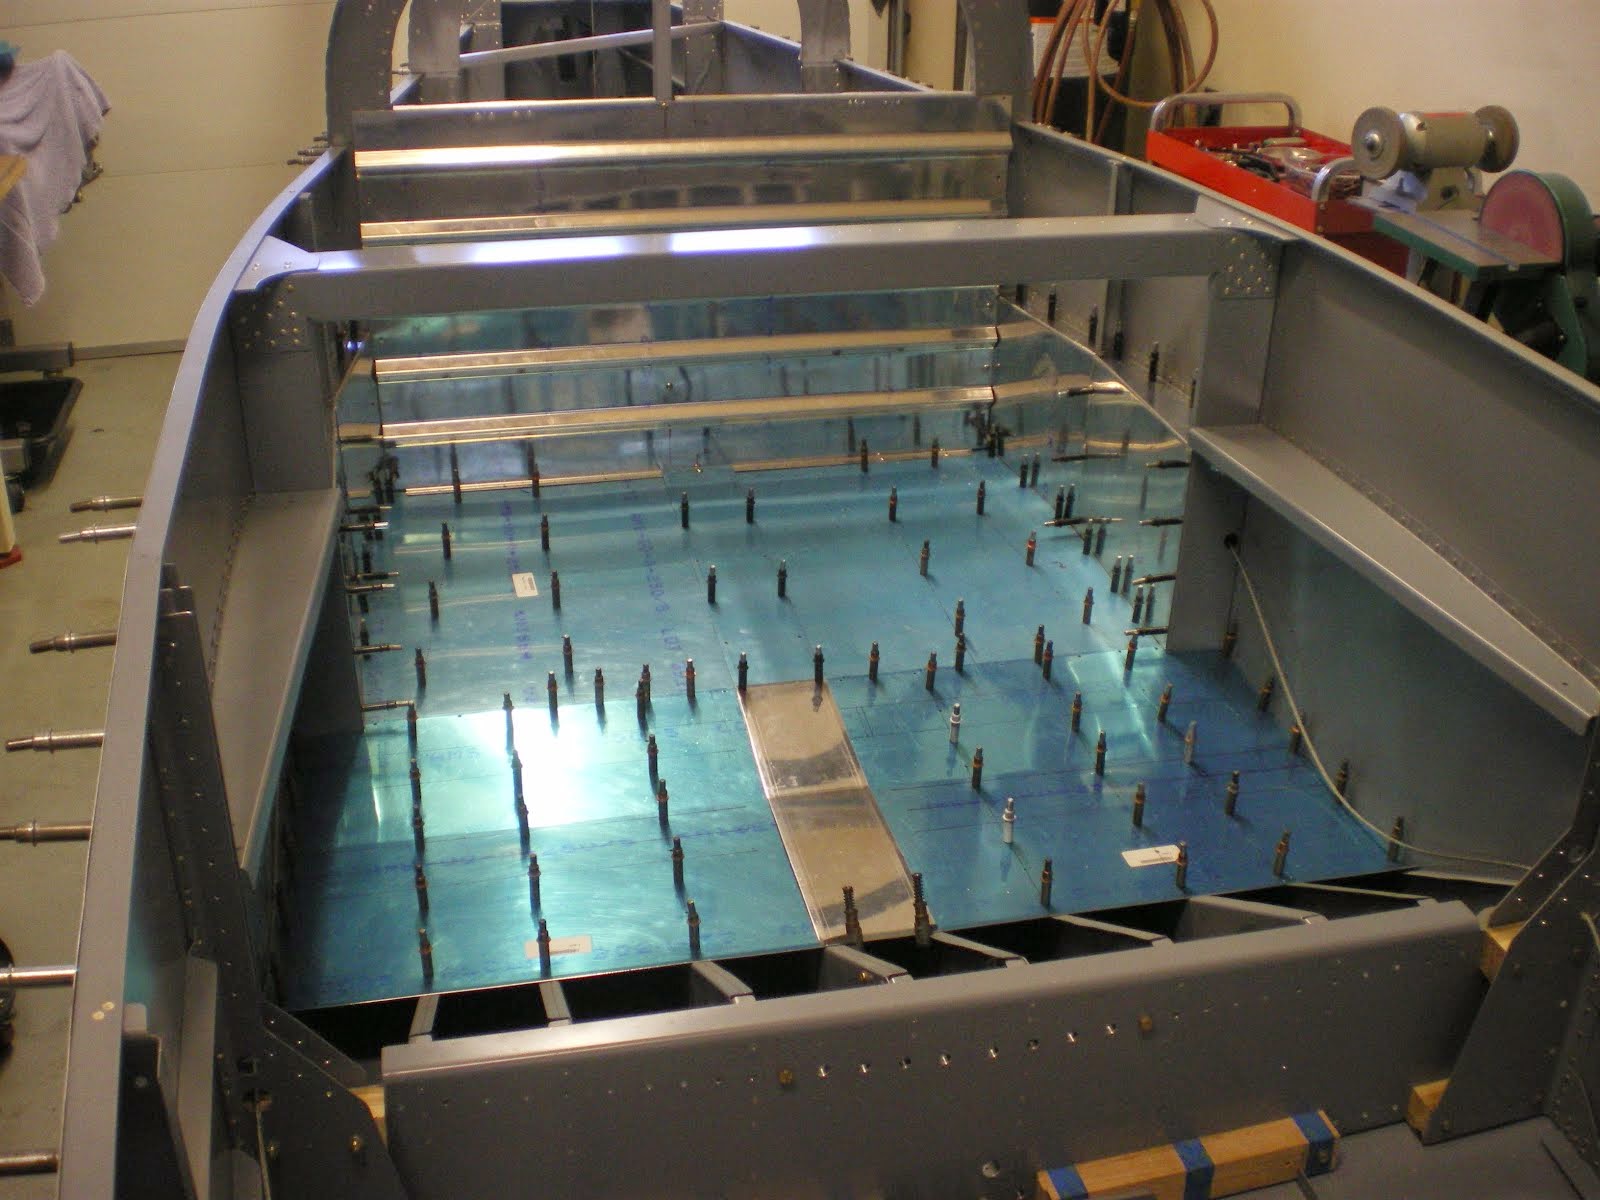
Been quite a while since I last posted. I have been working on the airplane. I have been skinning the forward fuselage area and bottom skin under the seat ribs. The forward skin (floorboard) under the rudder pedals is all skinned and all the brackets have been fabbed up. I will wait until the wings are inserted into the center section to final drill the holes in the brackets that brace the floor board stiffeners. Then I will know everything is going to fit on final assembly.
I have been working on the .032 side skins. They take a while to fit since you have to cut out and curl that back part to mate up to the curve on the bottom of the tailcone. This is a slow process to get it to look good. Once the left side done, it's move over to the right and repeat. Then I will be done with drilling and skinning.
Now I can start the long process of deburring, dimpling and priming all the skins. Then I can start final riveting!!!
I have been working on the .032 side skins. They take a while to fit since you have to cut out and curl that back part to mate up to the curve on the bottom of the tailcone. This is a slow process to get it to look good. Once the left side done, it's move over to the right and repeat. Then I will be done with drilling and skinning.
Now I can start the long process of deburring, dimpling and priming all the skins. Then I can start final riveting!!!
Subscribe to:
Posts (Atom)























.JPG)