Haven't posted in a while. That's because I have been busy getting a lot of the parts and pieces that go inside the fuselage fabbed up.
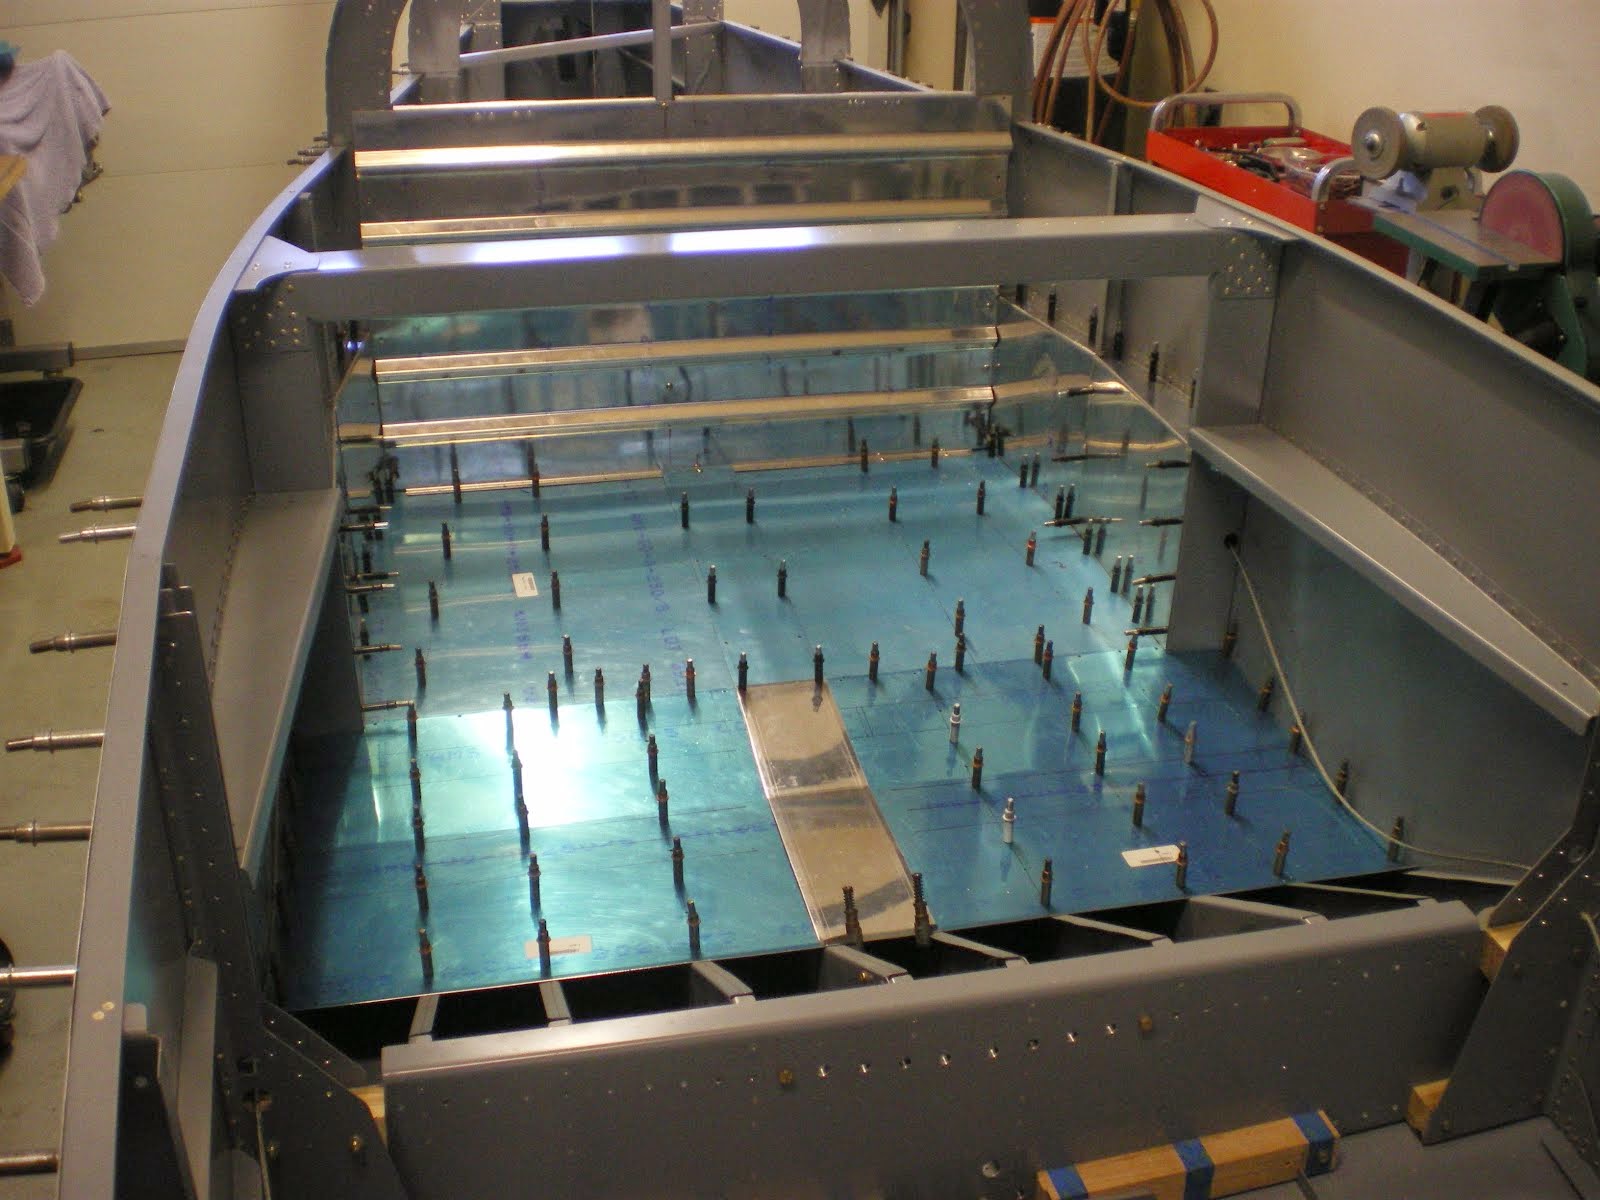
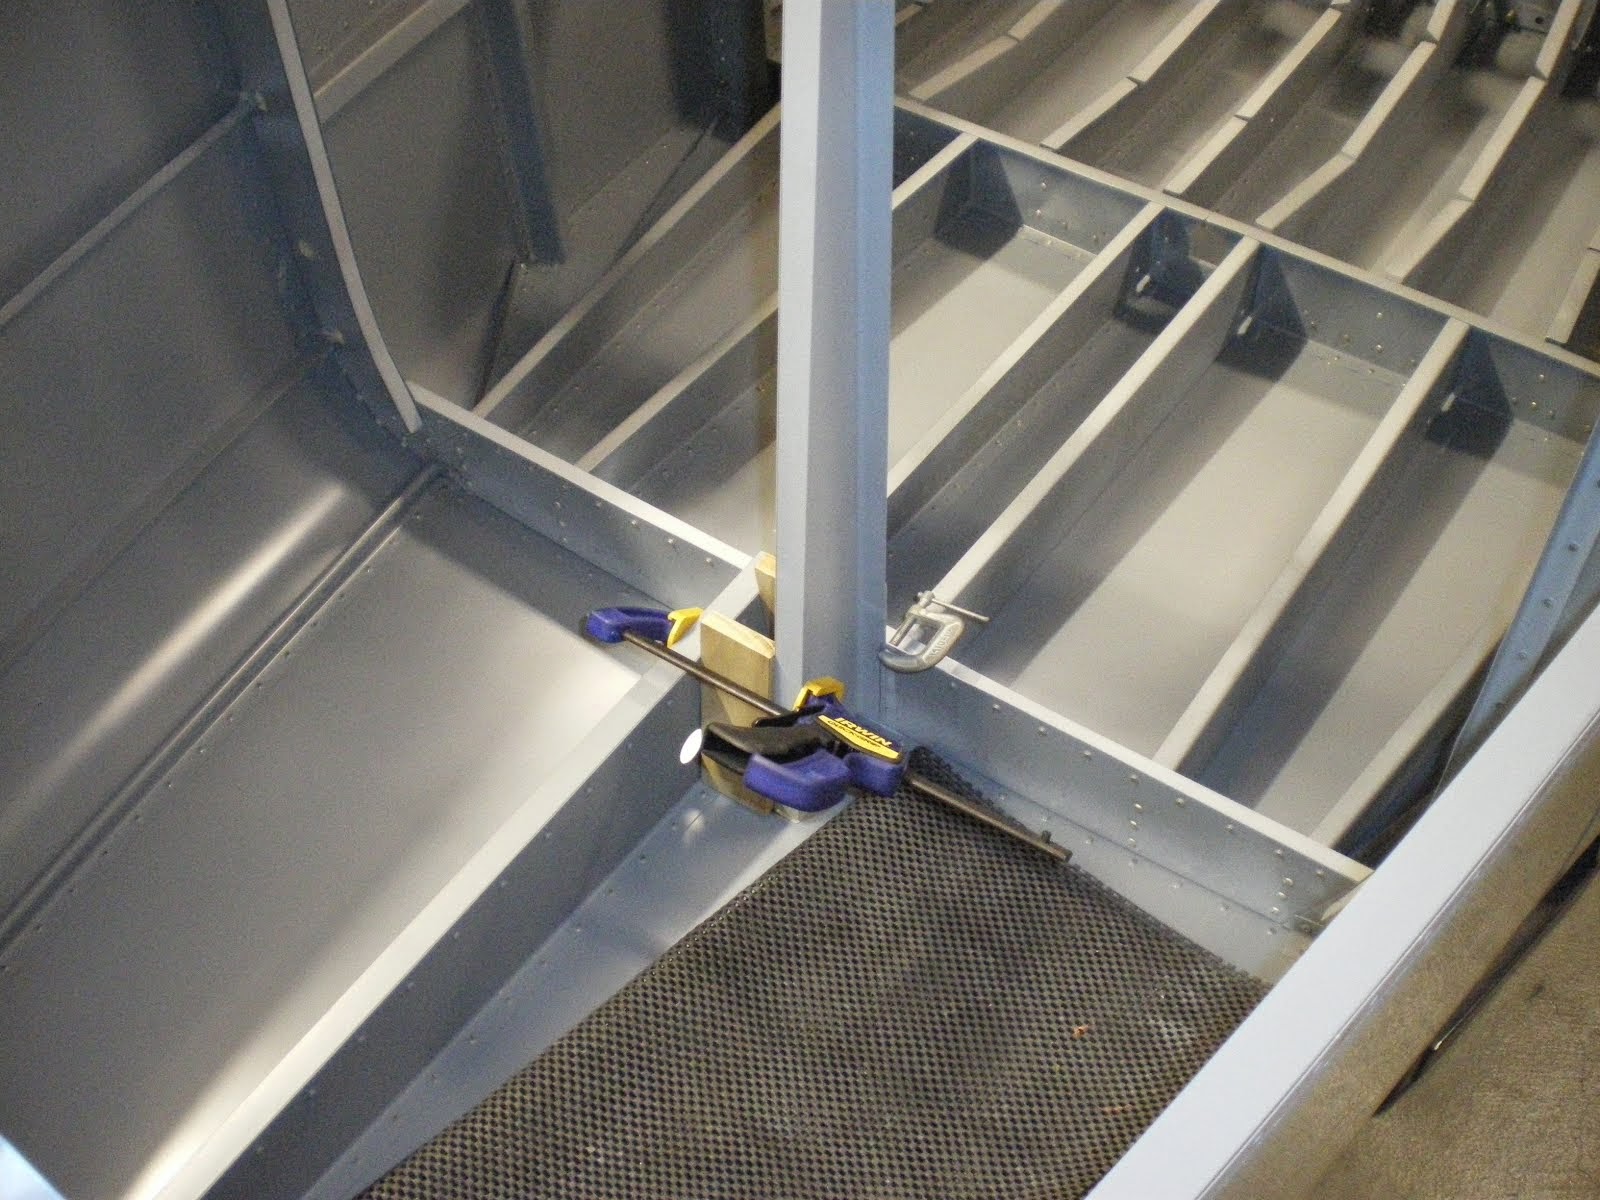
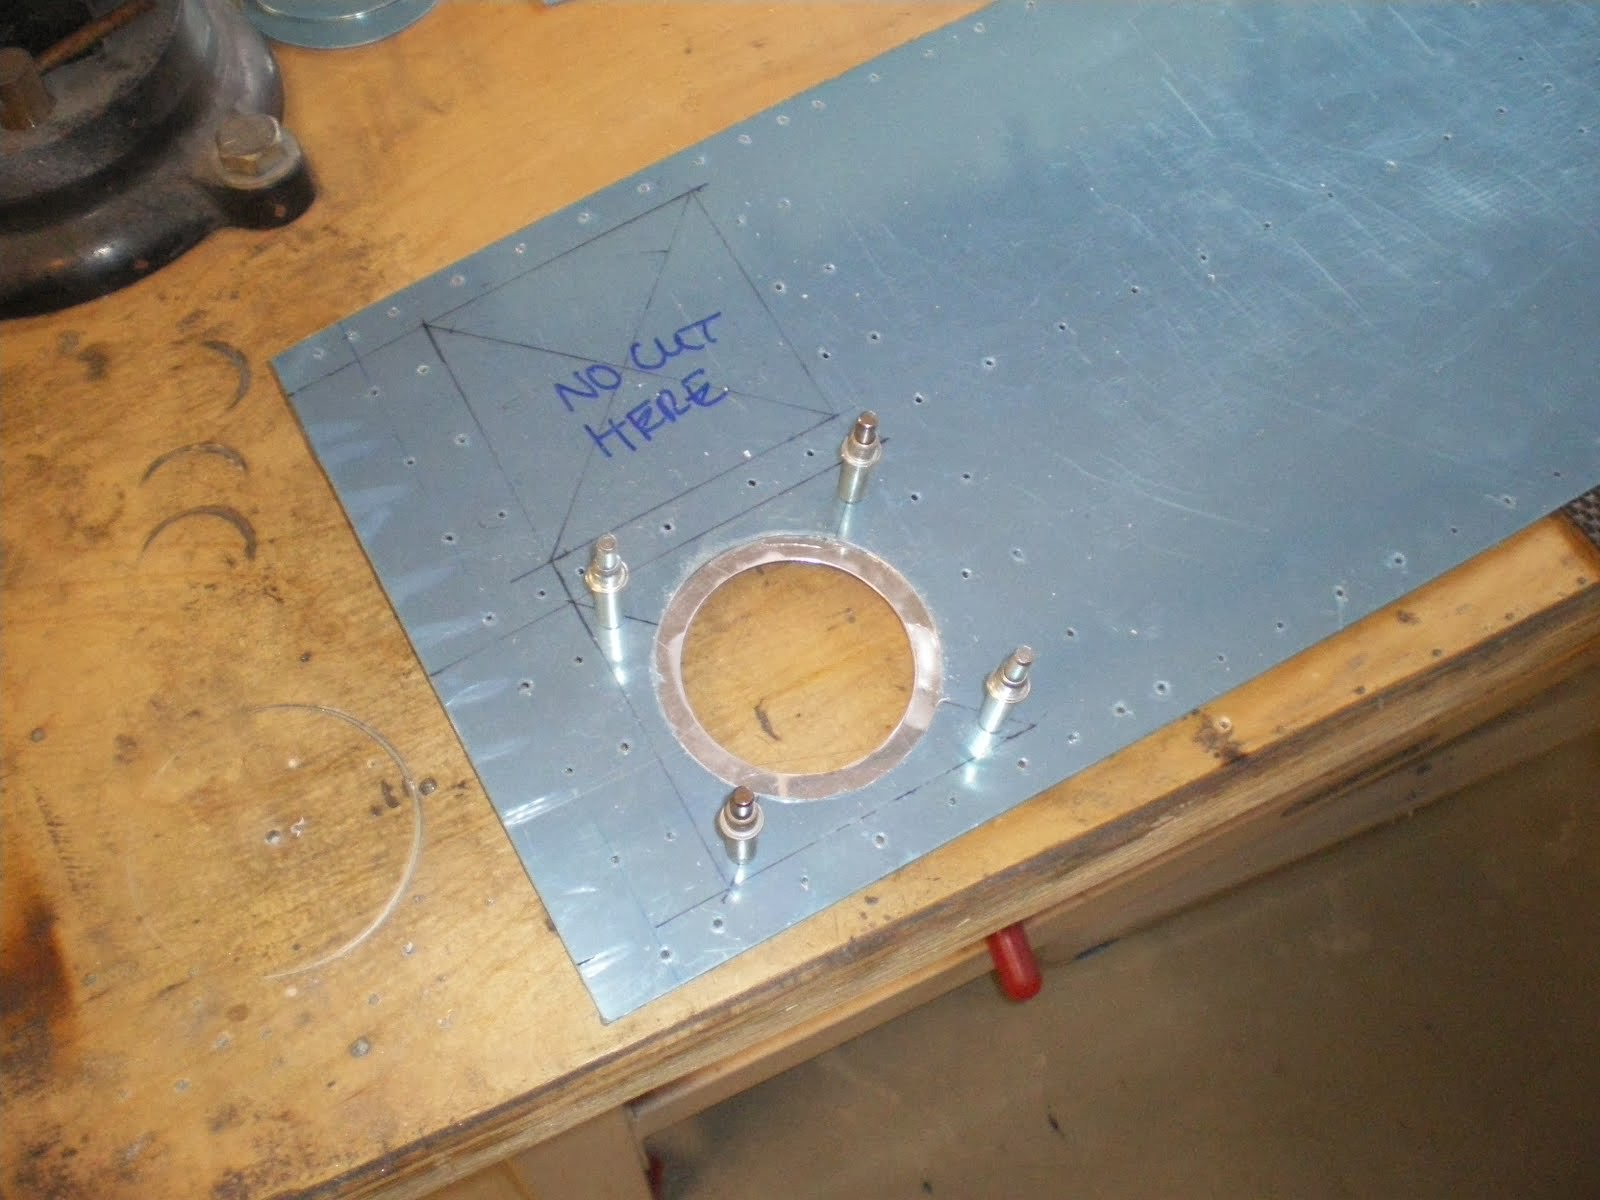
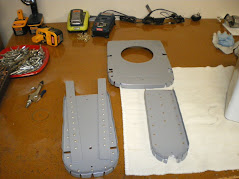
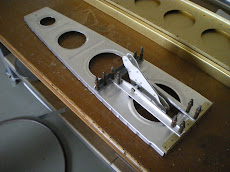
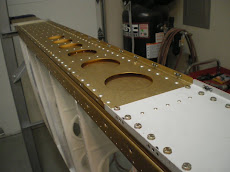
So far, I have gotten the seats, floorboards, baggage compartment panels, seat backs, center section stiffeners, ELT bracket and misc parts all fabbed up to the painting stage.
My next task is to etch, alodine and epoxy prime all these parts. I can then rivet them together and get them out of the way for now.
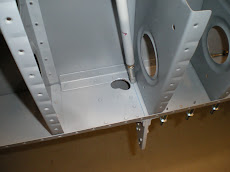
I still have the right front floor board to fit. This is the ramp under your legs and where the stick comes up through the floor. This panel must fit nicely against the fuselage side wall and around the center sections. If you don't take your time, and you have big ol' gaps around the edges, it will look like crap and air will blow up through them. On a cold day, you will figure out real fast where the air is leaking in on you. 30 degree air blowing on you is a wake up call when you are trying to warm up.
I am taking my time and getting everything to fit real nice. It looks good too and it will keep dirt and dust from getting down into the lower compartments.
I also ordered some sound proofing/ heat barrier. It dampens the exhaust noise and vibration way down. With noise cancelling headsets and the barriers, you can enjoy your flight without getting vibrated out of your seat. My last RV-6 had these as well and it really makes a difference in cockpit comfort. With my fancy seats and upholstery, it will be a very nice interior.
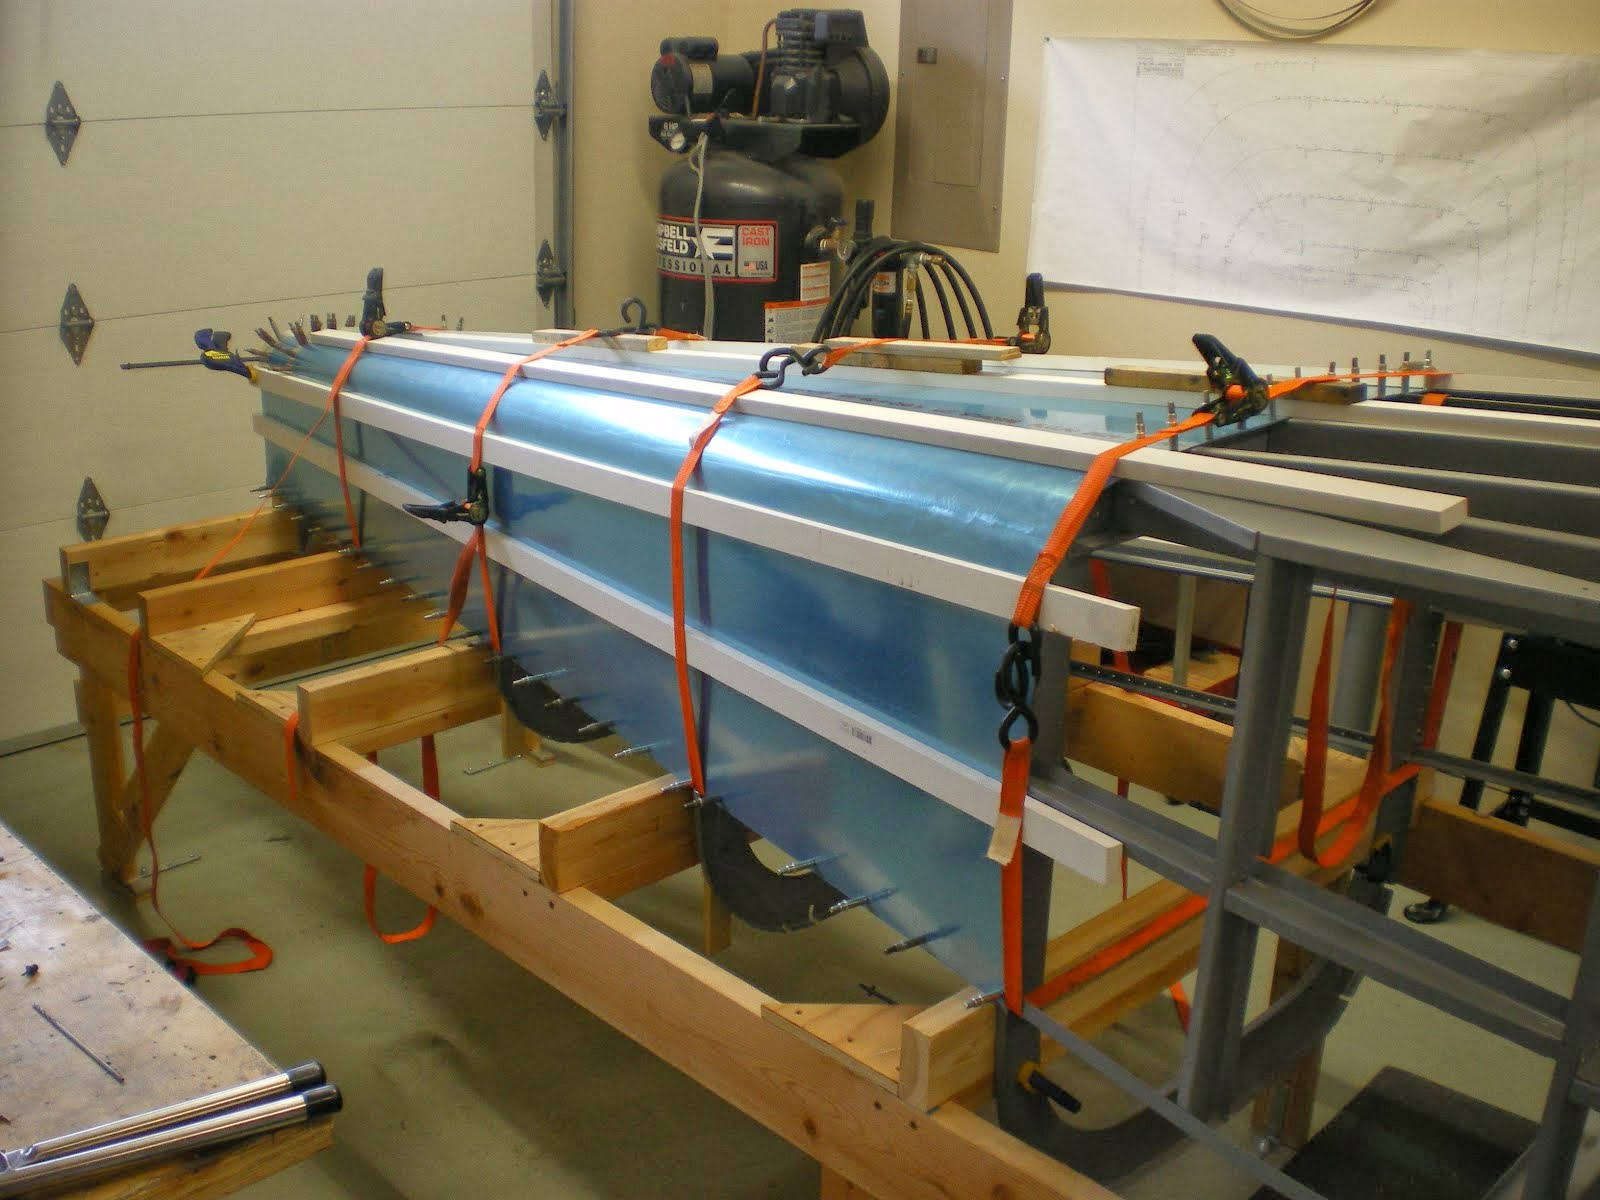
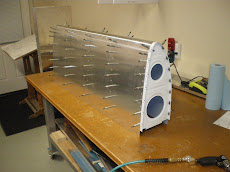
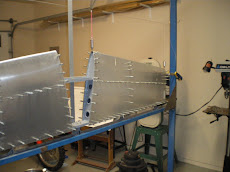
My next step after getting all of these parts primed will be to complete the work on the rear turtledeck and stringers. I will have to get all of the tail section down out of the shed and start mounting it on the tail. I want to get all of the push pull tubes completed before I rivet on the top deck. Once this is done, I will get the skins out and start to back drill all of those panels. There is going to be A LOT of shimming on this deck due to the previous posts about the bulkheads not being in the correct positions. I will make it work and look good. It is just a lot of work......
Subscribe to:
Post Comments (Atom)





















No comments:
Post a Comment